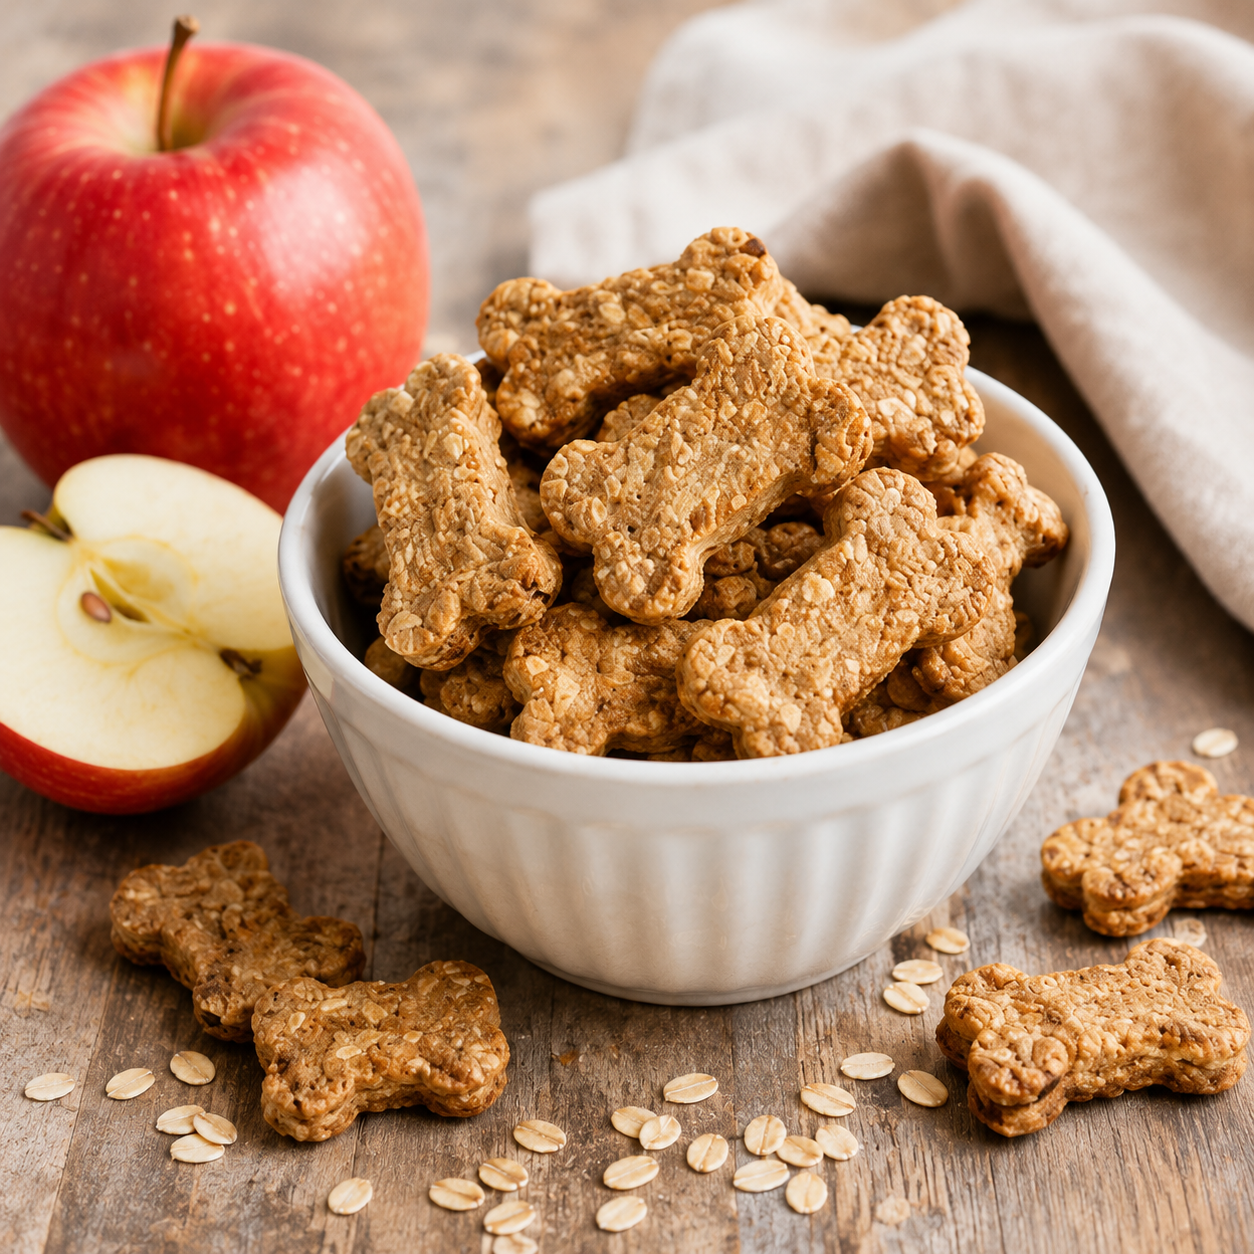
You wouldn’t believe how much time I spent at the vet before I figured out my golden retriever, Buddy, was allergic to half the store-bought treats on the shelf. The itching, the ear infections—it broke my heart. That’s when I started making these DIY allergy-friendly dog treats. They’re simple, wholesome, and packed with ingredients I can actually pronounce. No mystery fillers, no sneaky allergens—just oat flour, applesauce, and peanut butter (the safe kind, of course). Buddy goes nuts for them, and honestly? I love knowing exactly what’s going into his little belly. Trust me, once you see how easy and rewarding it is to bake these, you’ll never go back to the overpriced, questionably sourced stuff again.
Why You’ll Love These DIY Allergy-Friendly Dog Treats
Oh, where do I even start? These treats are a total game-changer for pups with sensitive tummies (and their worried pet parents!). Here’s why you’ll be obsessed:
- Easy-peasy to make – Seriously, if you can stir a bowl, you’ve got this. No fancy chef skills required!
- Allergy-safe superstar – No wheat, dairy, or mystery meats that’ll make your pup itch like crazy.
- Wallet-friendly – Costs way less than those “specialty” allergy treats at the pet store (which, let’s be real, still sometimes make Buddy scratch).
- Actually good for them – Real ingredients you’d eat yourself (okay, maybe not the peanut butter by the spoonful… but you get it).
Buddy does his full-body wag when he hears the treat jar open now – that’s all the proof I need!
Ingredients for DIY Allergy-Friendly Dog Treats
Okay, let’s break it down! These treats are as straightforward as it gets, but I’ve got a few notes to make sure you nail it:
- Oat flour (2 cups) – Super gentle on sensitive tummies, and it gives these treats that perfect chewiness Buddy loves.
- Unsweetened applesauce (1 cup) – Adds natural sweetness and moisture without any artificial junk. Just make sure it’s plain applesauce—no added sugars or spices!
- Peanut butter (1/2 cup) – This is crucial: make sure it’s xylitol-free! That sweetener is toxic to dogs, and we’re not taking any chances here.
- 1 egg – Helps bind everything together and adds a little protein boost. Buddy approves.
See? Simple, wholesome, and totally pup-approved. Let’s get baking!

How to Make DIY Allergy-Friendly Dog Treats
Alright, let’s get to the fun part! I promise, these treats are so easy to make, you’ll wonder why you ever bought them from the store. Here’s the step-by-step breakdown—Buddy wagging his tail in approval the whole time.
Mixing the Dough
First things first, preheat your oven to 350°F (175°C). Trust me, starting with a hot oven makes all the difference. Now, grab a big mixing bowl and toss in the oat flour, applesauce, peanut butter, and egg. Mix everything together until it’s well combined and looks like a thick, sticky dough. Buddy likes to supervise this part—hopefully your pup isn’t as drooly as mine!
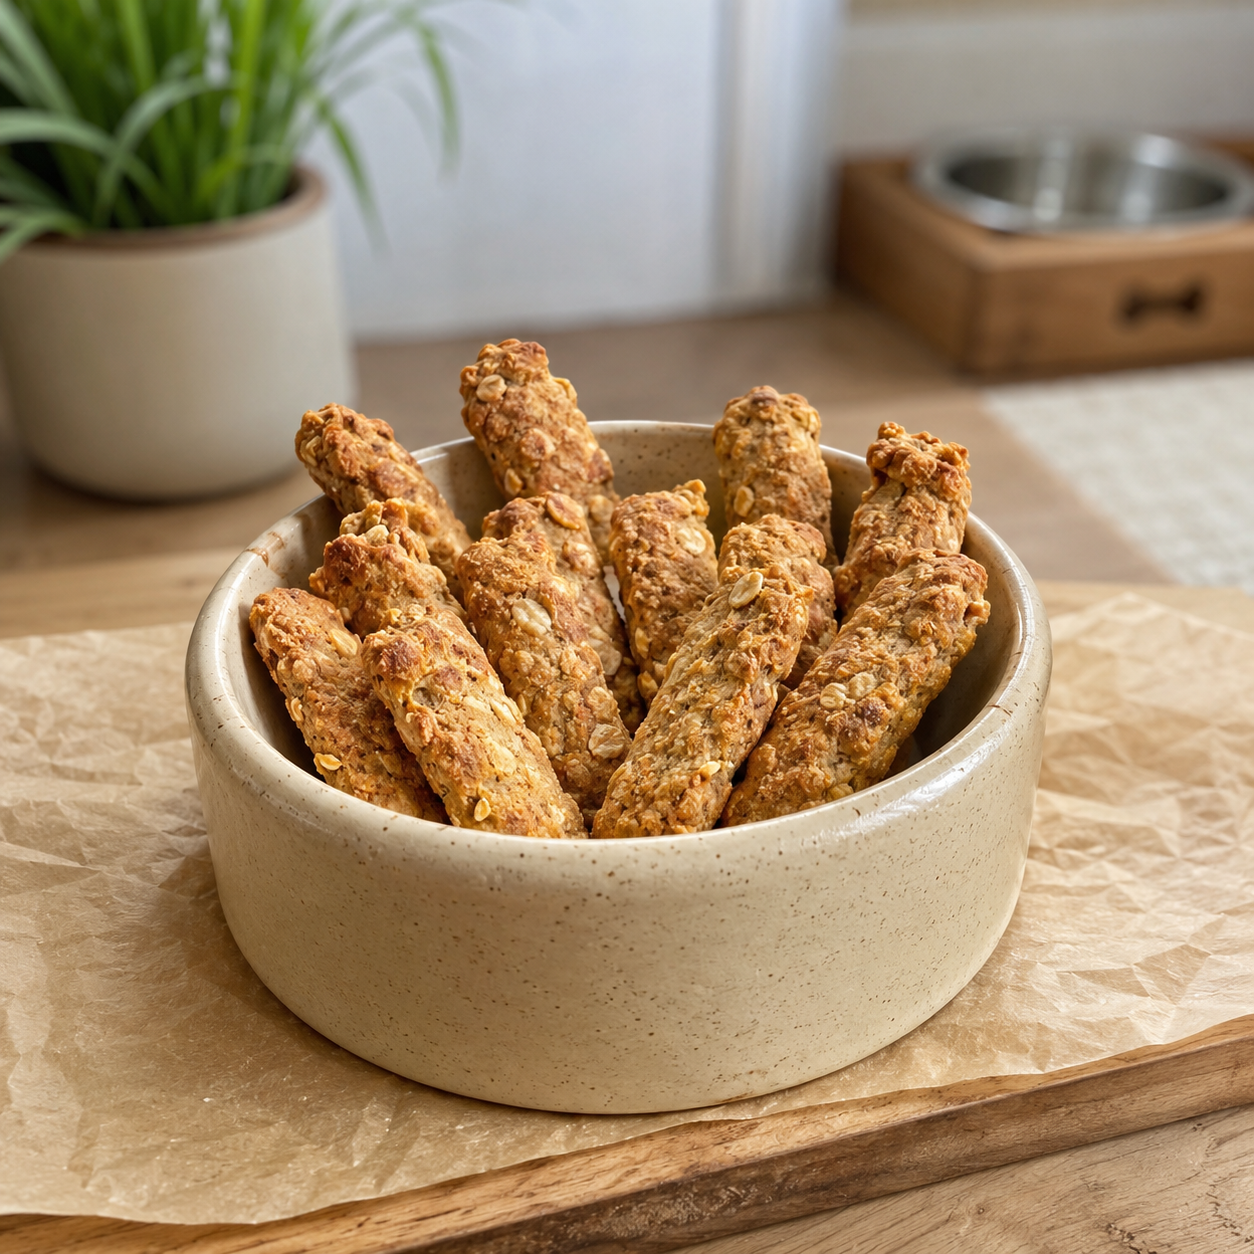
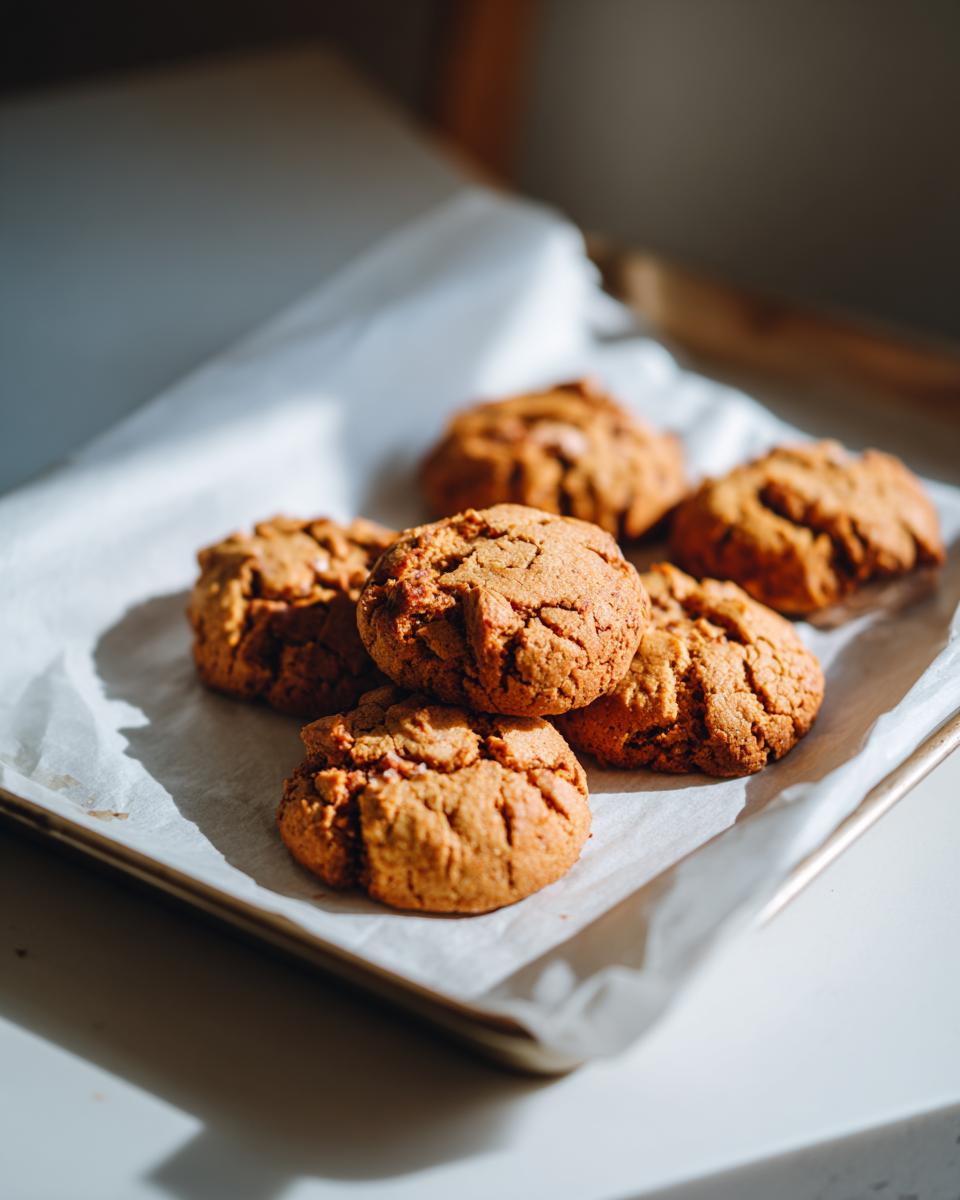
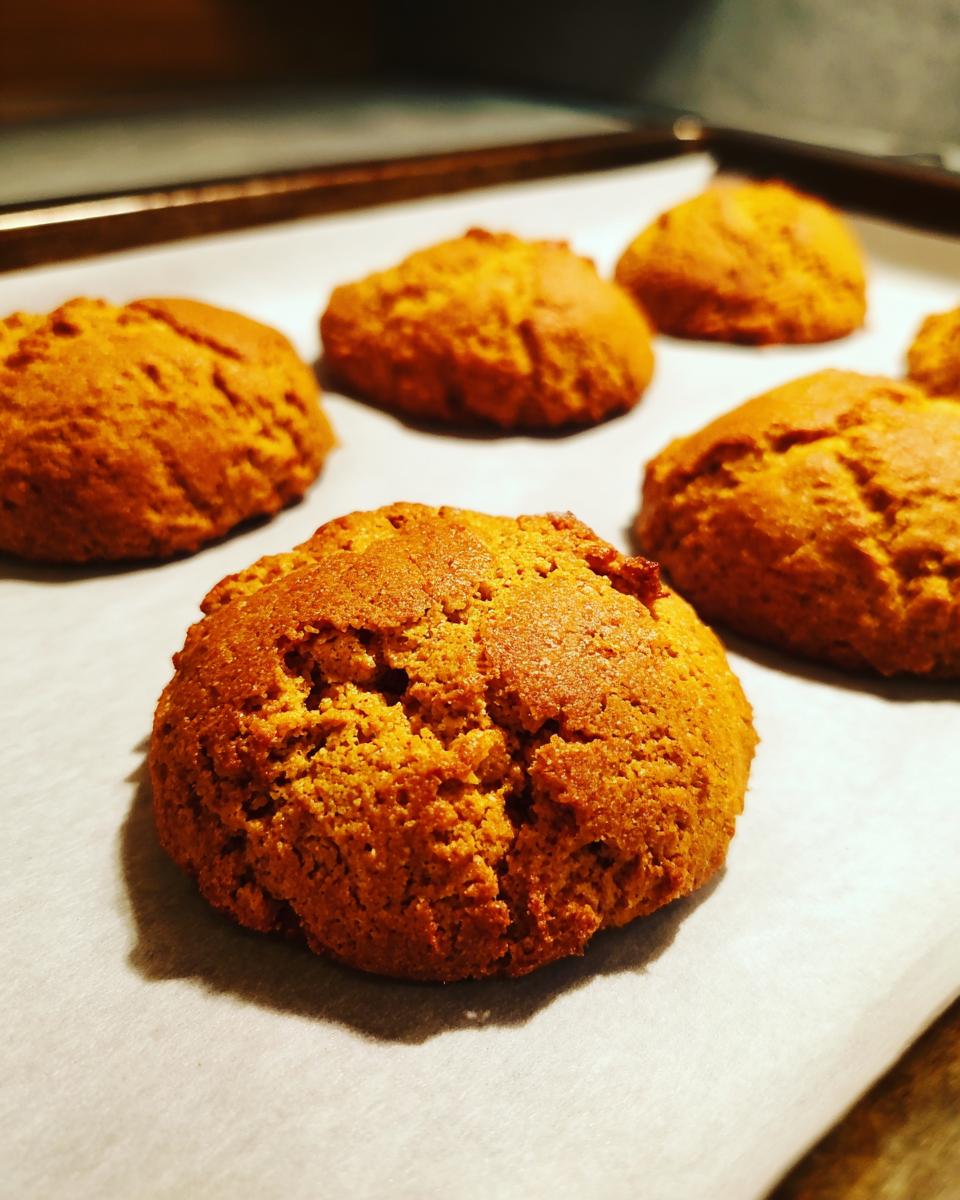
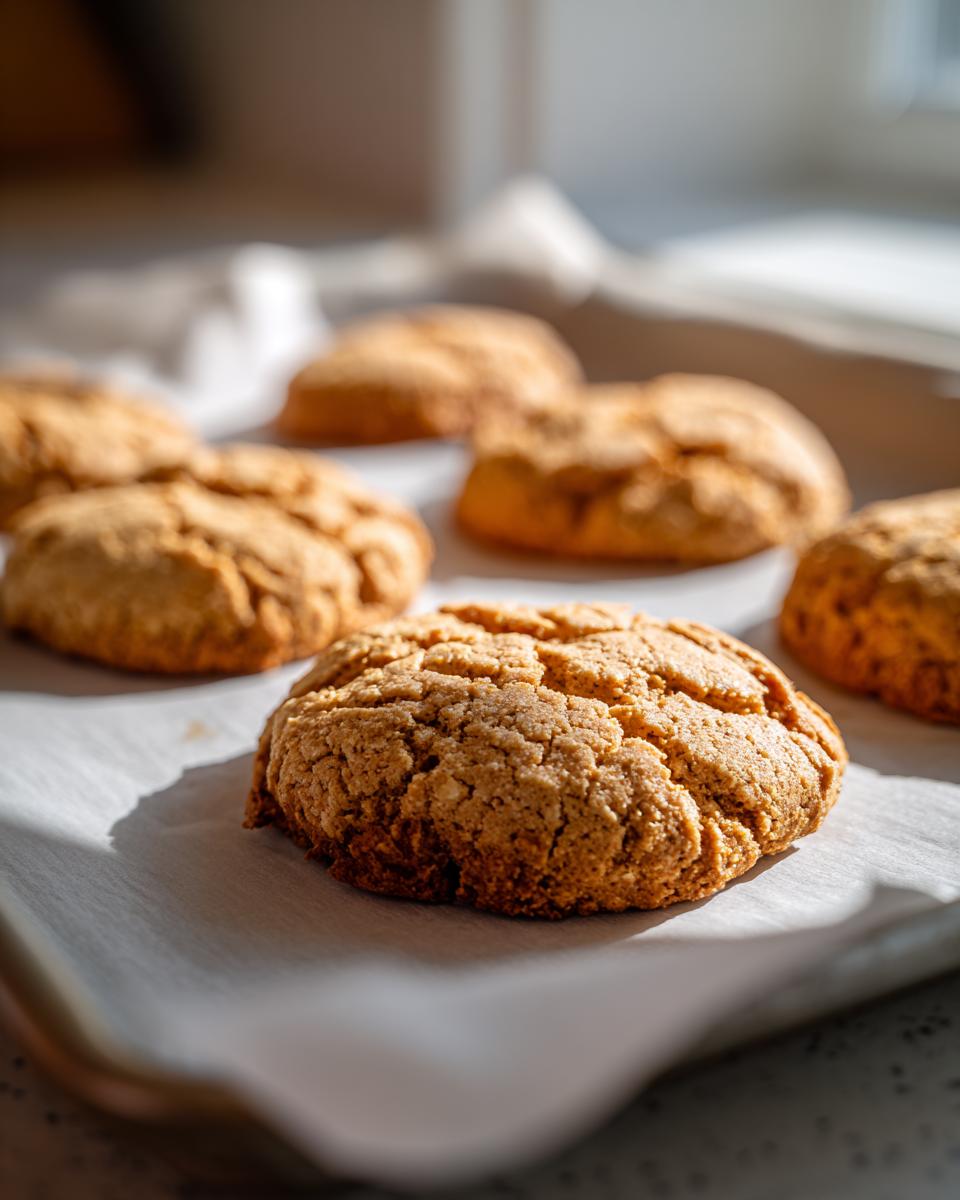
Shaping and Baking the Treats
Line a baking sheet with parchment paper (pro tip: it makes clean-up a breeze). Roll the dough into small balls—about the size of a grape—and flatten them slightly with your fingers. Spread them out on the sheet, giving them a little room to breathe. Pop them in the oven and bake for 15-20 minutes, or until they’re golden brown around the edges. Let them cool completely before handing them out—your pup will thank you!
Tips for Perfect DIY Allergy-Friendly Dog Treats
Okay, let’s make sure your treats turn out as perfect as Buddy’s! First, double-check that peanut butter—xylitol is a big no-no, and it’s sneaky, so read those labels carefully. If your dough feels too sticky (it happens!), just add a sprinkle more oat flour until it’s workable. And please, let the treats cool completely before serving—Buddy learned that the hard way! Store them in an airtight container, and they’ll stay fresh for up to a week. Trust me, your pup will thank you!
Storage and Serving Suggestions for DIY Allergy-Friendly Dog Treats
Once your treats are cool, pop them in an airtight container—Buddy’s favorite jar works great! They’ll stay fresh for up to a week, though I doubt they’ll last that long. For serving, stick to 1-2 treats a day (depending on your pup’s size). Buddy always gets one after a good walk, and he’s earned every bite!
Nutritional Information for DIY Allergy-Friendly Dog Treats
Each treat packs a healthy punch! Here’s the breakdown per treat: 50 calories, 3g fat, 2g protein, and 5g carbs. Just a heads-up—these values can vary slightly depending on your ingredients, especially the peanut butter you use. Buddy loves them, and I love knowing they’re good for him!
FAQ About DIY Allergy-Friendly Dog Treats
Got questions? I’ve got answers! Here are the things people ask me most about these treats—usually while their pups are staring longingly at the treat jar.
Can I substitute the oat flour?
Absolutely! If your pup can’t handle oats, coconut flour works great—just use about 1/3 less since it’s super absorbent. Buddy’s cousin (a very fancy poodle) does great with chickpea flour too. Just avoid regular wheat flour—that’s usually what gets our allergy pups in trouble!
How long do these treats last?
They’ll stay fresh in an airtight container for about a week. But honestly? Buddy’s never let them last that long. If you want to keep them longer, pop them in the freezer—they’ll stay good for up to 3 months. Just thaw at room temperature when your pup deserves a little reward!
My dog’s allergic to peanut butter—what can I use instead?
No worries! Sunflower seed butter is my go-to swap (just check for xylitol there too). Pumpkin puree works in a pinch—it’ll make the dough a bit stickier, but the pups don’t mind one bit. Buddy’s best friend (a peanut-free bulldog) goes crazy for the pumpkin version!
Can I make these treats bigger or smaller?
Of course! For tiny pups, make dime-sized treats and bake for 12 minutes. Big dogs? Go for quarter-sized and add 2-3 minutes to the bake time. Just keep an eye on them—you want that perfect golden color, not too dark. Buddy gets the jumbo size because… well, have you seen his puppy eyes?
Print
DIY Allergy-Friendly Dog Treats
- Total Time: 30 min
- Yield: 20 treats
- Diet: Low Lactose
Description
Simple homemade dog treats suitable for dogs with allergies.
Ingredients
- 2 cups oat flour
- 1 cup unsweetened applesauce
- 1/2 cup peanut butter (xylitol-free)
- 1 egg
Instructions
- Preheat your oven to 350°F (175°C).
- Mix oat flour, applesauce, peanut butter, and egg in a bowl until combined.
- Roll the dough into small balls and flatten them slightly.
- Place the treats on a baking sheet lined with parchment paper.
- Bake for 15-20 minutes or until golden brown.
- Let cool completely before serving.
Notes
- Store treats in an airtight container for up to a week.
- Ensure peanut butter does not contain xylitol, as it is toxic to dogs.
- Prep Time: 10 min
- Cook Time: 20 min
- Category: Pet Food
- Method: Baking
- Cuisine: N/A