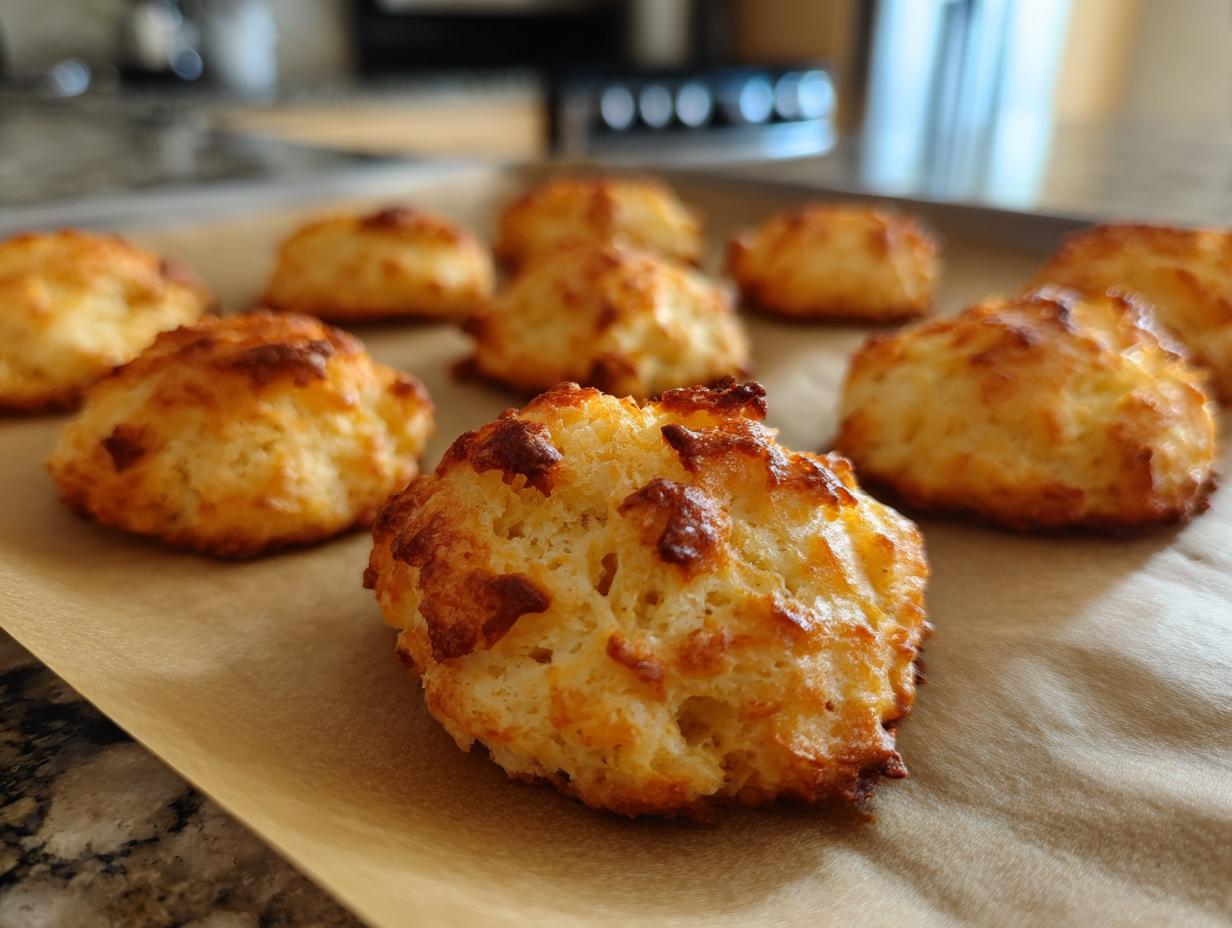
You know that sound? That satisfying little crunch when your cat bites into their favorite treat? That’s what I live for. My tabby, Whiskers, goes absolutely wild for anything with that perfect crisp texture – but store-bought treats often have mystery ingredients I don’t trust. That’s why I started making these Crunchy Oven-Baked Cat Treats at home. It all began when Whiskers turned up his nose at a pricey bag of gourmet treats, only to go nuts for the tuna-flavored biscuit I absentmindedly dropped on the floor during dinner prep. Lightbulb moment! Now I bake big batches every Sunday while my coffee brews. The best part? Watching Whiskers come running when he hears the treat jar open, knowing exactly what’s inside – those golden, crispy little bites made with love (and a whole lot of tuna breath).
Why You'll Love These Crunchy Oven-Baked Cat Treats
Trust me, these treats are a game-changer for both you and your feline friend! Here’s why they’re a must-try:
- Easy to Make: With just 5 simple ingredients and 30 minutes of your time, you’ll have a batch ready to go. Even if you’re not a baker, you can nail this recipe.
- Healthy & Wholesome: No weird preservatives or mystery fillers – just real ingredients you can feel good about feeding your cat.
- Budget-Friendly: A batch costs less than half the price of store-bought treats, and your cat will love them just as much (if not more).
- Perfect Crunch: Cats adore that satisfying crisp texture, and these treats deliver it every time. Plus, the crunch helps keep their teeth clean!
Ingredients for Crunchy Oven-Baked Cat Treats
Here’s everything you’ll need to whip up these crispy delights for your kitty. Keep it simple – I’ve tested these ratios dozens of times to get that perfect crunch!
- 1 cup whole wheat flour – This gives the treats their structure. I prefer whole wheat for extra fiber, but you can use regular if that’s what you have.
- 1/2 cup canned tuna, drained – Make sure it’s packed in water, not oil, and drain it really well. Trust me, Whiskers can smell it from across the house!
- 1 egg – Beat it lightly before adding. It helps bind everything together.
- 1 tablespoon olive oil – Just a little bit keeps the treats moist without making them greasy.
- 1/4 cup water – You’ll need this to bring the dough together. Adjust as needed – sometimes I add a teaspoon more if the dough feels dry.
How to Make Crunchy Oven-Baked Cat Treats
Alright, let’s get baking! These treats are so simple, even Whiskers could probably make them (if he had thumbs, that is). Here’s exactly how I do it every Sunday morning while my coffee’s brewing:
- Preheat your oven to 350°F (175°C). I always do this first thing – no one likes waiting for the oven to heat up when you’re ready to bake!
- Mix the dough. In a big bowl, combine the whole wheat flour, drained tuna, beaten egg, olive oil, and water. I use a fork at first, then get in there with my hands when it starts coming together. The dough should feel like playdough – not too sticky, not too dry.
- Roll it out. Flour your counter lightly and roll the dough to about 1/4 inch thickness. Pro tip: If it sticks, just sprinkle a tiny bit more flour. I use a wine bottle when my rolling pin’s dirty – works like a charm!
- Cut into pieces. Small cookie cutters are cute, but I usually just use a pizza cutter to make little squares or rectangles. About 1/2 inch size is perfect for kitty mouths. Don’t stress about perfection – cats don’t care about symmetry!
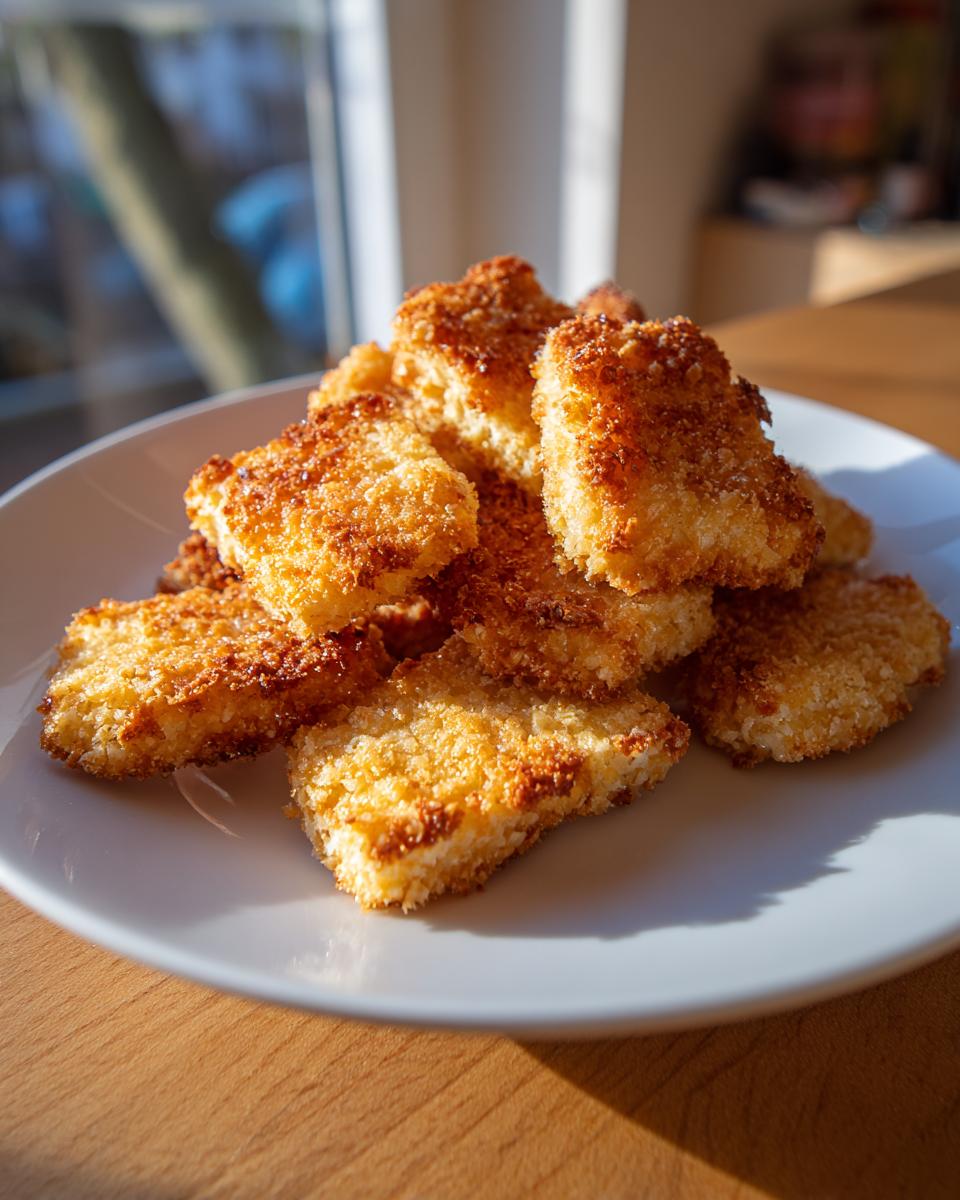
- Bake for 20 minutes on a parchment-lined baking sheet. You’ll know they’re done when your kitchen smells like a tuna bakery and the treats turn golden brown. Flip them halfway if you want extra even browning.
- Cool completely. This is the hardest part – waiting! But it’s crucial for that perfect crunch. I spread them on a wire rack so air circulates all around.
Tips for Perfect Crunchy Oven-Baked Cat Treats
After making dozens of batches (Whiskers is a very willing taste-tester), here are my best tricks:
- Want crunchier treats? Roll the dough thinner (about 1/8 inch) and bake 2-3 minutes longer. Softer? Go thicker (up to 1/2 inch) and reduce baking time slightly.
- The color test never fails – golden brown edges mean perfect doneness. If they’re still pale, give them another minute or two.
- Let them cool completely before serving! I know it’s tempting, but warm treats can be too soft and might crumble.
- Store extras in an airtight container – they’ll stay crispy for up to a week (if they last that long!).
Storage and Serving Suggestions for Crunchy Oven-Baked Cat Treats
Once your Crunchy Oven-Baked Cat Treats have cooled completely, pop them into an airtight container. I use a glass jar with a tight lid – it keeps them fresh and crispy for up to a week. Just be sure to store them in a cool, dry spot – not the fridge (it can make them soft).
When it comes to serving, moderation is key! I give Whiskers 1-2 treats as a snack or reward during playtime. Avoid overfeeding – these are treats, not meals. If you’re using them for training, break them into tiny pieces – trust me, your cat will still love them just as much!
Nutritional Information for Crunchy Oven-Baked Cat Treats
Just a quick heads up – these nutritional values are estimates and might vary slightly depending on the brands of ingredients you use. Not that Whiskers cares, but here’s the scoop per treat:
- Calories: 15
- Protein: 1g
- Fat: 0.5g
- Carbohydrates: 2g
Keep in mind, these are treats – they’re meant to be a fun little snack, not a meal replacement. Whiskers gives them two paws up, though!
FAQ About Crunchy Oven-Baked Cat Treats
Got questions? I’ve got answers! Here are the things I hear most often about these treats:
Can I use chicken instead of tuna?
Absolutely! Just swap the tuna for an equal amount of cooked, shredded chicken. Some cats prefer chicken, and Whiskers loves both. Just make sure it’s unseasoned and cooked through – no bones!
How long do these treats last?
In an airtight container, they stay fresh and crunchy for up to a week. If you want them to last longer, you can freeze them in a zip-top bag for up to a month. Just thaw at room temperature before serving.
Can I make these treats softer for senior cats?
Yes! Roll the dough a bit thicker (closer to 1/2 inch) and bake for just 15 minutes. They’ll still have a slight crunch but won’t be too hard for older kitties with sensitive teeth.
Are these treats safe for kittens?
Totally! Just break them into smaller pieces first. Kittens love the crunch too, but smaller bites make it easier for their tiny mouths.
What if my cat doesn’t like tuna?
No problem! You can try salmon, chicken, or even leave out the meat entirely – just add an extra tablespoon of olive oil for moisture. Every cat has their preferences, so feel free to experiment!
Print
Crunchy Oven-Baked Cat Treats
- Total Time: 30 min
- Yield: 20 treats
- Diet: Low Lactose
Description
Simple homemade treats for your cat, baked to a perfect crunch.
Ingredients
- 1 cup whole wheat flour
- 1/2 cup canned tuna, drained
- 1 egg
- 1 tablespoon olive oil
- 1/4 cup water
Instructions
- Preheat your oven to 350°F (175°C).
- In a bowl, mix the whole wheat flour, tuna, egg, olive oil, and water until a dough forms.
- Roll the dough out to about 1/4 inch thickness and cut into small pieces.
- Place the pieces on a baking sheet lined with parchment paper.
- Bake for 20 minutes or until golden and crispy.
- Let cool completely before serving to your cat.
Notes
- Store in an airtight container for up to a week.
- Ensure your cat has no allergies to the ingredients before serving.
- Prep Time: 10 min
- Cook Time: 20 min
- Category: Pet Food
- Method: Baking
- Cuisine: Pet