Ever watched your cat go absolutely bonkers for those store-bought treats? Wait till you see their reaction to homemade Catnip-Infused Cat Treats! My tabby, Mr. Whiskers, does this adorable little dance when he smells them baking – paws kneading the air like he’s making invisible biscuits. That’s when I knew I’d struck gold. These treats aren’t just healthier (no mystery ingredients here!), they’re packed with love. And that catnip kick? Pure feline euphoria. Trust me, once you see your cat’s eyes light up after one bite, you’ll never go back to the packaged stuff.
Why You’ll Love Making Catnip-Infused Cat Treats
Let me tell you why these little goodies are about to become your secret weapon for happy kitties:
- So easy a cat could do it (if they had thumbs) – just mix, roll, and bake!
- Way cheaper than those fancy store-bought treats – we’re talking pennies per batch
- No weird preservatives – you know exactly what’s going into your fur baby’s tummy
- Total crowd-pleaser – I’ve yet to meet a cat who doesn’t go nuts for these catnip-infused bites
- Customizable – adjust the catnip level from “mildly interested” to “full-on zoomies”
The best part? Watching your cat’s little nose twitch when they catch that first whiff of homemade goodness. Pure magic!
Ingredients for Catnip-Infused Cat Treats
Let’s talk ingredients – the simpler the better, right? These Kitty Krunchies (that’s what Mr. Whiskers calls them in his dreams) need just a handful of basics, and I bet you’ve got most of them already. Here’s what you’ll need:
- 1 cup whole wheat flour – keeps it healthy and gives the treats a nice texture
- 1/4 cup dried catnip – the magic ingredient that’ll have your cat purring for more
- 1/4 cup water – just enough to bring the dough together
- 1 egg – lightly beaten for a little extra protein boost
- 1 tablespoon olive oil – keeps the treats moist and easy to bite
That’s it! No fancy gadgets, no hard-to-find ingredients – just simple, wholesome stuff that even the pickiest cats can’t resist. Make sure everything’s fresh and ready to go, and you’re halfway to feline treat heaven!
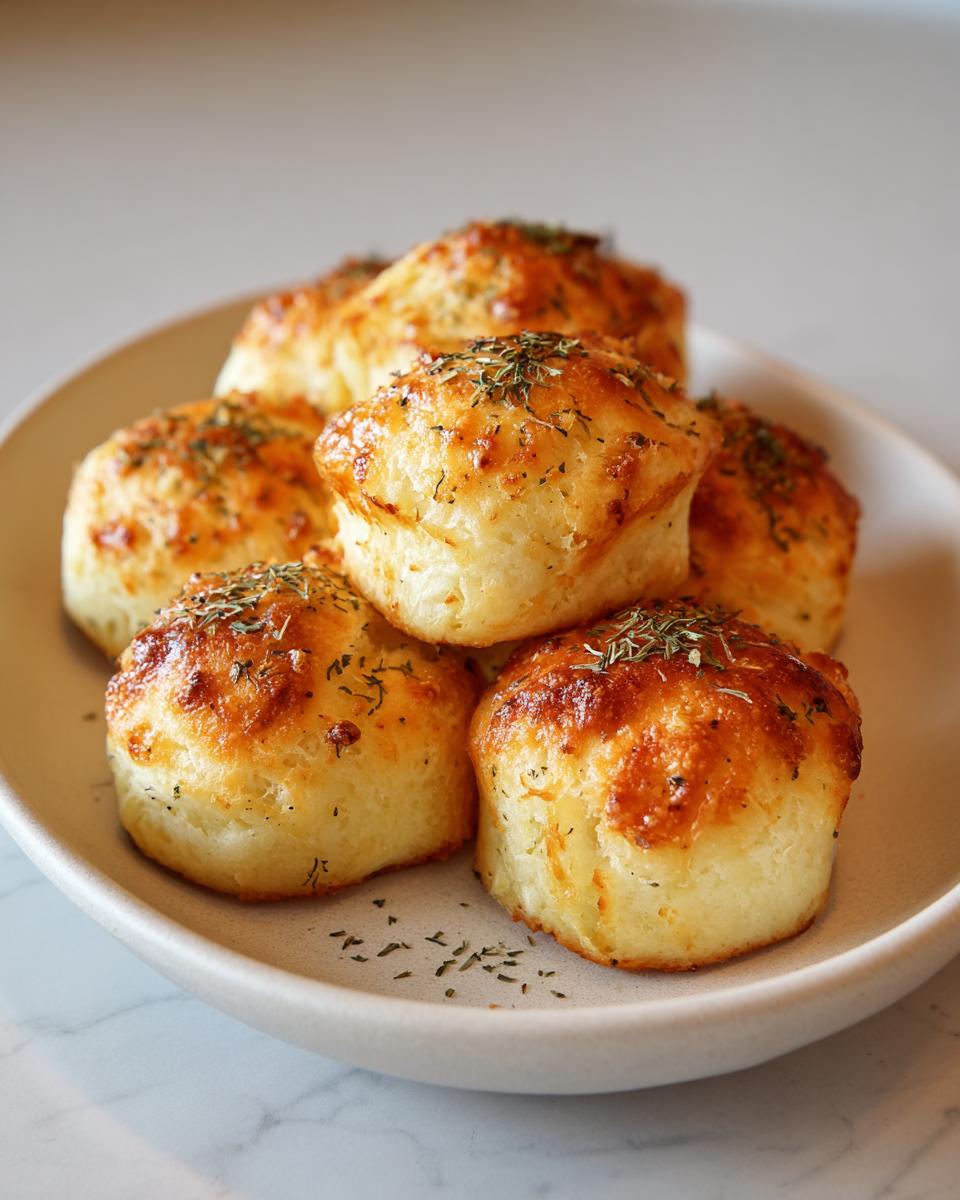
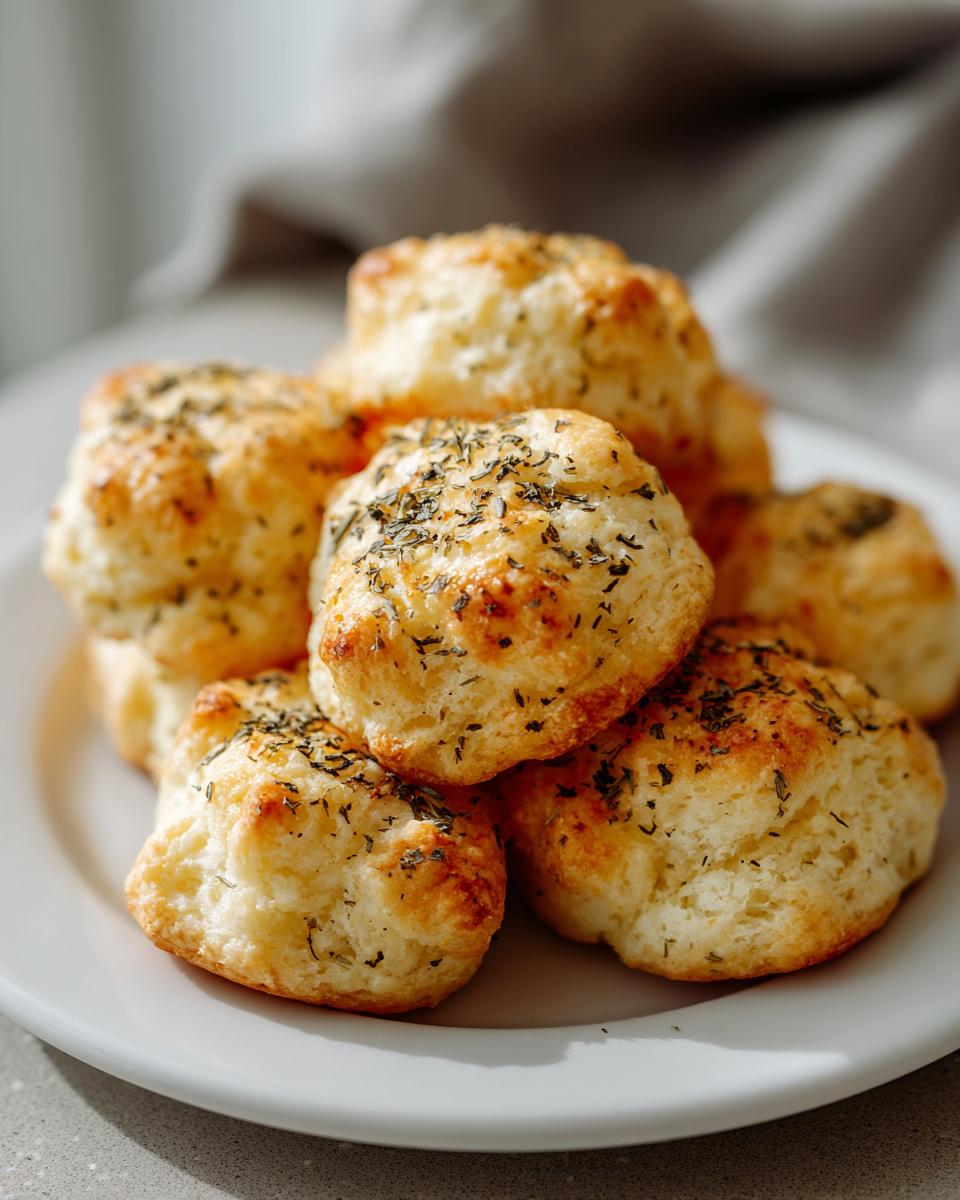
How to Make Catnip-Infused Cat Treats
Alright, let’s get to the fun part – making these catnip-infused treats! Trust me, it’s so easy even your cat could do it (if they had opposable thumbs). Here’s the step-by-step breakdown to create purr-fect little bites:
1. Preheat your oven: Start by heating your oven to 350°F (175°C). This gives it time to get nice and toasty while you prep the dough.
2. Mix the dry ingredients: In a bowl, combine the whole wheat flour and catnip. Give it a good whisk to make sure the catnip is evenly distributed – we don’t want any “hot spots” that might send your cat into overdrive!
3. Add the wet ingredients: Now, pour in the water, olive oil, and the egg. Mix it all together until it forms a dough. If it feels too dry, add a splash more water. Too sticky? A teaspoon of flour should do the trick.
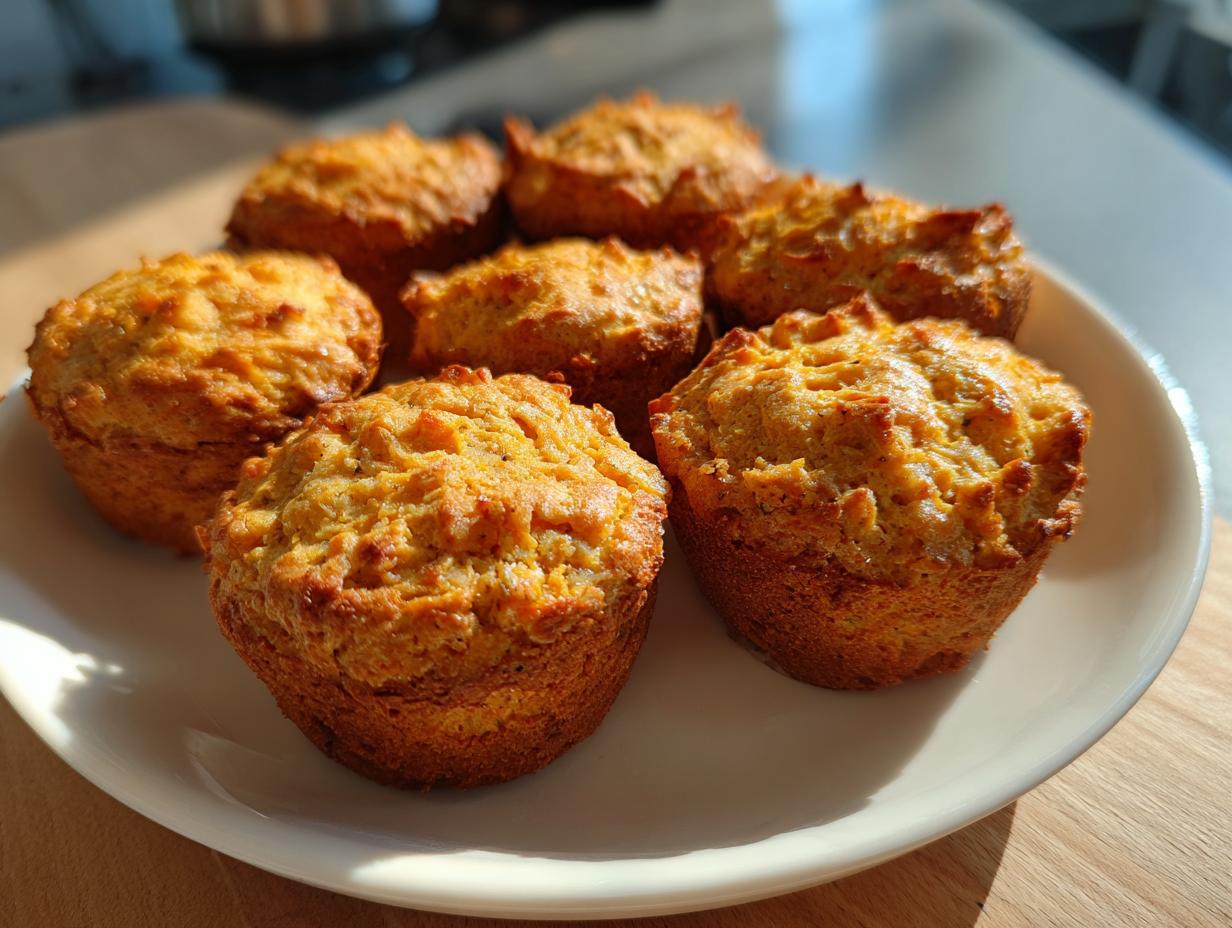
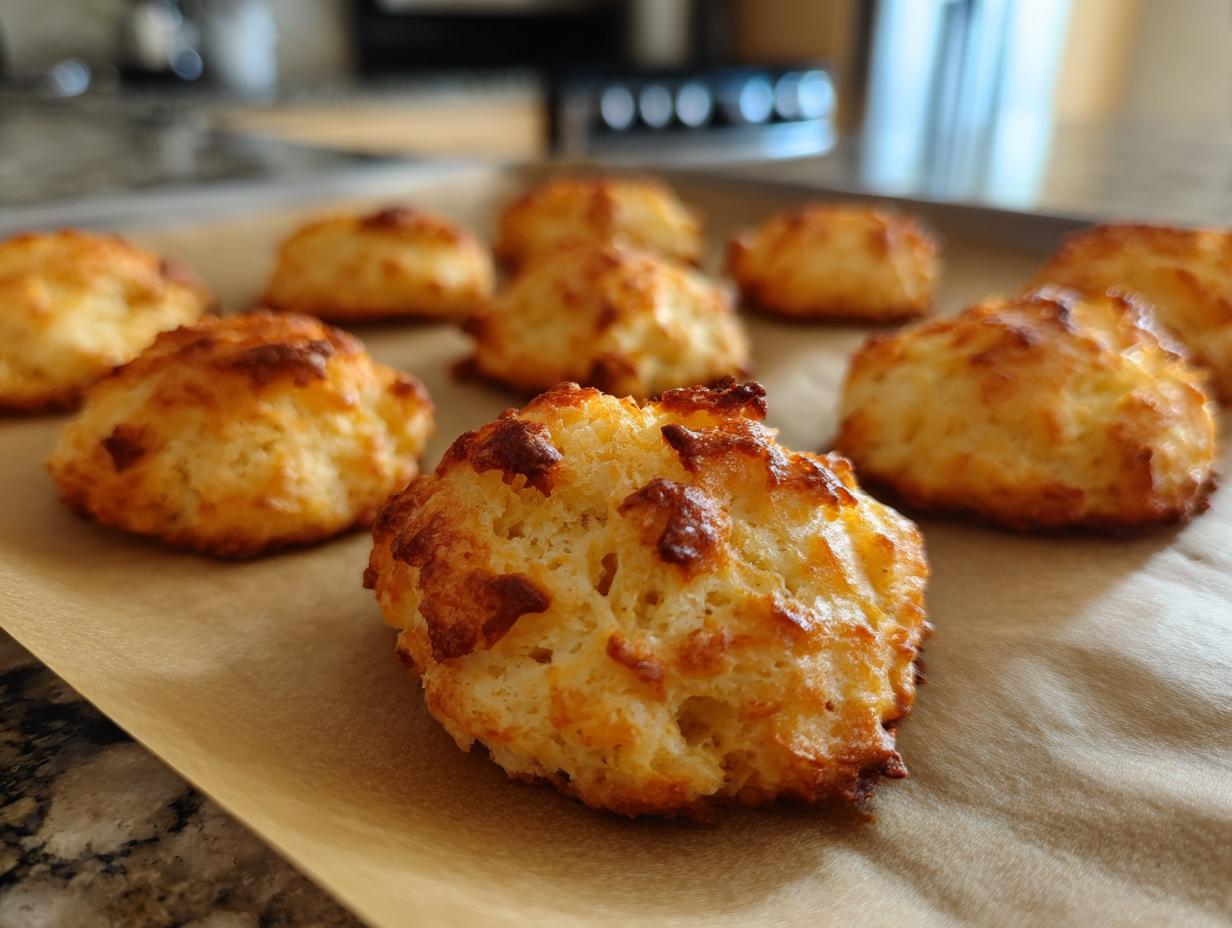
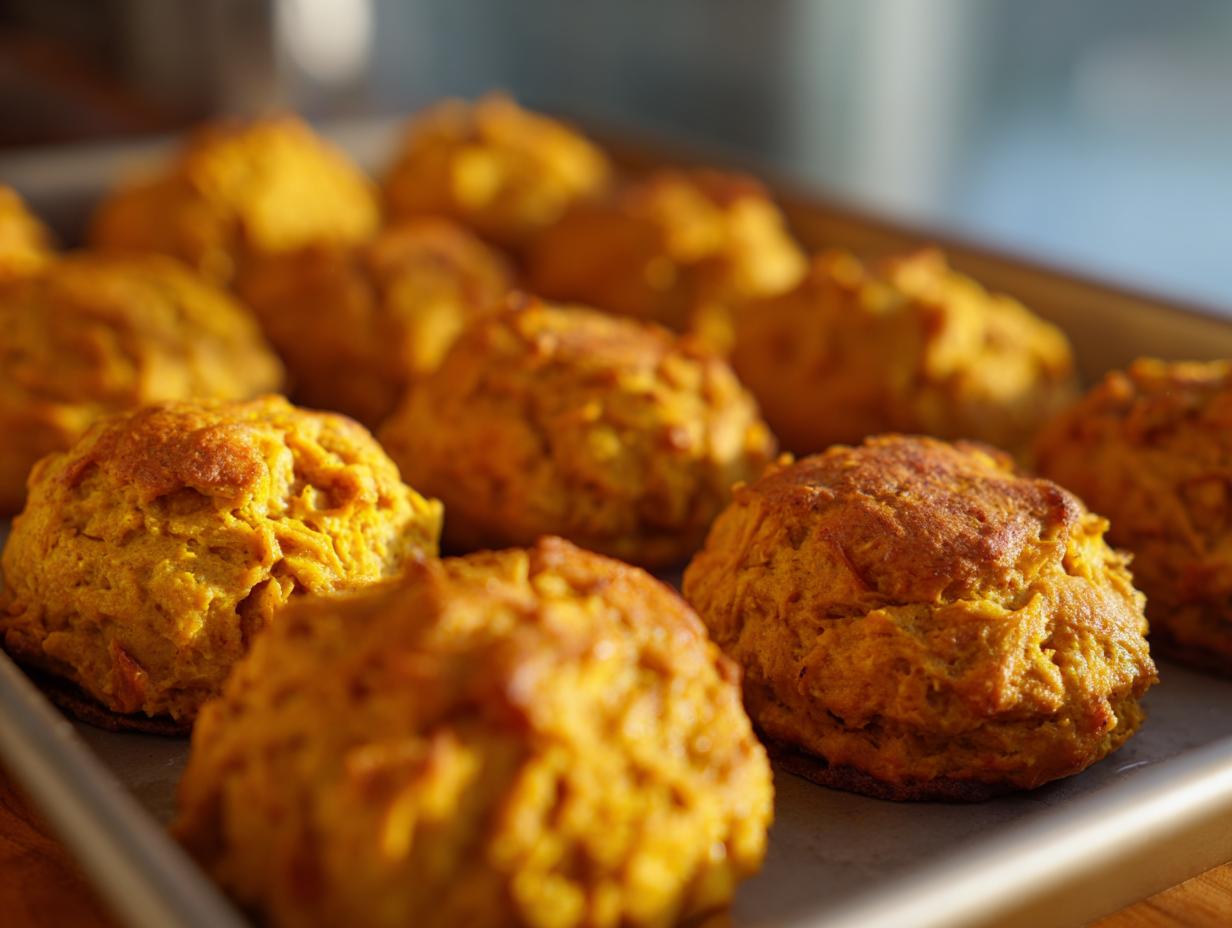
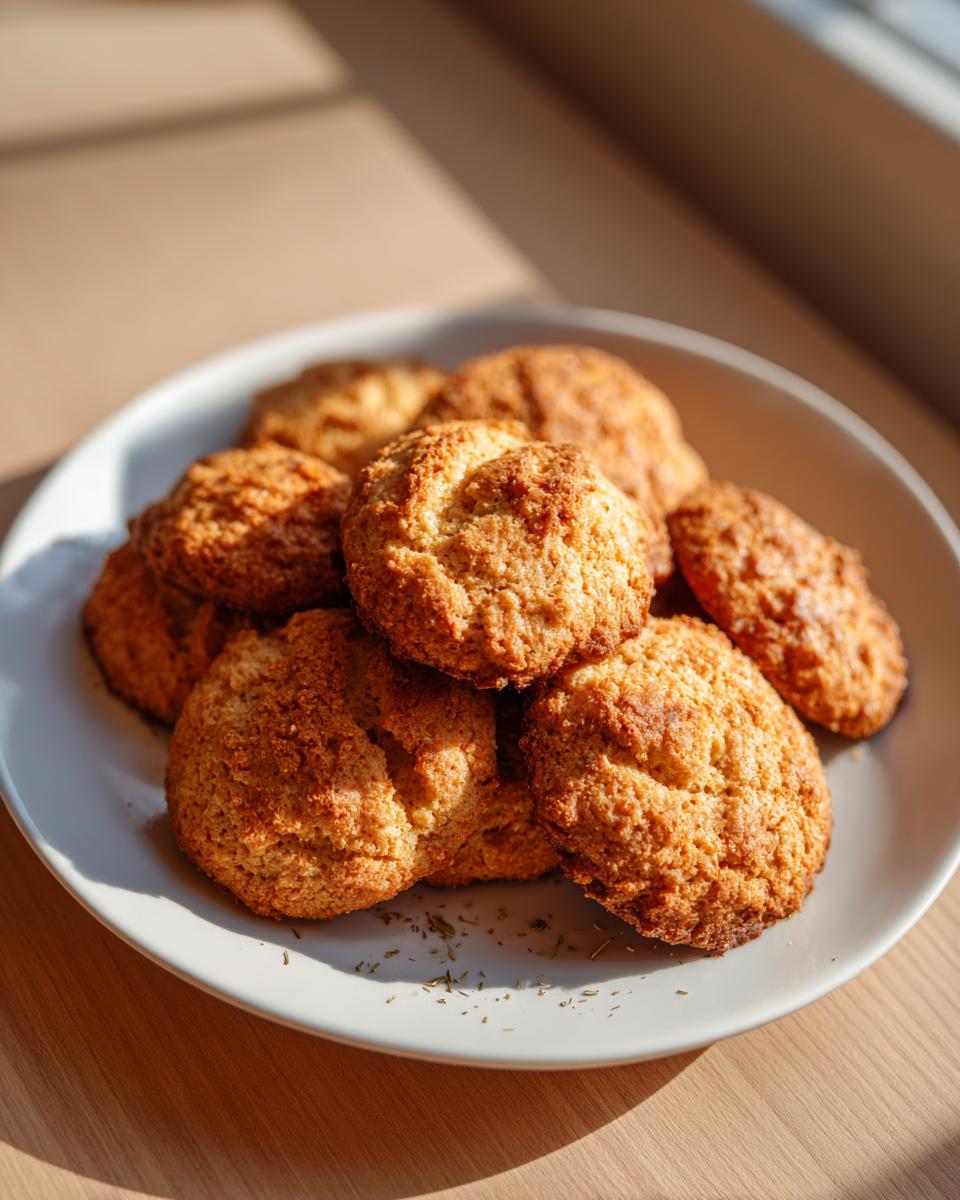
4. Roll and shape:Once your dough is ready, pinch off small pieces and roll them into little balls. Flatten them slightly with your fingers – think mini cookie-sized treats. Pro tip: If your cat likes smaller bites, go for pea-sized pieces instead.
5. Bake! Place your treats on a baking sheet lined with parchment paper. Pop them in the oven for 10-12 minutes. Keep an eye on them – you want them golden but not too brown.
6. Cool completely: Let the treats cool completely before serving. Your cat will thank you (or maybe just dive in without manners)!
That’s it! You’ve just made homemade Catnip-Infused Cat Treats. Now, brace yourself for the ultimate cat excitement – I’m talking purrs, headbutts, and maybe even a little dance. Happy baking!
Tips for Perfect Catnip-Infused Cat Treats
After making dozens of batches (Mr. Whiskers insists on quality control), I’ve picked up some purr-fect tricks to nail these treats every time:
- Catnip control is key – Start with 1/4 cup, but feel free to adjust. Some cats prefer a light buzz, others want the full catnip experience!
- Patience pays off – Let those treats cool completely before serving. Warm ones crumble too easily and might burn sensitive kitty tongues.
- Storage smarts – Keep them in an airtight container at room temperature. They’ll stay fresh for about a week… if your cat lets them last that long!
- Size matters – Smaller cats and kittens do better with pea-sized treats, while big cats can handle the full cookie size.
Remember, every cat’s different – what sends one into bliss might leave another indifferent. That’s the fun of homemade treats – you get to learn exactly what makes your furball tick!

Storing and Serving Catnip-Infused Cat Treats
Once you’ve baked these little goodies, keep them fresh by storing them in an airtight container at room temperature. They’ll last up to a week – though let’s be honest, your cat probably won’t let them stick around that long! I love using these treats as rewards during training or just as a special “I love you” snack. Sometimes, I’ll even hide them around the house for a fun little scavenger hunt. Trust me, your cat will adore these moments as much as the treats themselves!
Nutritional Information for Catnip-Infused Cat Treats
Let’s talk numbers! Each of these little catnip-infused treats packs a nutritional punch that’ll keep your kitty happy and healthy. Here’s the breakdown per treat (about the size of a pea):
- Calories: 15
- Fat: 0.5g
- Protein: 0.5g
- Carbs: 2g
- Fiber: 0.2g
Now, here’s the thing – these numbers might wiggle a bit depending on your exact ingredients. Different brands of flour or catnip can change things slightly. But no worries! What matters most is that you’re giving your cat wholesome, homemade goodness without any of the mystery ingredients in store-bought treats. That’s what I call a win-win!
FAQs About Catnip-Infused Cat Treats
Got questions about making these purr-fect treats? Don’t worry, I’ve got you covered! Here are some common questions I’ve heard (and answered) while perfecting these little bites:
Can I use gluten-free flour?
Absolutely! If your cat has a sensitivity to gluten, feel free to swap the whole wheat flour for a gluten-free alternative like oat flour or rice flour. Just keep an eye on the dough’s consistency – you might need a little more or less water depending on the flour you choose.
How much catnip is safe for my cat?
Great question! The recipe calls for 1/4 cup, but you can adjust it based on your cat’s tolerance. Some cats are happiest with just a pinch, while others can handle a bit more. Start small and work your way up – you’ll know when you’ve hit the sweet spot (usually accompanied by lots of purring and zoomies).
Can I freeze these treats?
You bet! If you’ve made a big batch, pop them in an airtight container or freezer bag. They’ll stay fresh for up to 3 months. Just thaw at room temperature before serving. Easy peasy!
What if my cat doesn’t like catnip?
No worries – not all cats are catnip fans. Try swapping the catnip for a sprinkle of parsley or a dash of tuna juice instead. Every cat has their thing, so experiment until you find what makes their tail wag (or, you know, flick lazily).
Still got questions? Drop me a comment – I’m always here to help you make the best treats for your furball!
Share Your Catnip-Infused Cat Treats Experience
Okay, I need to see your cats going wild for these treats! Snap a pic of your furball mid-zoomies or blissed out in a catnip coma and tag me #CatnipTreatAdventures. Better yet, drop a comment below telling me what crazy antics your kitty pulled after tasting them. Did they do the sideways crab walk? The dramatic flop-and-roll? Mr. Whiskers and I can’t wait to hear your stories – let’s make this a purr-ty!
Print
Catnip-Infused Cat Treats
- Total Time: 22 min
- Yield: 20 treats
- Diet: Vegetarian
Description
Simple homemade treats for cats infused with catnip.
Ingredients
- 1 cup whole wheat flour
- 1/4 cup catnip
- 1/4 cup water
- 1 egg
- 1 tbsp olive oil
Instructions
- Preheat your oven to 350°F (175°C).
- Mix the flour and catnip in a bowl.
- Add the water, egg, and olive oil. Stir until a dough forms.
- Roll the dough into small balls and flatten them slightly.
- Place the treats on a baking sheet and bake for 10-12 minutes.
- Let them cool before serving.
Notes
- Store in an airtight container for up to a week.
- Adjust the amount of catnip based on your cat’s preference.
- Prep Time: 10 min
- Cook Time: 12 min
- Category: Pet Food
- Method: Baking
- Cuisine: N/A