You know that look your cat gives you when you open a can of tuna? That’s exactly why I started making these 3-Ingredient Tuna Cat Treats. My orange tabby, Oliver, goes absolutely wild for them – and I love knowing exactly what’s in his snacks. No mystery ingredients, no preservatives, just simple, wholesome goodness. The best part? You probably have everything you need in your pantry right now. I stumbled upon this recipe when I ran out of store-bought treats one night, and now it’s our go-to. Trust me, if your kitty’s anything like mine, these little tuna bites will become their new favorite thing.

Why Your Cat Will Love These 3-Ingredient Tuna Cat Treats
Let me tell you why these little tuna bites are a total game-changer for kitty snack time. First off – that irresistible tuna smell? It’s like catnip in treat form. My Oliver comes running from two rooms away when I open the container. But beyond the drool-worthy flavor, here’s what makes them special:
- Simple & safe – Just tuna, egg, and flour means no weird chemicals or mystery ingredients
- Protein-packed – That canned tuna gives them a healthy boost of omega-3s
- Perfect texture – Chewy enough to satisfy, but soft enough for older cats too
- Budget-friendly – Way cheaper than store-bought treats (and honestly, better quality)
I’ve tried dozens of homemade cat treat recipes, but this 3-ingredient version is the one my picky eater actually finishes every time. The way his whiskers twitch when he smells them? Priceless.
Ingredients for 3-Ingredient Tuna Cat Treats
Okay, let’s talk ingredients – and yes, there really are just three! But here’s the thing: the quality matters. I learned this the hard way when I once grabbed the wrong tuna and Oliver turned up his nose (cats, right?). Here’s exactly what you’ll need:
- 1 can tuna in water, drained – Stick with water-packed, not oil. Trust me, the oil makes the dough weirdly sticky. And skip the fancy flavored kinds – plain tuna is perfect.
- 1 egg – This is our magic binder. Large eggs work best, but any size will do in a pinch.
- 1 cup whole wheat flour – I use whole wheat for extra fiber, but regular all-purpose works if that’s what you’ve got. Just don’t use self-rising – the baking powder isn’t cat-friendly.
That’s it! No fancy equipment either – just a bowl, a fork, and your hands. Easy peasy.
How to Make 3-Ingredient Tuna Cat Treats
Alright, let’s get down to business – this is where the magic happens! Don’t worry, it’s super easy. Even if you’re not a baker, you’ve got this. Here’s exactly how to make those irresistible tuna treats your cat will adore:
Step 1: Preheat your oven to 350°F (175°C). This is crucial – you want the oven ready to go so your treats bake evenly. Trust me, impatient cats don’t like waiting for undercooked snacks!
Step 2: Grab your drained tuna, egg, and flour, and mix them all together in a bowl. It might look dry at first, but keep mixing – the dough will come together. Pro tip: Use a fork at first, then switch to your hands when it gets thicker. It’s messy but fun!
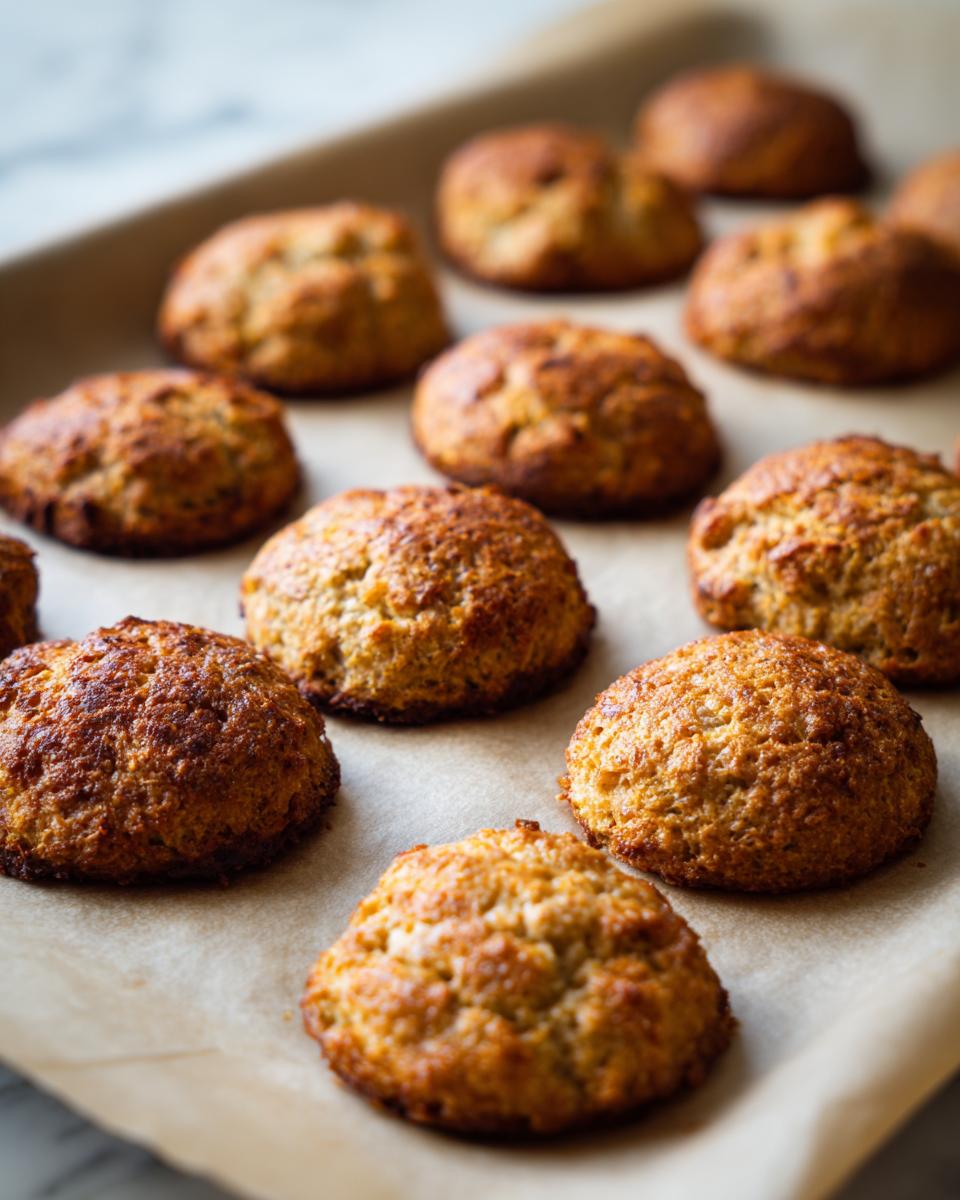
Step 3: Roll the dough into small balls – I make mine about the size of a blueberry – and flatten them slightly. Bonus points if you can get them uniform, but don’t stress – cats aren’t picky about aesthetics.
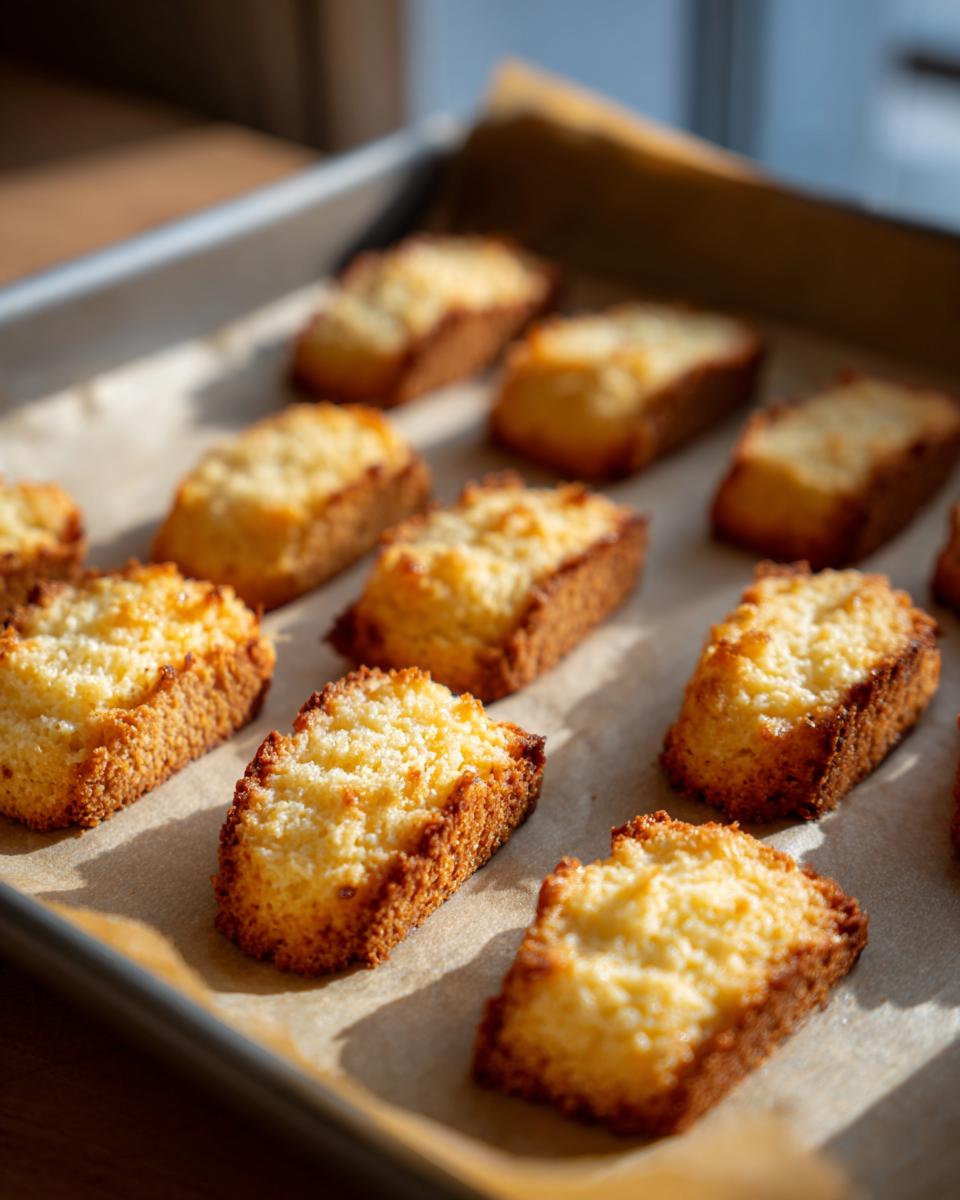
Step 4: Place your treats on a baking sheet lined with parchment paper. Give them a little space so they don’t stick together. You’re almost there!
Step 5: Bake for 15 minutes or until they’re firm to the touch. Don’t overbake – you want them chewy, not crunchy. I always set a timer because, well, attention spans.
Step 6: Let them cool completely before serving. This part is torture for your cat (and maybe you), but hot treats are a no-go. Once they’re cool, watch your kitty go wild!
And that’s it – you’ve just made homemade cat treats that’ll make you feel like a kitchen rockstar. Oliver gives them two paws up!
Tips for Perfect 3-Ingredient Tuna Cat Treats
Making these tuna treats is pretty foolproof, but I’ve learned a few tricks to make them even better over the years. First, don’t skimp on mixing – you really want that dough to come together smoothly. If it feels too dry, splash in a teaspoon of water from the tuna can (Oliver loves that extra tuna flavor!).
For smaller cats or kittens, roll the treats even tinier – think pea-sized. They’ll still get the same great taste, but in portions perfect for their little mouths. And here’s a tip I learned the hard way: don’t forget the parchment paper! It makes cleanup a breeze and keeps the treats from sticking.
Oh, and when baking, keep an eye on them around the 12-minute mark – every oven is different, and you want that perfect chewy texture, not crispy. Last thing: let them cool completely before storing. Warm treats can make the container steamy, and nobody wants soggy snacks!
Storing and Freezing 3-Ingredient Tuna Cat Treats
Freshly baked tuna treats keep beautifully in the fridge for up to a week – just pop them in an airtight container. Trust me, your cat will still smell that irresistible tuna scent every time you open it! If you’ve made a big batch (lucky kitty!), freezing is super easy. I use a small freezer bag or container, and they stay fresh for up to 3 months. To serve, just thaw a few at room temperature for about 30 minutes. Oliver’s never noticed they’ve been frozen – he’s too busy devouring them!
Nutritional Information for 3-Ingredient Tuna Cat Treats
Wondering what’s in these tasty tuna treats? Each little bite packs about 25 calories, with 2 grams of protein – perfect for a quick energy boost for your kitty. They’re low in fat (about 1 gram per treat) and carbs (just 2 grams), making them a healthy snack option. Plus, with only 10 mg of sodium, they’re gentle on your cat’s system. Of course, nutritional values may vary slightly depending on the brands of tuna and flour you use. But one thing’s for sure – they’re totally wholesome!
FAQs About 3-Ingredient Tuna Cat Treats
Got questions? Don’t worry – I’ve got answers! Here are some common things people ask about these super simple tuna treats:
Can I use canned tuna in oil instead of water?
You can, but I don’t recommend it. Tuna packed in water works better for the dough – oil makes it greasy and harder to handle. Plus, cats don’t need the extra fat. Trust me, Oliver goes wild for water-packed tuna just as much!
What if I don’t have whole wheat flour?
No problem! Regular all-purpose flour works fine, but avoid self-rising flour – the baking powder isn’t safe for cats. Some people even use oat flour or coconut flour if their cat has wheat sensitivities. Just keep an eye on the dough texture because different flours absorb moisture differently.
How many treats can I give my cat per day?
Treats should only make up about 10% of your cat’s daily calories. For most cats, 2-3 treats a day is perfect. Oliver usually gets two – one in the morning and one as a bedtime snack. Too many can fill them up and spoil their appetite for regular meals.
Can I make these treats bigger or smaller?
Absolutely! I make mine small – about blueberry-sized – but you can adjust based on your cat’s preferences. Smaller cats or kittens might do better with pea-sized treats, while bigger cats might enjoy slightly larger ones. Just adjust the baking time accordingly.
What’s the best way to store these treats?
Keep them in an airtight container in the fridge for up to a week. If you want to make a big batch, freezing is super easy – they stay fresh for up to 3 months in the freezer. Just thaw a few at room temperature before serving. Easy peasy!

Share Your Experience with 3-Ingredient Tuna Cat Treats
I’d love to hear how your cat enjoyed these tuna treats! Did they go crazy like Oliver does? Leave a comment below, or share a photo of your kitty enjoying them on social media. Tag me so I can see their happy whiskers! Rating the recipe helps other cat parents find it too. Let’s spread the tuna love – one happy kitty at a time!
Print
3-Ingredient Tuna Cat Treats
- Total Time: 25 min
- Yield: 20 treats
- Diet: Low Lactose
Description
Simple homemade treats for cats using tuna and two other ingredients.
Ingredients
- 1 can tuna in water, drained
- 1 egg
- 1 cup whole wheat flour
Instructions
- Preheat your oven to 350°F (175°C).
- Mix the tuna, egg, and flour in a bowl until combined.
- Roll the dough into small balls and flatten them slightly.
- Place the treats on a baking sheet lined with parchment paper.
- Bake for 15 minutes or until firm.
- Let them cool before serving.
Notes
- Store in an airtight container in the fridge for up to a week.
- You can freeze extras for later use.
- Prep Time: 10 min
- Cook Time: 15 min
- Category: Pet Food
- Method: Baking
- Cuisine: N/A