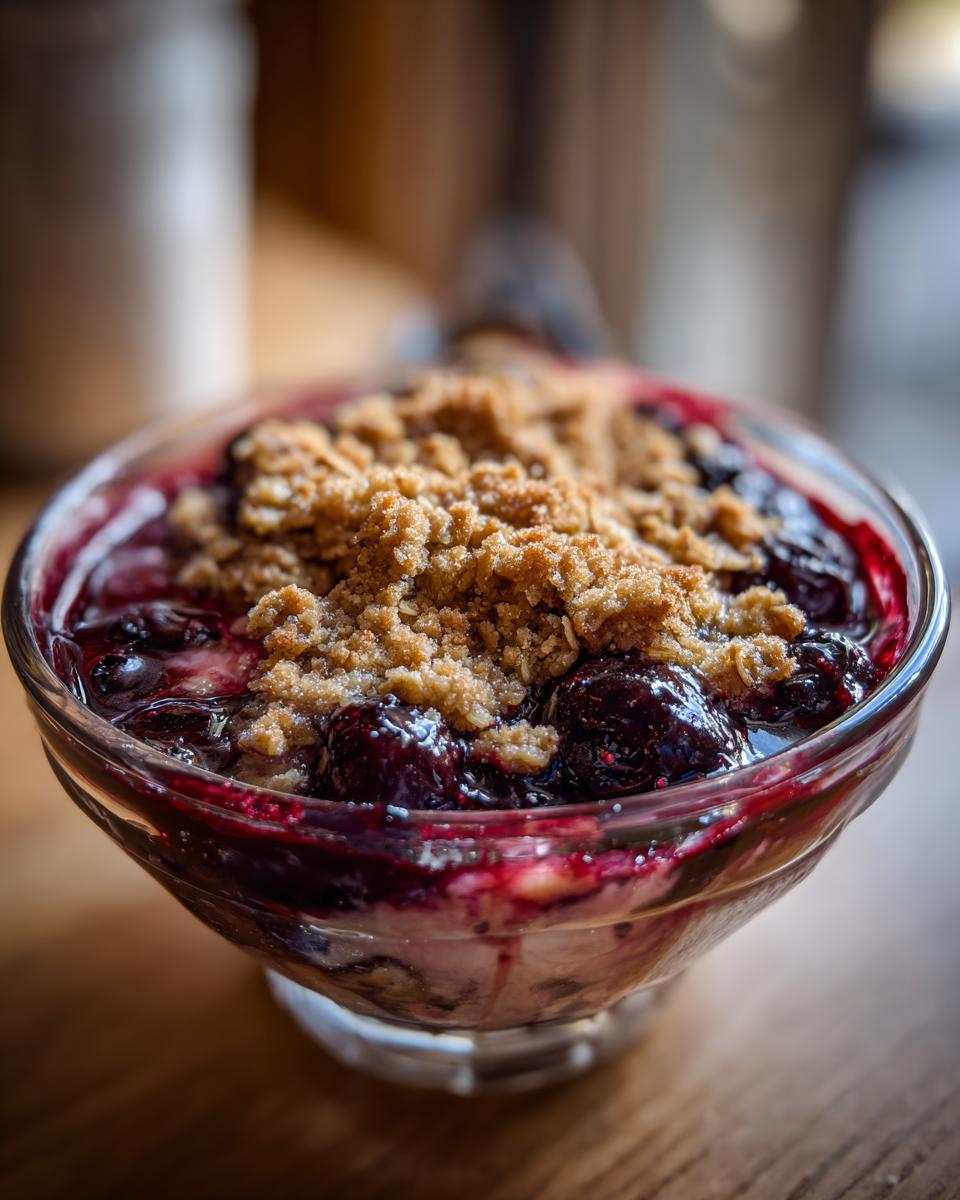
Oh my goodness, let me tell you about this *Cherry Berry Crisp*! Seriously, it’s summer in a dish, and so incredibly easy, you won’t believe it. I made this for my family last weekend, and let me tell you, it was gone in minutes! I swear, the only thing better than the smell of it baking is the first bite, all warm and bubbly with that sweet-tart fruit and crunchy oat topping. My grandma used to make something similar when I was a kid, and this recipe totally brings back those cozy memories. Plus, it’s so adaptable! You can use whatever berries and cherries you have on hand – it’s practically foolproof. And hey, it’s the perfect dessert for any occasion! Whether it’s a weeknight treat or a crowd-pleaser for a party, this *Cherry Berry Crisp* is your new go-to.
Why You’ll Love This Easy *Cherry Berry Crisp*
Okay, friends, let me tell you why this *Cherry Berry Crisp* is going to become your new favorite. Seriously, it’s a winner!
- It’s ridiculously quick to make, like, faster than ordering takeout!
- The flavors are just *amazing* – sweet, tart, and totally satisfying.
- You can use any mix of berries and cherries you love, so it’s super versatile.
- It’s perfect for any occasion, from a casual weeknight dessert to a fancy dinner party (shhh… I won’t tell!).
- Leftovers (if there are any!) are just as yummy the next day.
Trust me, you’re going to be obsessed!
Ingredients for the Best *Cherry Berry Crisp*
Alright, let’s talk about the good stuff – the ingredients! Fresh, high-quality ingredients are *key* here, people. They’re what takes this *Cherry Berry Crisp* from “okay” to “OMG, I need another slice!” I always say, if you start with great stuff, you’re already halfway there!
For the Fruit Filling:
You’ll need about 6 cups of mixed fruit for this part. Now, you can totally customize this to your liking! I love a mix of sweet cherries (pitted, of course – safety first, friends!) and a blend of juicy berries, like raspberries, blueberries, and blackberries. Wash them gently and make sure your cherries are pitted, then add them all to the dish – easy peasy.
For the Crisp Topping:
This is where the magic happens! For the crumble, you’ll need ¾ cup of all-purpose flour, ¾ cup of rolled oats (the old-fashioned kind, not instant!), and ¾ cup of packed light or dark brown sugar. Honestly, I love dark brown sugar for that extra bit of caramel-y goodness. Next up, you’ll need ½ cup (that’s one stick!) of cold, unsalted butter, cut into little pieces. And a little pinch (¼ teaspoon) of salt to balance all those sweet flavors! Yum!
How to Make a Delicious *Cherry Berry Crisp*: Step-by-Step Instructions
Okay, so here’s the fun part – actually making this *Cherry Berry Crisp*! Don’t you worry, it’s way easier than it looks, I promise. Just follow these simple steps, and you’ll have a warm, bubbly dessert in no time. Let’s get baking!
Prepping the Oven and Fruit
First things, first: Preheating! You’ll want to get your oven nice and hot at 375°F (190°C). While that’s warming up, grab your baking dish. Now, toss your cherries and berries in a bowl (careful not to mash them!). You can add a little bit of sugar here if you like, maybe a tablespoon or two, depending on how sweet your fruit is. Give it a gentle mix to coat the fruit evenly. You got this!
Making the Crisp Topping
Alright, time to get that amazing crisp topping ready. In a medium bowl, combine your flour, oats, brown sugar, and salt. Whisk it all together. Now comes the fun part: adding the butter! You can use a pastry blender if you have one, but I usually just use my fingers. Just work the cold butter into the dry ingredients until the mixture looks like coarse crumbs. You want it to be nice and evenly combined like slightly textured. It’s the perfect crumble consistency when it’s done!
Assembling and Baking the *Cherry Berry Crisp*
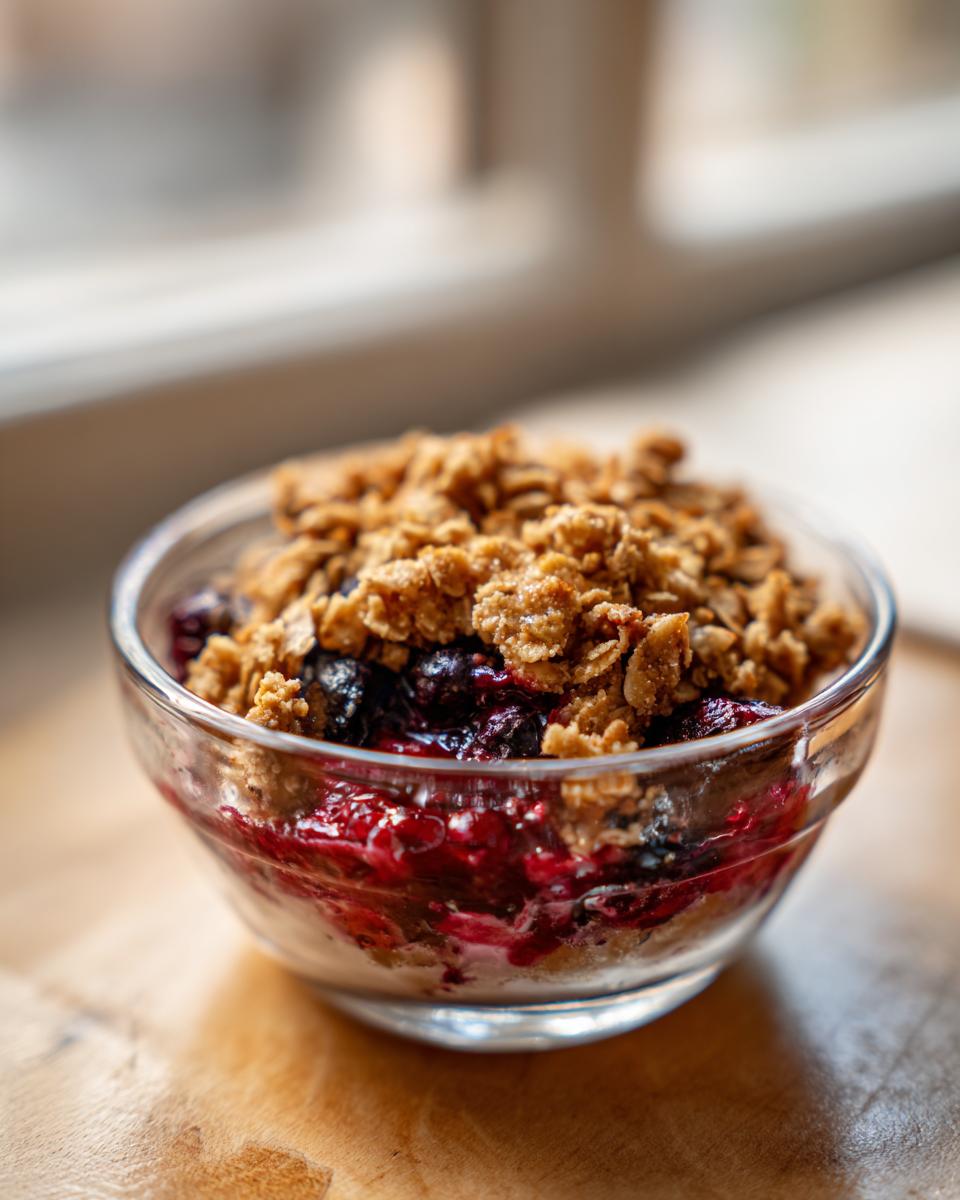
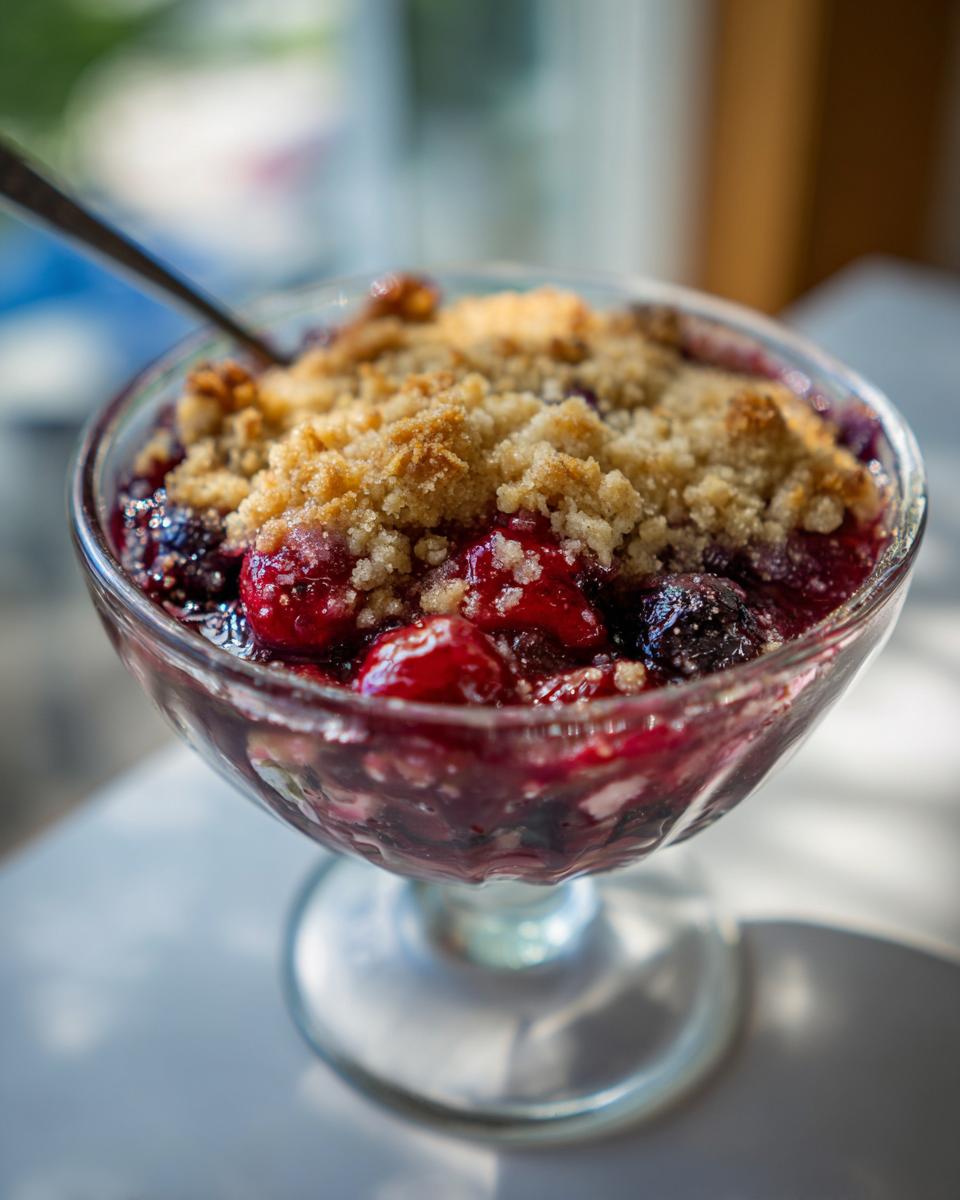
Okay, now for the grand finale! Pour your fruit mixture into your baking dish. Then, evenly sprinkle that delicious oat topping all over the fruit. Make sure you get it all covered! Pop this beauty into your preheated oven and bake for about 35-40 minutes. You’ll know it’s done when the topping is a gorgeous golden brown and the fruit is bubbling up around the edges. Keep an eye on it – ovens can vary!
Cooling and Serving Your *Cherry Berry Crisp*
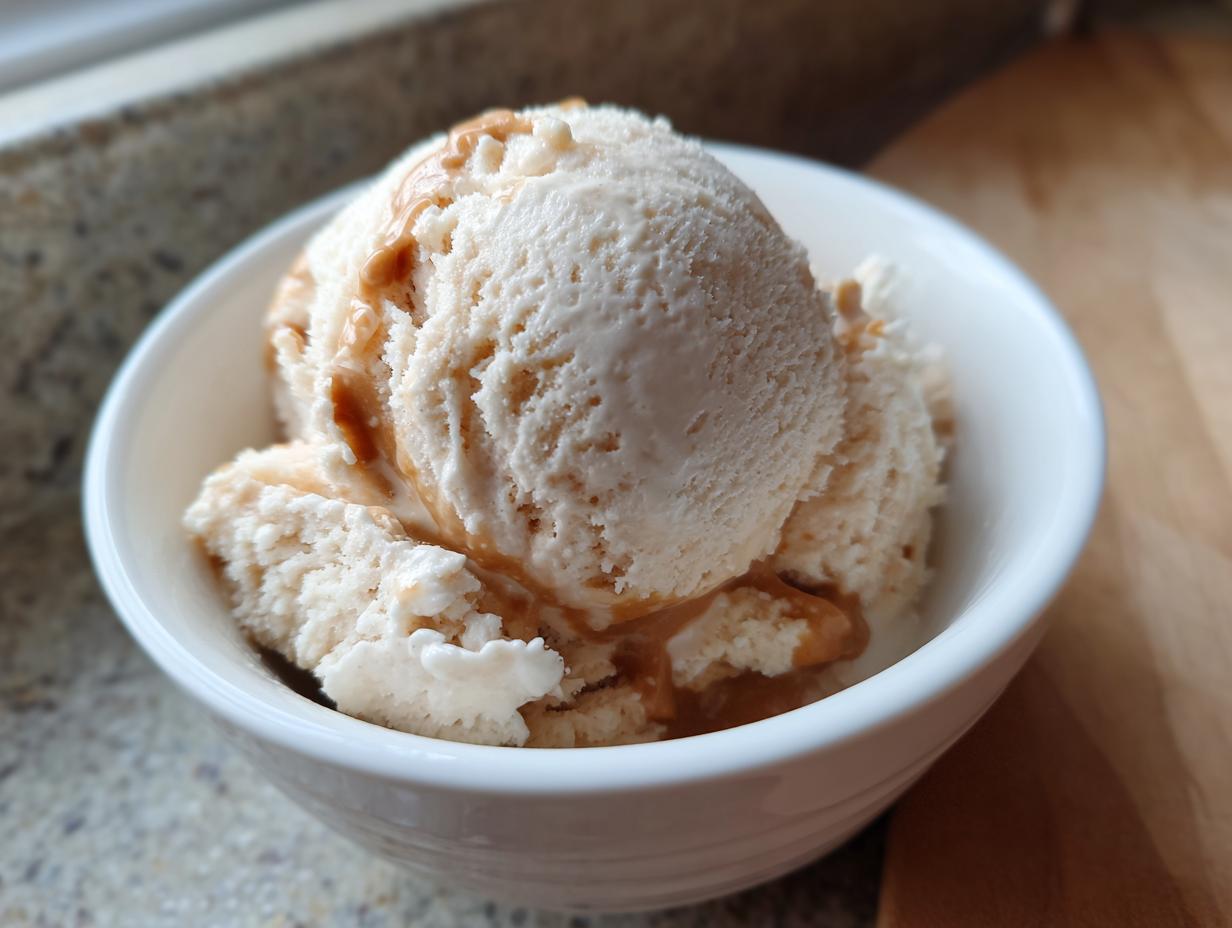
Now, this is the hardest part: letting it cool! You *really* want to let your *Cherry Berry Crisp* cool for at least 10-15 minutes before you dig in. I know, I know, it’s torture, but it helps the filling set up a bit. And trust me, it’s worth the wait. Serve it up warm with a big scoop of vanilla ice cream (my personal fave!), a dollop of whipped cream, or even just on its own. Enjoy!
Tips for *Cherry Berry Crisp* Success
So, you want to make sure your *Cherry Berry Crisp* is absolutely perfect, huh? I got you! Here are a few little tricks I’ve learned over the years to guarantee deliciousness. First, make sure your butter is *cold* when you’re making the topping – it’s essential for that perfect crumble texture. Also, don’t overbake it! You want the topping golden, yes, but not burnt, and the fruit bubbly. Finally, don’t skip that little pinch of salt; it really brings out all the flavors!
Variations on the *Cherry Berry Crisp* Theme
Okay, so you’ve made a classic *Cherry Berry Crisp* – awesome! But guess what? You can totally jazz it up! One of my favorite things is adding a little almond extract to the fruit filling – it gives it a wonderful, almost marzipan-y flavor. You can swap out some of the all-purpose flour for a little bit of almond flour, too, for a different texture. If you’re feeling extra fancy, try adding a crumble of pecans or walnuts on top for some added crunch. Seriously, the possibilities are endless – have fun experimenting!
Make-Ahead & Storage Tips for Your *Cherry Berry Crisp*
Okay, so let’s talk about making this *Cherry Berry Crisp* ahead of time – because, let’s be honest, sometimes you need to get things done in advance! You can totally prep the fruit and the topping separately a day or two before you bake. Just store them in the fridge until you’re ready to assemble and bake. Then, when you’re ready for dessert – BAM! Dessert is done! And hey, if you *somehow* have leftovers (miraculous!), just cover and store in the fridge for up to 3 days. Reheat gently in the oven or microwave, and it’s almost as good as new.
Frequently Asked Questions About *Cherry Berry Crisp*
Got questions? I’ve got answers! Here are some of the most common things people ask me about this *Cherry Berry Crisp*. Hopefully, this helps you whip up this easy dessert in no time!
Can I use frozen fruit?
Absolutely, honey! You totally can! Frozen fruit works great in this recipe, especially when fresh berries aren’t in season. Just don’t thaw them first – toss them in your baking dish straight from the freezer. You might need to add a few extra minutes of baking time, but it’s still just as delish! Your *Cherry Berry Crisp* will be an all-weather treat that way.
What if I don’t have all the berries?
No sweat! This recipe is super adaptable. Feel free to use whatever berries you have on hand. It almost always works best! Strawberries, blueberries, blackberries, raspberries – they all play well together. If you only have cherries, that’s fine too. Maybe try adding a little squeeze of lemon juice, it makes it pop!
How do I know when it’s done?
Ah, the million-dollar question! The *Cherry Berry Crisp* is ready when the topping is golden brown and the fruit is bubbling. Also, you can stick a toothpick in the middle— if the fruit is soft, but not mushy, you’re good to go! Don’t overbake, or the fruit will dry out. Remember, every oven is different, so keep an eye on it!
Estimated Nutritional Information for *Cherry Berry Crisp*
Alright, folks! Just so you know, the nutritional info I’m about to give you is an estimate. It can change a bit depending on the brands and exact ingredients you use. I’ve gathered some general numbers to give you a rough idea.

Enjoy Your Delicious *Cherry Berry Crisp*!
Okay, that’s it, my friends! You’ve got all the secrets now. Go forth and make this *Cherry Berry Crisp*! Seriously, I hope you love it as much as I do. Let me know what you think in the comments – and if you make it, please rate the recipe below! And share it with your friends! Happy baking (and eating!)!
Print
Cherry Berry Crisp
- Total Time: 55 min
- Yield: 6 servings
- Diet: Vegetarian
Description
A simple dessert with cherries and berries.
Ingredients
- 6 cups mixed cherries and berries
- ¾ cup all-purpose flour
- ¾ cup rolled oats
- ¾ cup packed brown sugar
- ½ cup (1 stick) cold unsalted butter, cut into pieces
- ¼ teaspoon salt
Instructions
- Preheat your oven to 375°F (190°C).
- In a bowl, combine the flour, oats, brown sugar, and salt.
- Cut in the cold butter using a pastry blender or your fingers until the mixture resembles coarse crumbs.
- In a baking dish, combine the cherries and berries.
- Sprinkle the oat mixture evenly over the fruit.
- Bake for 35-40 minutes, or until the topping is golden brown and the fruit is bubbling.
- Let it cool slightly before serving.
Notes
- Serve warm with vanilla ice cream.
- You can use fresh or frozen fruit.
- Prep Time: 15 min
- Cook Time: 40 min
- Category: Dessert
- Method: Baking
- Cuisine: American