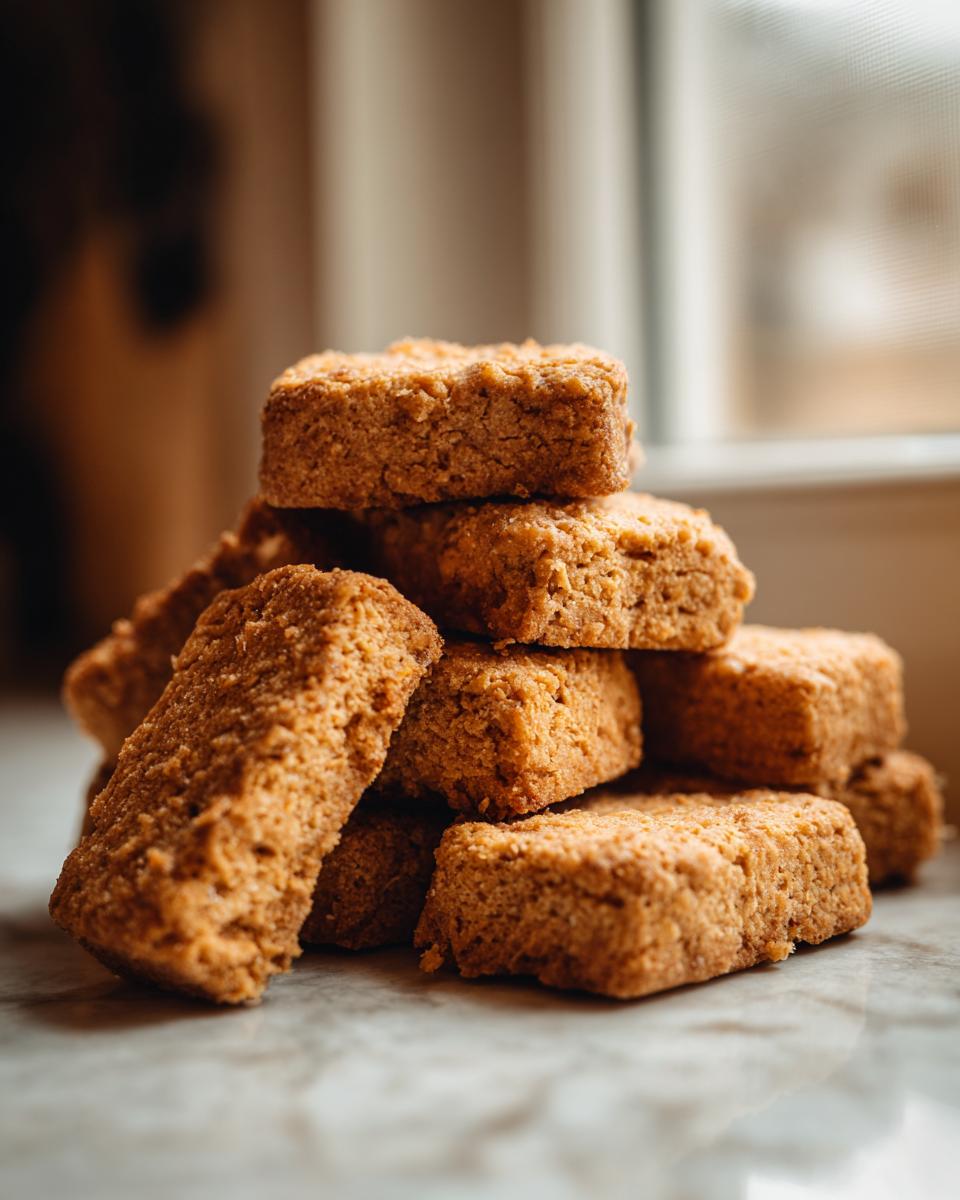
Hi everyone! Let me tell you, whipping up some Coconut & Pumpkin Dog Biscuits is one of my favorite things to do, right up there with a good walk in the park with my pup, Buster. It all started when I realized how much junk is in store-bought treats. I figured, “Why not make my own?” And honestly, it’s been the best decision ever! These biscuits are super simple to make, packed with healthy ingredients, and, most importantly, Buster absolutely loves them.
I mean, who doesn’t love a fun activity that keeps your furry friend happy and healthy? Plus, you know *exactly* what’s going into them – no mystery ingredients here! Believe me, seeing your dog’s tail wag with every bite makes the effort totally worthwhile. So, grab your apron and let’s get baking some delicious Coconut & Pumpkin Dog Biscuits!
Why Make Homemade *Coconut & Pumpkin Dog Biscuits*?
Okay, so let me spill the beans on why I’m *obsessed* with making these treats myself instead of grabbing a bag at the store. First off, you’re in total control of what goes into your dog’s tummy! Forget those yucky preservatives and mystery ingredients. You know, the stuff that makes you go, “Hmm, what even *is* that?”
Plus, you can tailor the recipe to your dog’s specific needs or even allergies. And hey, let’s be honest, it’s a huge money saver! Those fancy store-bought treats? Ouch! Making Coconut & Pumpkin Dog Biscuits is a fun, rewarding activity, and seeing Buster’s happy face? Priceless!
Ingredients You’ll Need for *Coconut & Pumpkin Dog Biscuits*
Alright, let’s get down to the good stuff – the ingredients! Trust me, these Coconut & Pumpkin Dog Biscuits come together super easy, and you probably have a lot of this stuff already.
Here’s what you’ll need:
- 1 cup pumpkin puree (and the *really* important part: make sure it’s plain pumpkin puree, NOT pumpkin pie filling – that stuff’s got all sorts of added sugars and spices that our pups don’t need!)
- 1/2 cup coconut flour
- 1/4 cup rolled oats
- 1 large egg
See? Simple! Now, let’s get baking!
Step-by-Step Instructions: Making *Coconut & Pumpkin Dog Biscuits*
Okay, friends, this is the fun part! Don’t you worry, it’s super easy peasy. Making these Coconut & Pumpkin Dog Biscuits is a breeze. Just follow these steps, and you’ll have your pup drooling in no time flat!
Preparing the Dough
First things first, grab a big bowl (I like a nice ceramic one, but plastic works too!). Dump in that cup of pumpkin puree, the coconut flour, the rolled oats, and crack in that egg. Mix everything together! Be sure your hands, or your spatula, gets in every nook and cranny. You’re aiming for a nice, thick dough. Don’t worry if it’s a little sticky – that’s totally normal. Just keep mixing until everything’s combined, and you’ll be golden!
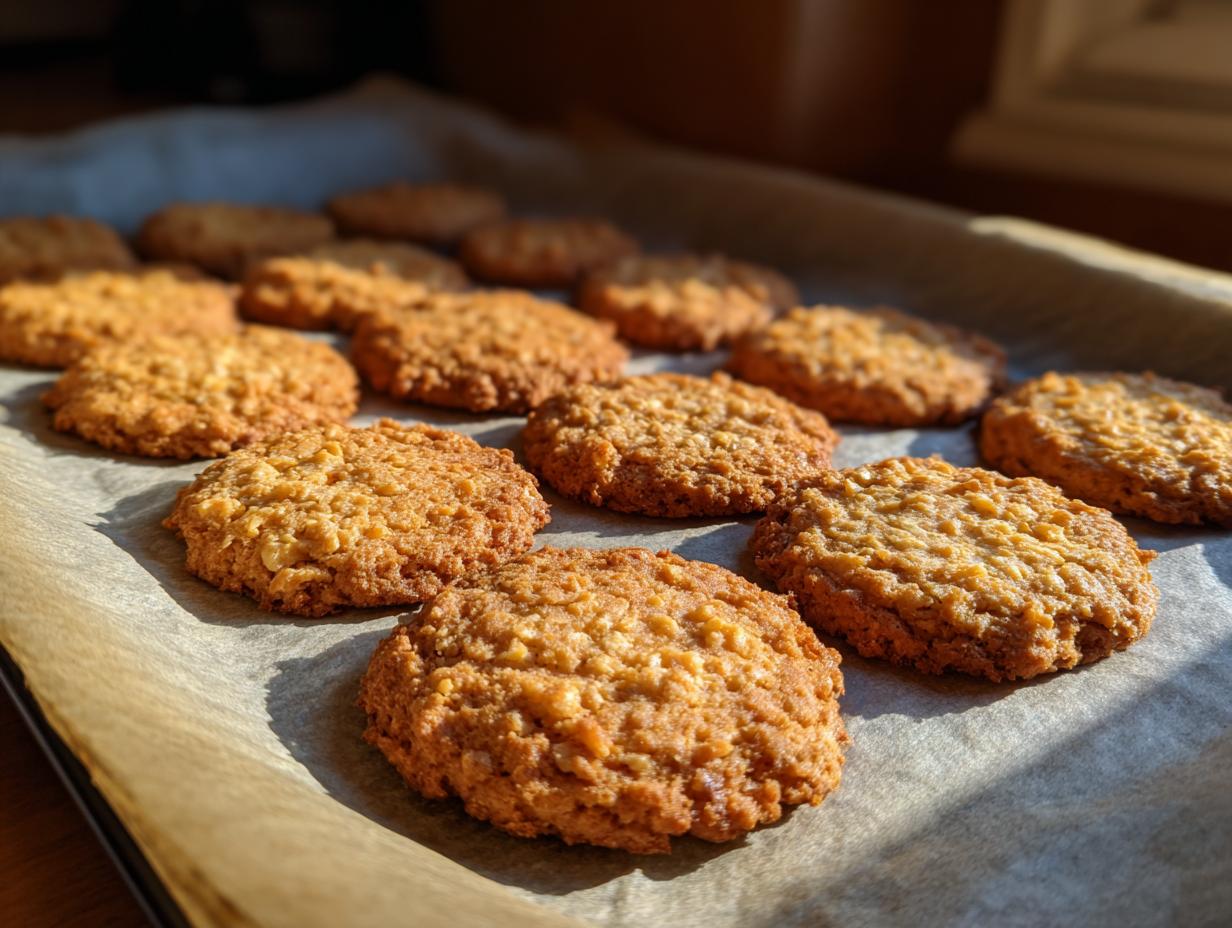
Shaping the Biscuits
Next, sprinkle a little bit of coconut flour on your counter. Then, plop that dough down and roll it out! I like to get it about ¼ inch thick, but it’s really up to you and how crunchy you want your biscuits. Now for the fun! Grab your cookie cutters – bone shapes, paw prints, whatever makes you happy! Cut out those shapes, put them on a baking sheet lined with parchment paper, and get ready for the oven.
Baking and Cooling
Now, preheat your oven to 350°F (175°C). Pop those Coconut & Pumpkin Dog Biscuits in for about 20 minutes. Keep an eye on them – you want them to be golden brown around the edges. When they’re done, take them out and let them cool COMPLETELY on a wire rack. This is *super* important! You want them to be nice and firm before giving them to your pooch. Patience, my friends! And then…treat time!

Tips for Perfect *Coconut & Pumpkin Dog Biscuits*
Okay, listen up, because I’ve learned a few things along the way to making the perfect Coconut & Pumpkin Dog Biscuits! First off, the dough consistency is key. It should be thick, but not too dry. If it seems too dry, just add a tiny splash of water or a little more pumpkin puree – a teaspoon at a time – until it comes together nicely. You’ll get the feel for it, I promise!
Also, don’t be afraid to adjust the baking time! Bigger biscuits might need a few extra minutes, while smaller ones could be done in less time. Keep an eye on them! And a big one: storage! These biscuits are best stored in an airtight container at room temperature. They’ll stay fresh for about a week. But trust me, they probably won’t last that long if your dog is anything like Buster!
Variations on the *Coconut & Pumpkin Dog Biscuits* Recipe
Okay, so the fun doesn’t stop with the basic recipe! Once you get the hang of these Coconut & Pumpkin Dog Biscuits, you can totally get creative. I love experimenting!
You can swap out the coconut flour for almond flour or even a little whole wheat. Want a little spice? A dash of cinnamon can be lovely (dogs love it!). For extra flavor, I sometimes add a tablespoon of unsweetened applesauce. Just remember, always check with your vet before introducing new ingredients, especially if your pup has any sensitivities!
Storing and Serving Your Homemade *Coconut & Pumpkin Dog Biscuits*
Alright, so you’ve got a whole batch of these amazing Coconut & Pumpkin Dog Biscuits! Congrats! Now, let’s talk about how to keep them fresh and make sure your pup enjoys them for as long as possible.
The best way to store these goodies is in an airtight container at room temperature. A cute little jar on the counter works great, or a simple plastic container will do the trick! They should stay fresh for about a week, but honestly, they might disappear faster than that! These are perfect as training rewards or just a fun little treat. Every time you open that container, your pooch will go wild!
Nutritional Information for *Coconut & Pumpkin Dog Biscuits*
Okay, so, here’s the deal with the nutrition info. I crunched the numbers, but remember, every batch of these Coconut & Pumpkin Dog Biscuits can be a little different depending on the brand of ingredients I use (and maybe how generous I’m feeling with the oats!). So, this is just an estimate, okay?
But hey – it gives you a good idea! Be sure to discuss any dietary concerns you have with your vet!
Frequently Asked Questions About *Coconut & Pumpkin Dog Biscuits*
Okay, I know you’re probably brimming with questions – I get it! So, let’s dive into some of the most common ones I hear about these Coconut & Pumpkin Dog Biscuits.
Can I use different types of flour?
Absolutely! I’ve experimented with a bunch of flours. All-purpose flour is fine, but you can also use almond flour or even a little whole wheat for added fiber. Just be aware that different flours absorb liquids differently. So, you might need to adjust the amount of pumpkin puree a smidge. Keep an eye on the dough’s consistency – it should be thick but not dry, as mentioned above!
How long do these biscuits last?
If they last! Haha! But seriously, if your dog *doesn’t* gobble them all up right away, they should stay fresh in an airtight container at room temperature for about a week. But honestly? Mine are usually gone in like, two days. Buster is a fan!
Are these biscuits suitable for dogs with allergies?
That’s a bit tricky! These biscuits are generally a great option for sensitive pups, but it all depends on your dog’s specific allergies. These are free of wheat (which is a common allergen), and coconut flour is often well-tolerated. However, it’s always best to check with your vet if your dog has any known allergies or sensitivities before introducing anything new. Just to be safe, ya know? I always err on the side of caution!
What if my dog doesn’t like them?
Well, that’s a bummer, but hey, it happens, right? If your pup turns their nose up (seriously, it’s happened to me!), don’t give up! Sometimes, it takes a few tries for them to get used to a new flavor or texture. You could try adding a tiny bit of something they *love*, like a little bit of cooked chicken or a sprinkle of cheese to one biscuit. You can also experiment with different shapes or sizes. And if all else fails, you can always share them with a friend’s dog… more for me!
Ready to Bake? Make These *Coconut & Pumpkin Dog Biscuits* Today!
Okay, friends! You’ve got all the info, you know what goes into making these easy and tasty treats. Now, what are you waiting for? Get those aprons on – and let’s bake up some Coconut & Pumpkin Dog Biscuits! I’d LOVE to hear what you think, so be sure and share your results in the comments and give this recipe a rating!
Print
Coconut & Pumpkin Dog Biscuits
- Total Time: 35 min
- Yield: 20 biscuits
- Diet: Vegan
Description
Make these simple, healthy dog biscuits with coconut and pumpkin.
Ingredients
- 1 cup pumpkin puree
- 1/2 cup coconut flour
- 1/4 cup rolled oats
- 1 egg
Instructions
- Preheat your oven to 350°F (175°C).
- Mix all ingredients in a bowl.
- Roll out the dough and cut into shapes.
- Bake for 20 minutes.
- Let cool completely before giving to your dog.
Notes
- Store in an airtight container.
- Adjust baking time based on biscuit size.
- Prep Time: 15 min
- Cook Time: 20 min
- Category: Dog Treats
- Method: Baking
- Cuisine: American