You know that moment when your dog gives you that big, slobbery kiss and you catch a whiff of… well, let’s just say it’s not exactly minty fresh? That’s when I knew I had to do something about my golden retriever Max’s dental health. Those store-bought dental chews were costing me a fortune, and I couldn’t even pronounce half the ingredients on the label! That’s how I stumbled into making these DIY dental chew dog treats – simple, natural, and way more effective than I ever imagined.
What I love most about these homemade treats is knowing exactly what’s going into my pup’s body. No mystery meats or questionable preservatives here – just wholesome ingredients like fresh parsley (nature’s doggy breath freshener!) and coconut oil that actually help clean their teeth while they chew. The first time I made them, Max went absolutely nuts – he practically sat at attention by the oven waiting for them to finish baking. Now it’s our little weekend ritual, and his vet actually complimented his pearly whites at our last checkup!
These DIY dental chews have become my secret weapon against doggy dental bills. They’re surprisingly easy to make, cost pennies compared to store brands, and honestly? I think Max prefers them to anything we’ve bought at the pet store. Plus, there’s something so satisfying about watching him happily crunch away on something I made with my own hands.
Why You’ll Love These DIY Dental Chew Dog Treats
Let me tell you why these little treats have become my go-to for Max’s snack time (and why your pup will go crazy for them too!):
- Real dental benefits: The parsley fights bad breath while the crunchy texture helps scrape away plaque – Max’s vet actually noticed the difference!
- Simple ingredients: Just five pantry staples you can pronounce (no mystery “meat byproducts” here).
- Super easy to make: I can whip up a batch during commercial breaks – it’s that quick!
- Tailor-made for your dog: Make them big for Great Danes or tiny for Chihuahuas – no one-size-fits-all here.
- Way cheaper than store-bought: Costs about a quarter of what those fancy dental chews run you.
Honestly, the best part is watching your dog’s tail go nuts when they smell these baking. Pure puppy joy in every bite!
Ingredients for DIY Dental Chew Dog Treats
Let’s talk ingredients—these are the building blocks for making your pup’s new favorite dental chews! I keep things simple here because, honestly, who wants to hunt down a million ingredients? Here’s what you’ll need:
- 2 cups whole wheat flour: This gives the treats their chewy, satisfying texture. If your dog has a gluten sensitivity, you can swap this for oat flour or coconut flour—just keep an eye on the consistency, as they absorb moisture differently.
- 1/2 cup oats: Rolled oats work best here. They add a nice crunch and fiber, which is great for digestion. Plus, dogs love the texture!
- 1/2 cup parsley, finely chopped: Fresh parsley is my secret weapon against stinky dog breath. I chop it finely so it blends smoothly into the dough—trust me, your dog won’t even notice it’s there!
- 1/2 cup coconut oil: This adds moisture and healthy fats to the treats. If you don’t have coconut oil, melted butter works too, but I love how coconut oil keeps their coat shiny!
- 1/2 cup water: Just plain water to bring everything together. You can use low-sodium broth if you want to amp up the flavor for picky eaters.
That’s it—just five simple ingredients and you’re ready to go! Honestly, I love how pantry-friendly this recipe is—you probably already have most of these in your kitchen!
How to Make DIY Dental Chew Dog Treats
Making these treats is easier than teaching your dog to sit—I promise! Here’s how to whip up a batch that’ll have your pup wagging their tail in no time. Follow these simple steps, and you’ll have crunchy, dog-approved dental chews in under an hour. Let’s get started!
Step 1: Preheat and Prepare
First things first—preheat your oven to 350°F (175°C). This gives your oven time to get nice and toasty while you mix the ingredients. Grab a baking sheet and line it with parchment paper or a silicone mat. Trust me, this little step saves you from scrubbing sticky pans later—totally worth it!
Step 2: Mix the Ingredients
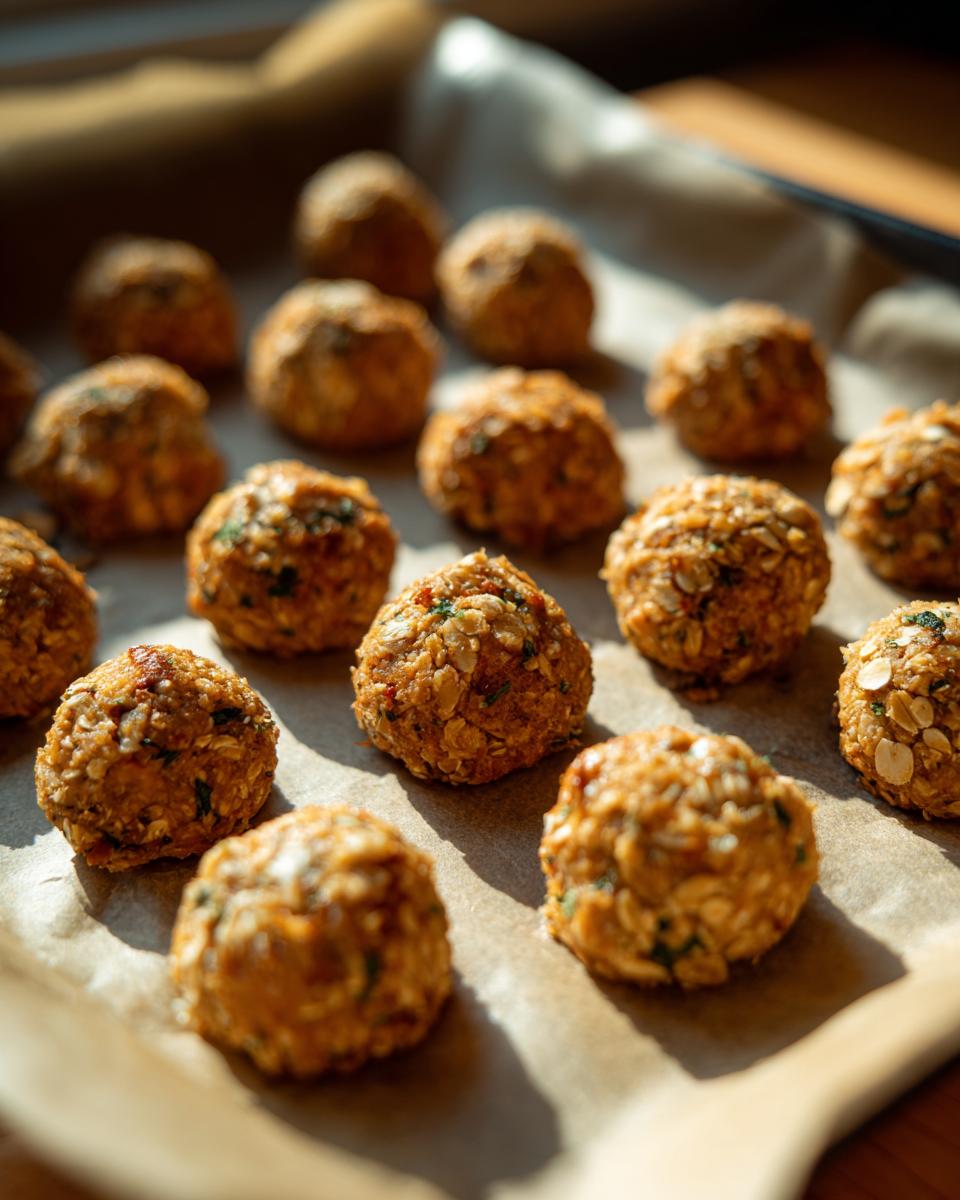
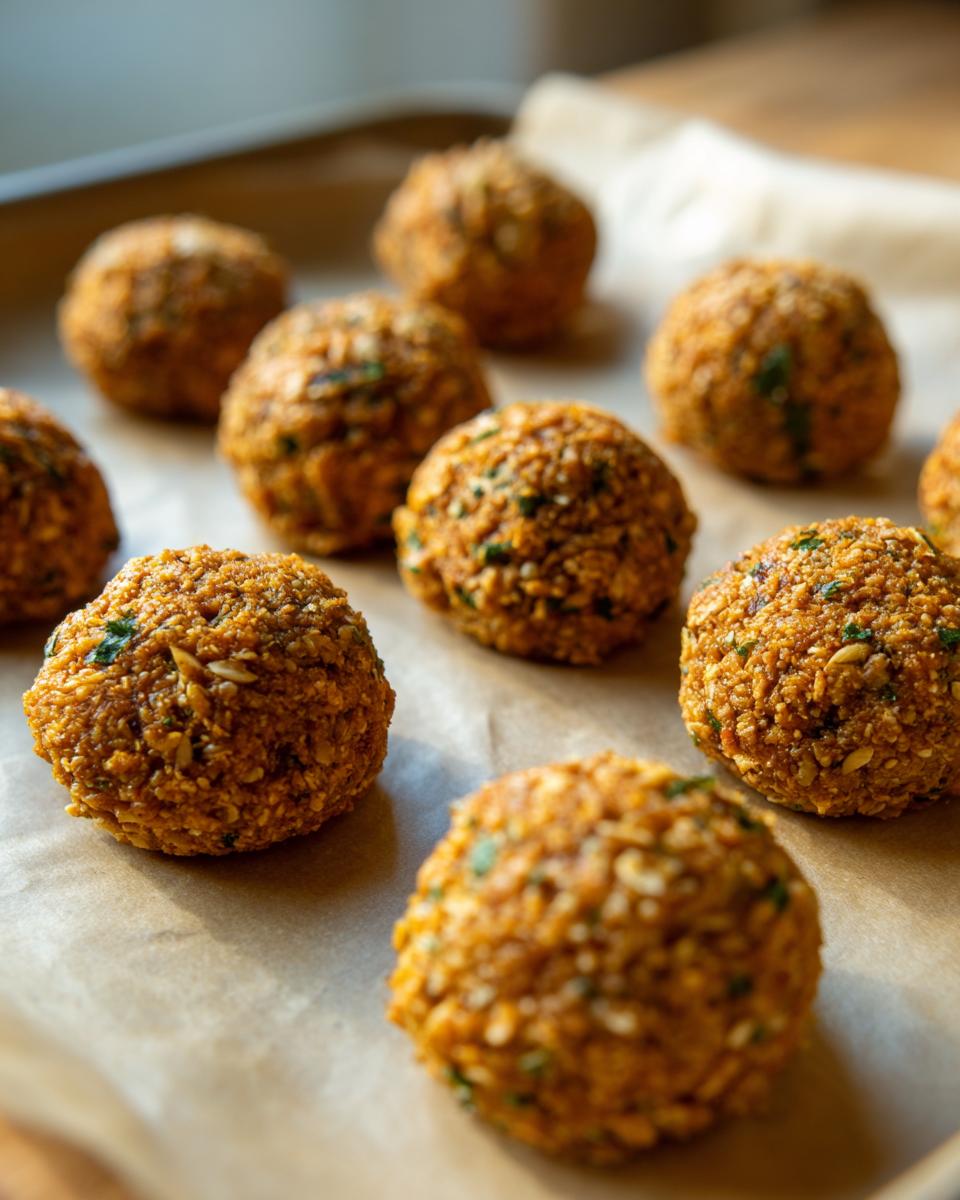
In a big mixing bowl, combine the whole wheat flour, oats, and chopped parsley. Then, add the coconut oil and water. Knead everything together until it forms a dough—don’t worry if it’s a bit sticky at first! I usually use my hands to mix it thoroughly. The dough should hold together nicely but not feel too wet or dry. If it’s too crumbly, add a splash more water.
Step 3: Shape and Bake
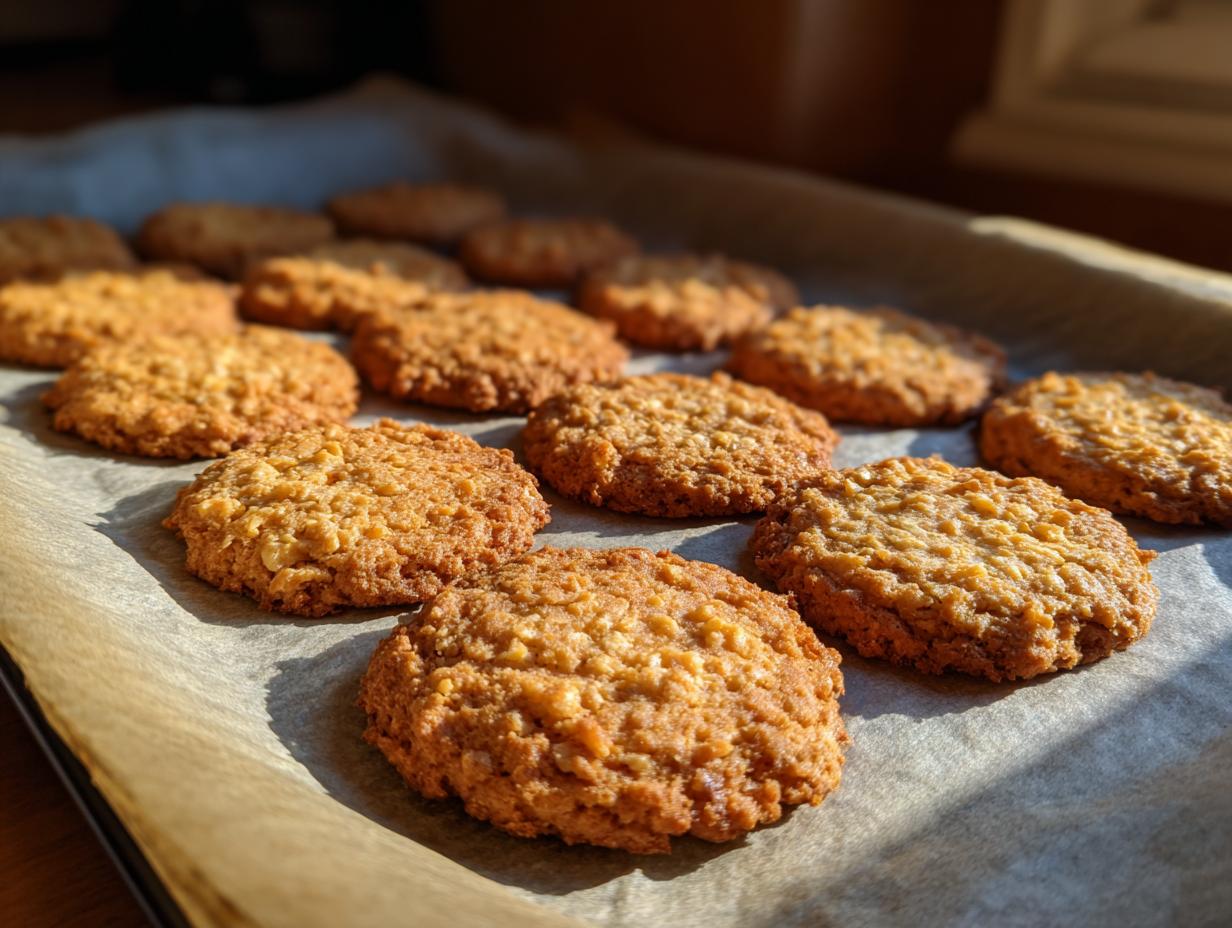
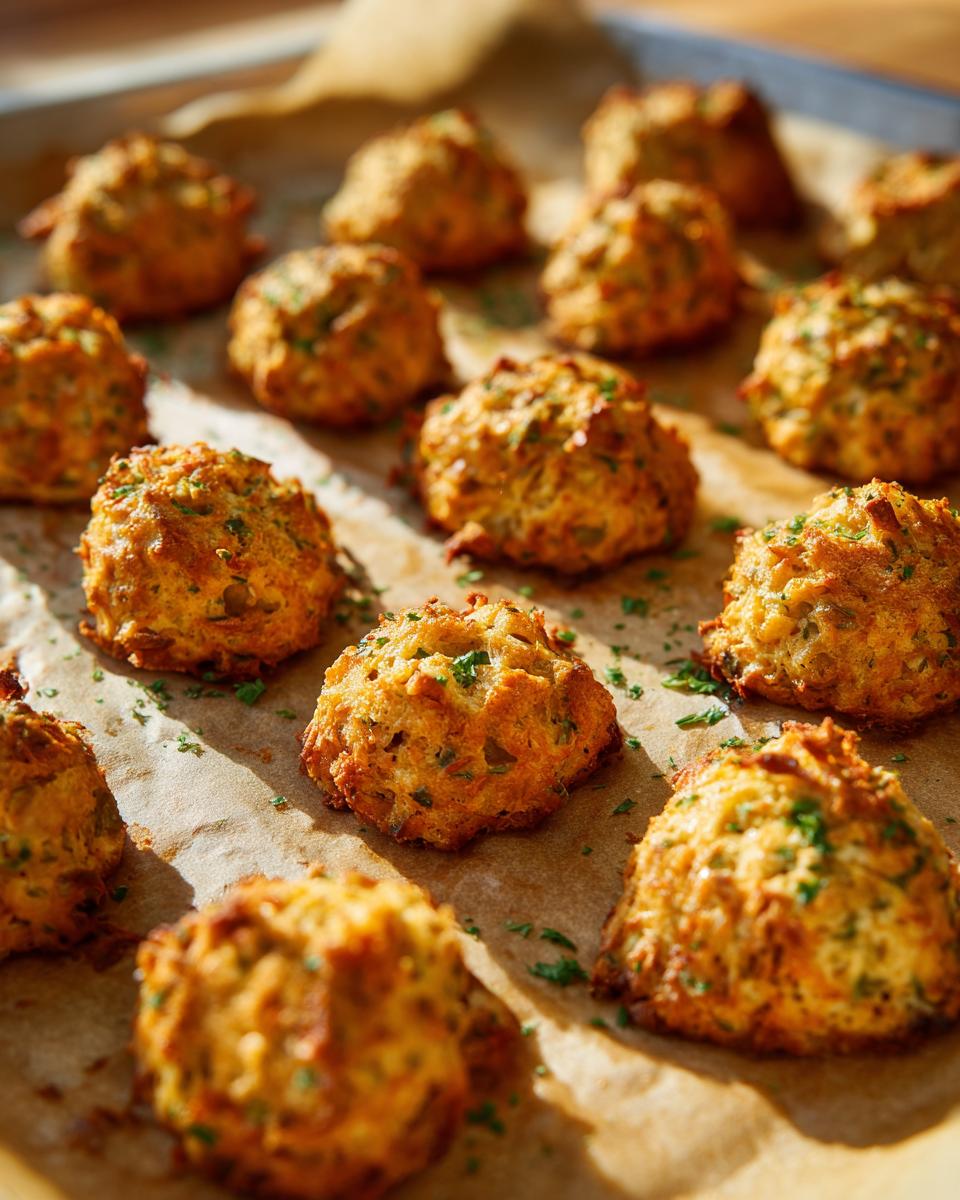
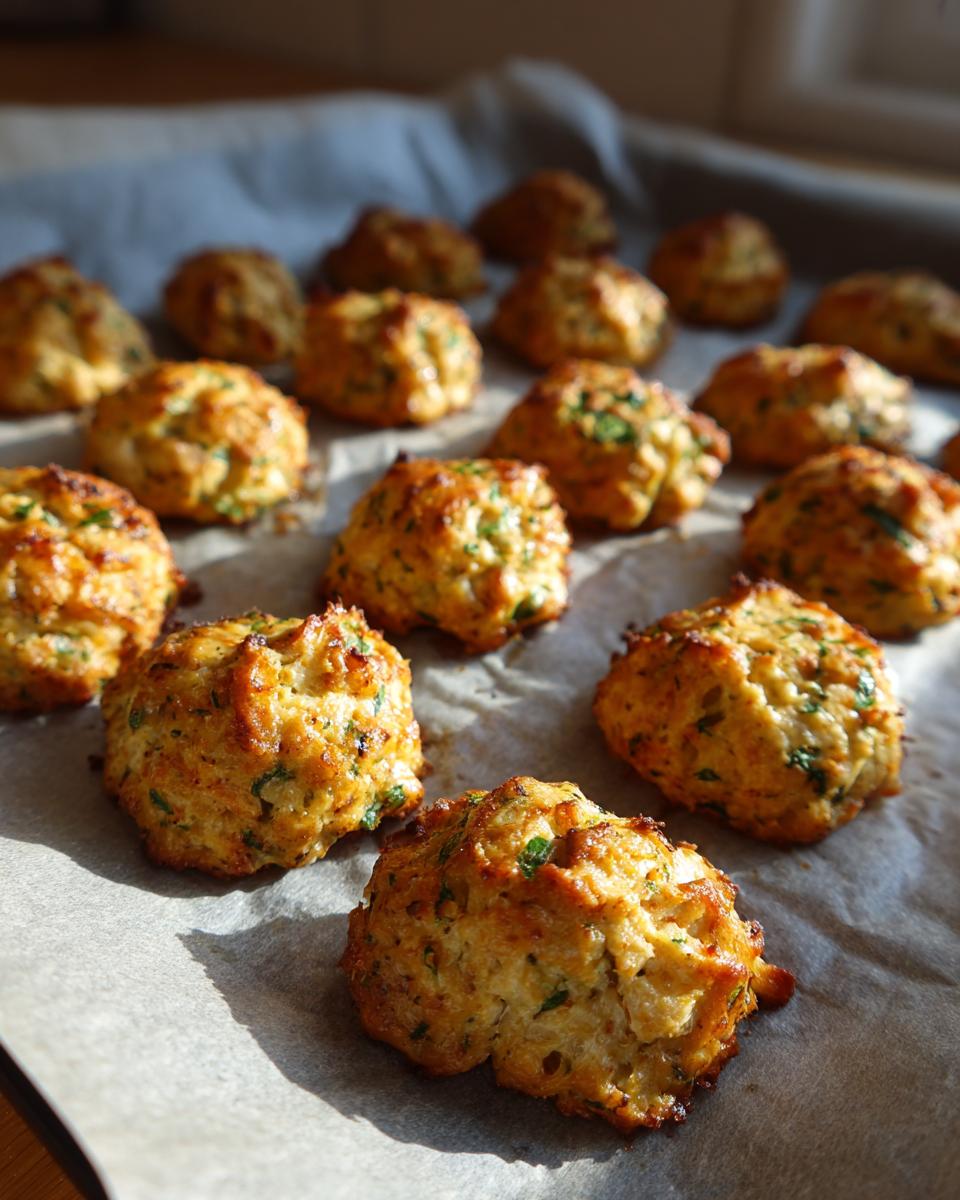
Now for the fun part—shaping the treats! Roll the dough into small balls or cut it into shapes using cookie cutters. I love making bone shapes for Max, but you can keep it simple with just balls or even strips. Place them on your prepared baking sheet, leaving a little space between each one. Bake for 25-30 minutes until they’re golden brown and firm to the touch. You’ll know they’re done when they smell like freshly baked bread—yum!
Step 4: Cool and Serve
Once they’re out of the oven, let the treats cool completely on the baking sheet. This is crucial—they’ll firm up as they cool and become the perfect crunchy texture. I usually let mine sit for about 30 minutes. Then, watch your pup’s face light up as you hand them their first treat! They’re going to love it!
Tips for Perfect DIY Dental Chew Dog Treats
After making these treats more times than I can count (and getting Max’s enthusiastic seal of approval every time), I’ve picked up some tricks to make sure they turn out perfectly:
- For extra crunch: If your dog loves a good crunch, bake them for an extra 5 minutes—just keep an eye so they don’t burn! The harder texture helps scrape away plaque better too.
- Size matters: For big breeds, make them golf-ball sized. For tiny pups, go for pea-sized treats—they’ll still get all the dental benefits without struggling to chew.
- Freshness hack: Store them in an airtight container with a paper towel to absorb any moisture. They’ll stay crispy for up to two weeks (if they last that long!).
- Freezer-friendly: Double the batch and freeze half—just pop them in the oven for 5 minutes to crisp up again when you’re ready to use them.
Oh, and here’s my secret—if your dog’s a picky eater, brush a tiny bit of peanut butter on them before serving. Works every time!
Storage and Serving Suggestions
Once your dental chew treats are cooled and ready to go, it’s time to store them and figure out how many your pup can have! I like to use an airtight container—glass jars or plastic containers with tight-fitting lids work great. Add a paper towel at the bottom to soak up any extra moisture, and they’ll stay fresh and crunchy for up to two weeks. If you’re like me and make a double batch, they freeze beautifully! Just pop them in a freezer-safe bag or container.
Now, about serving—this depends on your dog’s size. For big breeds like my Max, one or two per day is perfect. Smaller dogs might just need half or even a quarter of a treat—adjust based on their weight and what their vet recommends. I always keep an eye on how much my dog eats overall (treats included) to make sure he’s not overdoing it. But honestly, Max would happily eat these all day if I let him—they’re that good!
Nutritional Information for DIY Dental Chew Dog Treats
Here’s the scoop on what’s in these tasty treats! Each little dental chew packs about 50 calories, with 3g of healthy fats from coconut oil and 1g of fiber from the oats and parsley. They’re completely sugar-free and low in sodium – perfect for keeping your pup happy and healthy!
Just remember – exact nutrition can vary slightly depending on your specific ingredients. I always use organic coconut oil and fresh parsley from my garden, but store brands work great too. The most important thing? Your dog will love them, and their teeth will thank you!
FAQ About DIY Dental Chew Dog Treats
I get so many questions about these homemade dental chews – here are the ones that pop up most often from fellow dog lovers!
Can I use gluten-free flour instead of whole wheat?
Absolutely! I’ve had great success with oat flour or coconut flour for my friend’s gluten-sensitive pup. Just keep in mind you might need to adjust the water slightly – gluten-free flours tend to absorb more moisture. The treats might be a bit crumblier, but dogs don’t care about perfect texture!
How often can I give these to my dog?
I stick to 1-2 treats daily for my golden retriever Max – enough for dental benefits without overdoing the calories. For smaller dogs, half a treat does the trick. Always check with your vet if you’re unsure, especially if your pup has special dietary needs.
Are these safe for puppies?
Yes, but with two important caveats! First, wait until puppies have all their adult teeth (usually around 6 months). Second, make the treats smaller and softer – I’ll sometimes underbake them slightly for teething pups. Always supervise your puppy the first few times they try them.
My dog’s picky – any flavor boost ideas?
Oh, I’ve been there! Try adding a tablespoon of peanut butter (xylitol-free!) or puréed pumpkin to the dough. Sometimes I’ll brush a tiny bit of low-sodium chicken broth on cooled treats too. The parsley smell might throw them off at first, but most dogs go crazy for these once they take that first brave bite!
Can I substitute the coconut oil?
You bet! Melted butter works in a pinch, or even olive oil if that’s what you’ve got. The coconut oil does give the treats a nice crispness though, and it’s great for their coat. If you do swap it, just use the same amount and you’re golden!

DIY Dental Chew Dog Treats
- Total Time: 45 min
- Yield: 20 treats
- Diet: Low Lactose
Description
Homemade dental chew treats for dogs to promote oral health.
Ingredients
- 2 cups whole wheat flour
- 1/2 cup oats
- 1/2 cup parsley, finely chopped
- 1/2 cup coconut oil
- 1/2 cup water
Instructions
- Preheat your oven to 350°F (175°C).
- Mix the whole wheat flour, oats, and parsley in a bowl.
- Add the coconut oil and water, then knead into a dough.
- Roll the dough into small balls or shapes.
- Place the treats on a baking sheet lined with parchment paper.
- Bake for 25-30 minutes or until golden brown.
- Let the treats cool completely before serving.
Notes
- Store the treats in an airtight container for up to two weeks.
- Adjust the size of the treats based on your dog’s breed.
- Prep Time: 15 min
- Cook Time: 30 min
- Category: Pet Food
- Method: Baking
- Cuisine: Pet