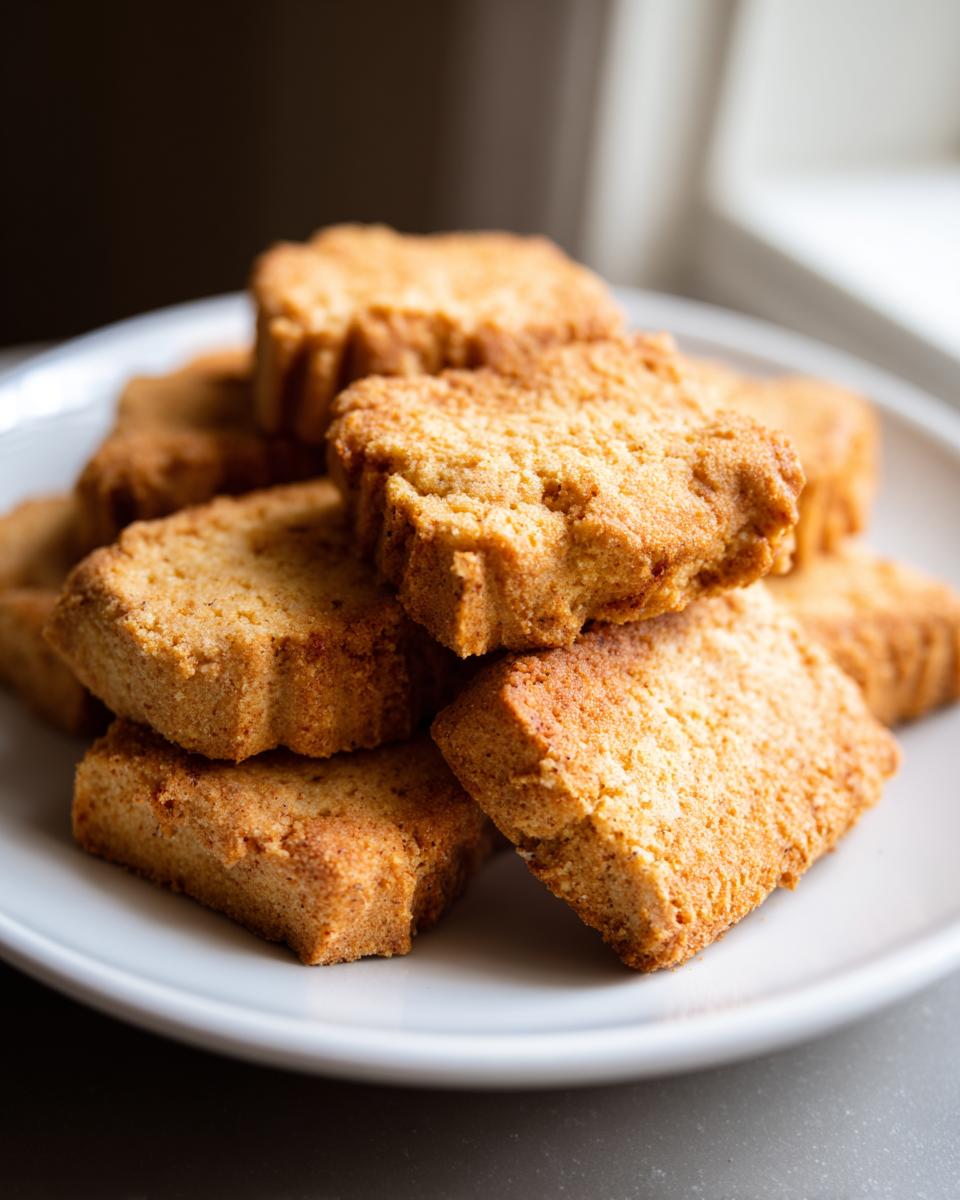
You know that look your dog gives you when you’re eating something delicious? Yeah, that “please share” face gets me every time. That’s why I started making these DIY High-Calcium Dog Biscuits for my golden retriever, Max. After his vet mentioned he needed more calcium for his joints, I got busy in the kitchen. Turns out, whipping up healthy treats is easier than you’d think! These biscuits pack a nutritional punch with bone meal and powdered milk – way better than store-bought snacks full of mystery ingredients. Now Max gets his own special “cookies,” and I get peace of mind knowing exactly what’s going into his tummy.

Why You’ll Love These DIY High-Calcium Dog Biscuits
These homemade treats are a game-changer for pet parents who want the best for their furry friends. Here’s what makes them so special:
- Super simple: With just six basic ingredients and no fancy equipment, you can whip these up in no time.
- Healthy boost: Packed with bone meal and powdered milk, they’re perfect for supporting your dog’s bone and joint health.
- Budget-friendly: Making them at home is way cheaper than buying premium treats at the store.
- Tail-wagging tasty: Dogs go crazy for them – Max practically does backflips when he hears the treat jar open!
Ingredients for DIY High-Calcium Dog Biscuits
You probably already have most of these ingredients in your pantry – that’s how easy this recipe is! Here’s what you’ll need:
- 2 cups whole wheat flour – This gives the biscuits their structure. If your dog has wheat sensitivities, you can use oat or coconut flour instead.
- 1/2 cup powdered milk – Adds a calcium boost and makes the biscuits slightly creamy. You can skip this if your dog is lactose intolerant.
- 1/4 cup bone meal – The star ingredient for bone health. Make sure it’s food-grade and safe for pets.
- 1 egg – Helps bind everything together. Substitute with 1/4 cup unsweetened applesauce if needed.
- 1/2 cup water – Just enough to bring the dough together.
- 2 tbsp vegetable oil – Keeps the biscuits moist. Any mild-flavored oil works – I usually use coconut or olive oil.
That’s it! Simple, wholesome, and dog-approved ingredients.
How to Make DIY High-Calcium Dog Biscuits
Okay, let’s get baking! These DIY High-Calcium Dog Biscuits come together so easily – even if you’re not usually a baker. The key is taking it step by step, and before you know it, you’ll have a whole batch of healthy treats ready for your pup. Just follow along, and don’t worry – this recipe is super forgiving. I’ve made these dozens of times, and even my “oops” batches turned out perfectly edible (according to Max, at least!).
Step-by-Step Instructions
First things first – preheat your oven to 350°F (175°C). Trust me, you don’t want to skip this step! While that’s heating up, grab a big mixing bowl and whisk together the whole wheat flour, powdered milk, and bone meal. I like to sift them together to avoid any clumps – it makes the biscuits extra smooth.
Next, make a little well in the center of your dry ingredients and crack in the egg. Add the water and oil too. Now comes the fun part – roll up your sleeves and mix it all together with your hands until a nice dough forms. If it’s too sticky, add a tiny bit more flour. Too dry? A sprinkle of water will do the trick.
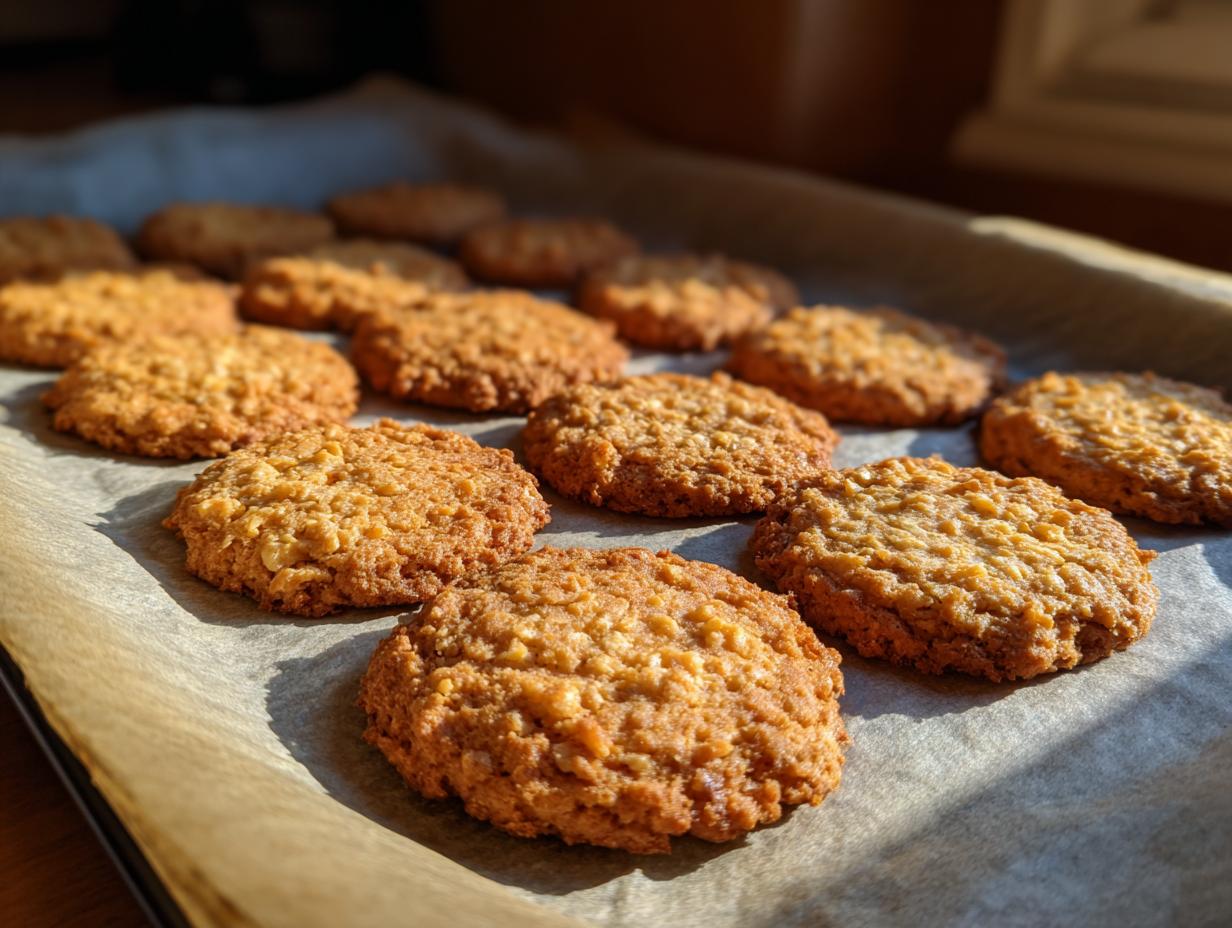
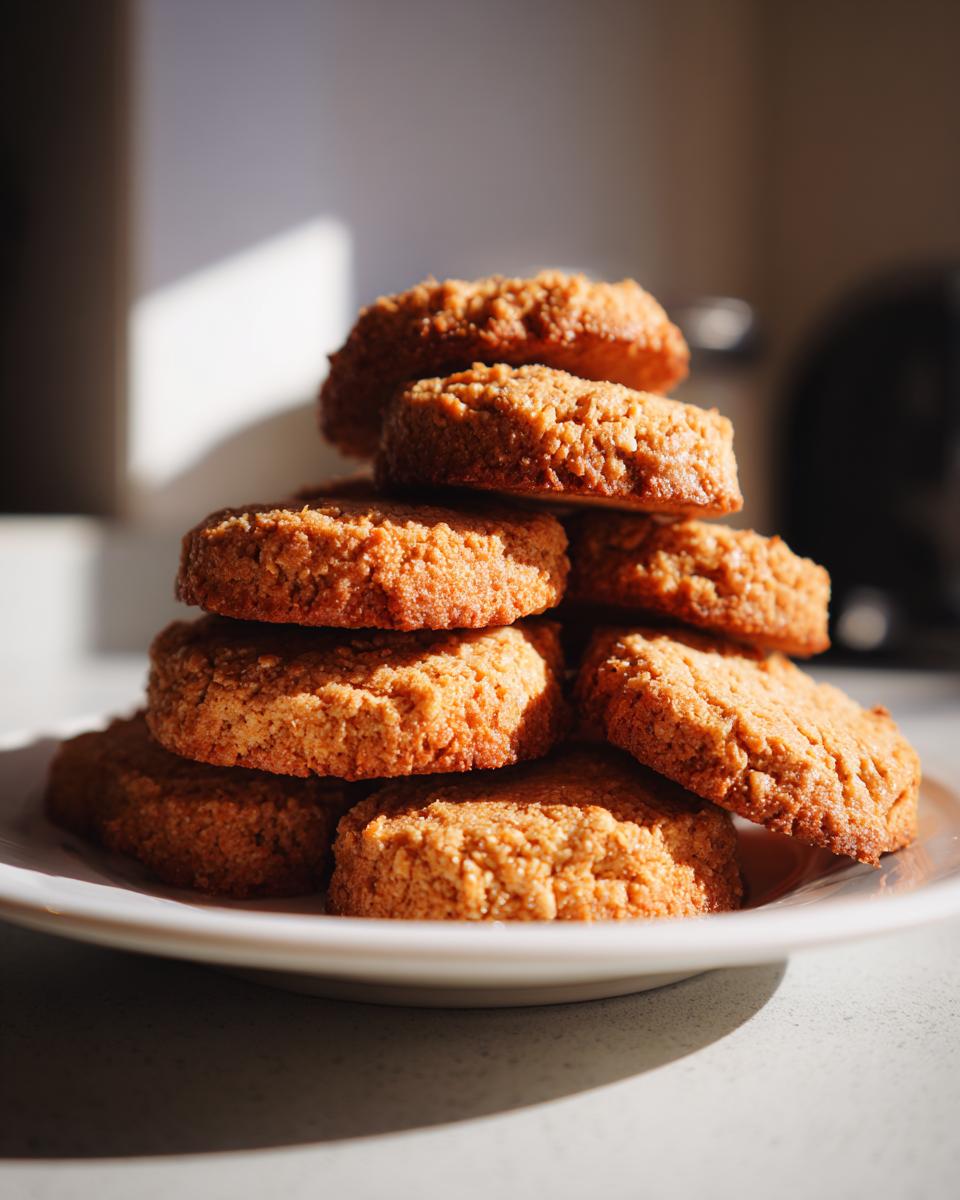
Lightly flour your counter and roll out the dough to about 1/4 inch thickness. This is the perfect thickness – thin enough to bake evenly but thick enough to give your pup something to really chew on. Use cookie cutters (I have adorable bone-shaped ones) or just slice into squares with a knife. Pop them on a baking sheet – no need to grease it – and bake for 25 minutes. You’ll know they’re done when they’re golden and firm to the touch.
Here’s the hardest part – letting them cool completely before your dog gets a taste! I usually leave them on the counter for at least an hour. They’ll crisp up as they cool, giving your pup that satisfying crunch they love.
Tips for Perfect DIY High-Calcium Dog Biscuits
After making these biscuits more times than I can count (Max is a very enthusiastic taste-tester!), I’ve picked up some handy tricks. First, roll your dough between two sheets of parchment paper – no sticking and perfectly even thickness every time. Second, let the baked biscuits cool completely in the oven with the door slightly ajar – this makes them extra crisp. And here’s my golden rule: always store them in an airtight container with a paper towel to absorb any moisture. They’ll stay fresh for weeks, though in my house they never last that long!
Storage and Serving Suggestions
These DIY High-Calcium Dog Biscuits store like a charm! Just pop them in an airtight container – I use a cute cookie jar Max can’t resist staring at. They’ll stay fresh for up to 2 weeks at room temperature. If you want them to last longer, you can freeze them in a zip-top bag for up to 3 months. As for serving, I give Max one biscuit a day as a treat – it’s the perfect amount for his size. For smaller dogs, break them into halves or quarters. Trust me, your pup will be begging for more!
FAQ About DIY High-Calcium Dog Biscuits
Got questions about making these homemade dog treats? I’ve rounded up the most common ones I get from fellow pet parents – plus all the answers I’ve learned through trial and error (and lots of happy taste-testing from Max!).
Can I use a different flour if my dog has allergies?
Absolutely! While whole wheat flour works great, you can easily swap it for oat flour, coconut flour, or even chickpea flour. Just keep in mind that alternative flours might need a bit more or less liquid – you’ll want the dough to feel like playdough, not too sticky or crumbly.
How often can I give these biscuits to my dog?
These are treats, not meals – so moderation is key! I give Max one biscuit a day, broken into smaller pieces for training rewards. Always check with your vet first, especially if your pup has special dietary needs.
What if I can’t find bone meal?
No worries! You can use crushed eggshells (bake them at 200°F for 10 minutes, then grind to powder) or calcium carbonate powder instead. Just use the same amount – about 1/4 cup per batch.
My dog is lactose intolerant – can I skip the powdered milk?
Of course! The powdered milk adds extra calcium, but you can leave it out or substitute with a dairy-free calcium powder. The bone meal still provides plenty of bone-strengthening goodness.
Why are my biscuits coming out too hard?
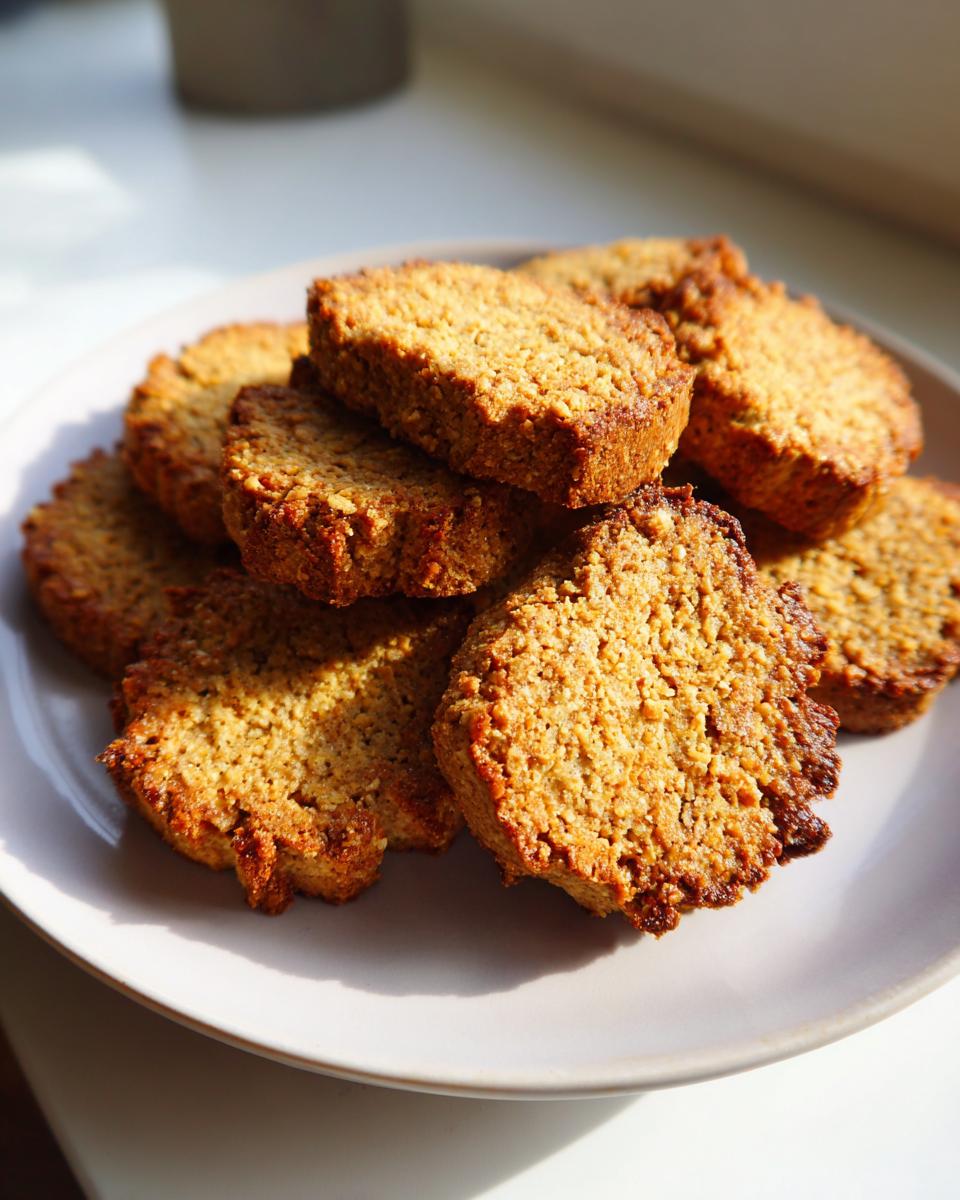
If they’re like little rocks, you might have overbaked them or rolled the dough too thin. Next time, check at 20 minutes and pull them when they’re just firm to the touch. They’ll harden more as they cool!
Nutritional Information for DIY High-Calcium Dog Biscuits
Just like with human food, the exact nutritional values can vary depending on your specific ingredients and brands. But here’s the general breakdown per biscuit (based on my standard recipe): about 50 calories, 2g fat, 2g protein, and 7g carbs. They’re packed with calcium from the bone meal and powdered milk – perfect for supporting your pup’s bone health! Remember, treats should only make up about 10% of your dog’s daily calories, so keep portions in check.
Share Your Experience with DIY High-Calcium Dog Biscuits
Did your pup go crazy for these DIY High-Calcium Dog Biscuits? I’d love to hear all about it! Share your experience in the comments below, snap a pic of your fur baby enjoying their treats, or tag me on social media. Can’t wait to see those happy, wagging tails!
Print
DIY High-Calcium Dog Biscuits
- Total Time: 40 min
- Yield: 20 biscuits
- Diet: Low Lactose
Description
Homemade dog biscuits with high calcium content for your pet’s bone health.
Ingredients
- 2 cups whole wheat flour
- 1/2 cup powdered milk
- 1/4 cup bone meal
- 1 egg
- 1/2 cup water
- 2 tbsp vegetable oil
Instructions
- Preheat oven to 350°F (175°C).
- Mix whole wheat flour, powdered milk, and bone meal in a bowl.
- Add egg, water, and vegetable oil. Stir until dough forms.
- Roll dough to 1/4 inch thickness and cut into shapes.
- Place on a baking sheet and bake for 25 minutes.
- Cool completely before serving.
Notes
- Store in an airtight container for up to 2 weeks.
- Consult your vet before introducing new treats to your dog’s diet.
- Prep Time: 15 min
- Cook Time: 25 min
- Category: Pet Food
- Method: Baking
- Cuisine: N/A