I’ll never forget the day my cat Whiskers broke out in hives after eating store-bought treats. That’s when I realized how hard it is to find truly safe hypoallergenic cat treats for sensitive kitties. After months of trial and error (and many vet visits), I finally perfected this simple recipe that avoids all the common triggers – no dairy, no mystery ingredients, just wholesome stuff you can pronounce. These homemade hypoallergenic cat treats became Whiskers’ absolute favorite, and now I make them weekly. The best part? They’re vet-approved and take less than 30 minutes from bowl to baking sheet!
Why You’ll Love These Hypoallergenic Cat Treats
Let me tell you, these treats are a game-changer for any cat parent dealing with food sensitivities. First off, they’re so easy to make – just four simple ingredients and you’re done. No fancy kitchen gadgets needed! Plus, they’re made with wholesome, recognizable ingredients like oat flour and pumpkin puree, so you know exactly what your kitty is eating. And here’s the best part: they’re completely free of common allergens like dairy, wheat, and corn. Trust me, your cat will go crazy for them, and you’ll love how cost-effective they are compared to store-bought options. It’s a win-win for both of you!
Ingredients for Hypoallergenic Cat Treats
Here’s what you’ll need to whip up these fuss-free hypoallergenic cat treats – trust me, your pantry probably has most of these already! First, grab 1 cup of oat flour – it’s gentle on sensitive tummies. Next, you’ll need 1/2 cup of pumpkin puree (make sure it’s unsweetened and plain, no spices!). Then, crack in 1 large egg – it helps bind everything together. Finally, add 1 tablespoon of olive oil for a little moisture and shine. That’s it! Simple, safe, and totally cat-approved.
How to Make Hypoallergenic Cat Treats
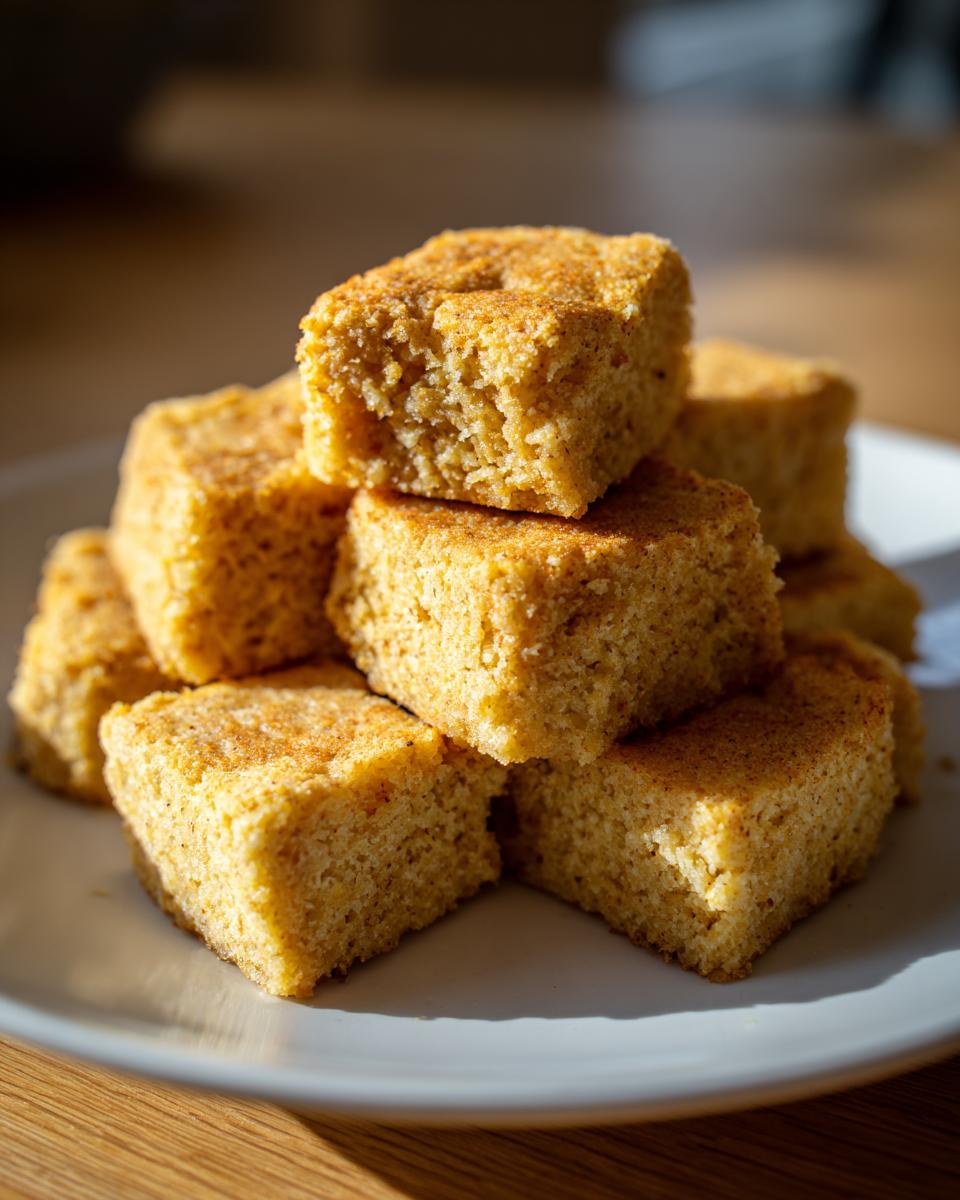
Okay, let’s get baking! First things first – preheat your oven to 350°F (175°C). Trust me, you don’t want to skip this step – a properly heated oven means even baking and perfect texture every time. While that’s warming up, grab a big mixing bowl and toss in all your ingredients: the oat flour, pumpkin puree, egg, and olive oil. Now, here’s where the fun begins – roll up your sleeves and mix everything together with your hands (or a spoon if you’re feeling fancy). The dough should come together nicely – not too sticky, not too dry. If it feels a bit wet, just add a sprinkle more oat flour.
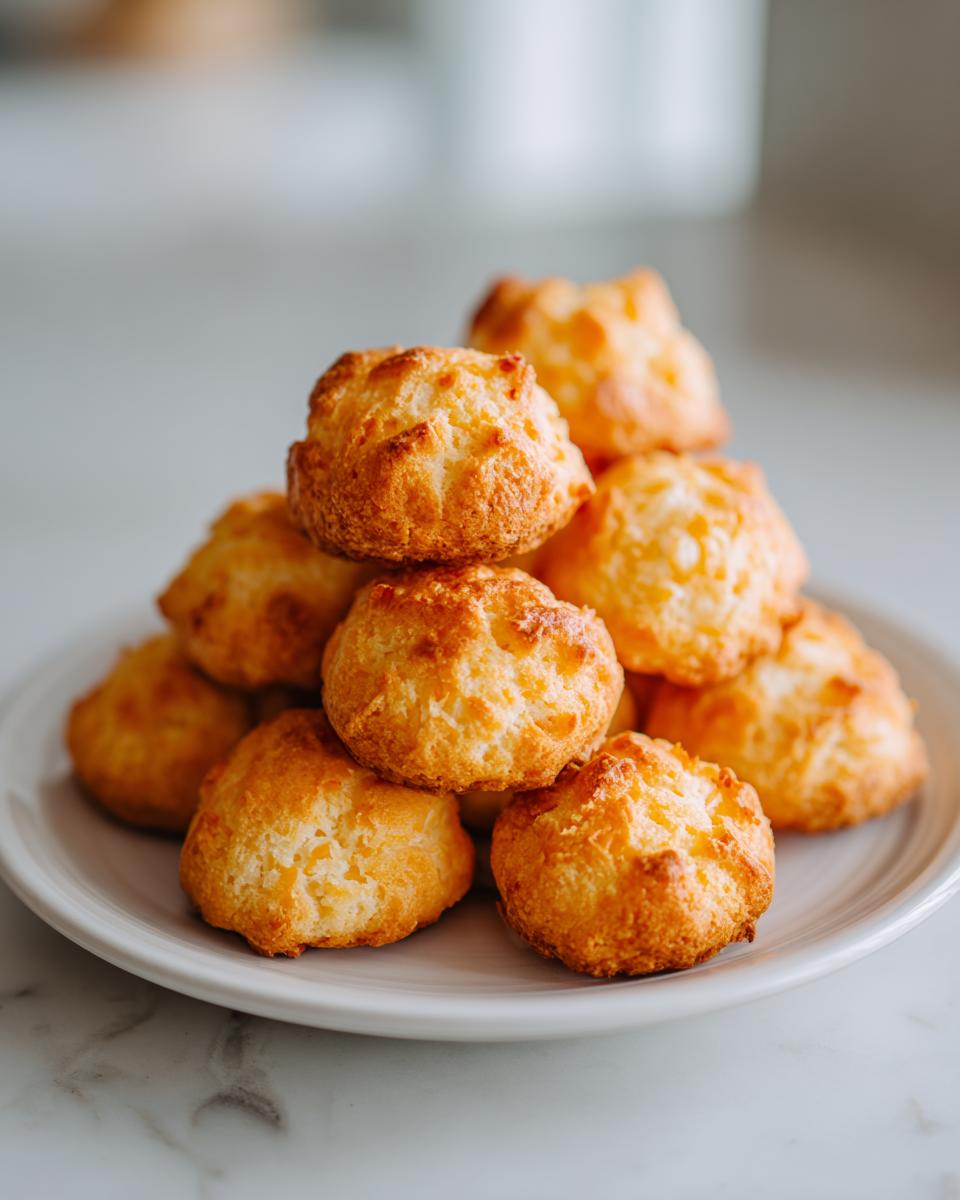
Next, pinch off small pieces of dough and roll them into little balls, about the size of a pea. Don’t worry about making them perfect – cats aren’t picky about aesthetics! Place them on a baking sheet lined with parchment paper, then gently flatten each one with your fingers or the back of a spoon. This helps them bake evenly and gives them that perfect treat shape. Pop them in the oven for 15 minutes – you’ll know they’re done when they’re firm to the touch and slightly golden around the edges.
Here’s my pro tip: let them cool completely before serving. I know it’s tempting to give one to your kitty right away, but they’ll hold together better once cooled. And trust me, the wait is worth it – your cat will be purring with delight!
Tips for Perfect Hypoallergenic Cat Treats
Let’s make sure these hypoallergenic cat treats turn out purr-fect every time! First off, double-check your pumpkin puree – it must be unsweetened and free of spices like cinnamon or nutmeg. Trust me, those additives can wreak havoc on sensitive tummies. Next, always use fresh ingredients – stale oat flour or expired eggs won’t do any favors for your kitty’s treats. Here’s a tip that saved me: test a small batch first. Give your cat just one or two treats and wait 24 hours to ensure no reactions. And always consult your vet if your cat has severe allergies – they’ll guide you on what’s safest. Pro tip: keep the dough slightly moist but not sticky – it makes rolling the treats way easier!
Storing and Serving Hypoallergenic Cat Treats
Here’s how to keep these hypoallergenic cat treats fresh and make them last! Once they’re completely cooled, pop them into an airtight container – I use a glass jar with a tight lid. They’ll stay good for about a week at room temperature, but if you want them to last longer, you can refrigerate them for up to two weeks. When it’s treat time, start slow – give just 1-2 treats per day to see how your cat reacts. I learned this the hard way with Whiskers – too many at once and he’d turn his nose up! Introduce them gradually, maybe one in the morning and one at night, and watch your kitty’s tail start wagging in anticipation.

FAQs About Hypoallergenic Cat Treats
I get so many questions about these hypoallergenic cat treats – let me answer the most common ones! First off, yes, you can absolutely experiment with different flours if oat doesn’t work for your kitty. I’ve had great success with chickpea flour and coconut flour – just start with small batches to test your cat’s reaction. And yes, these treats freeze beautifully! Just pop them in a freezer bag and they’ll keep for up to 3 months. Thaw them at room temperature before serving – my cats actually love them slightly chilled in summer!
Are these treats safe for kittens?
Great question! While these hypoallergenic cat treats are gentle, I always recommend checking with your vet before giving them to kittens under 6 months. Their little tummies are still developing, so it’s best to be extra cautious. For older kittens, you can break the treats into smaller pieces – they’ll go crazy for them!
Can I substitute the pumpkin puree?
Absolutely! If your cat isn’t a pumpkin fan (though most are!), try mashed sweet potato or even plain cooked carrots. Just make sure whatever you use is unsweetened and free from spices. The key is keeping it simple and hypoallergenic – trust me, your cat will let you know what they prefer!
How many treats can I give my cat per day?
Even though these are healthy hypoallergenic cat treats, moderation is key. I stick to 1-2 treats per day for my adult cats – they’re small but packed with goodness. Remember, treats should never make up more than 10% of your cat’s daily calories. And always have fresh water available – the pumpkin puree helps with hydration too!
Nutritional Information for Hypoallergenic Cat Treats
Let’s break down the goodness in these hypoallergenic cat treats! Each treat packs about 15 calories – perfect for a little snack. They’ve got 0.7g of fat (thanks to that olive oil), 0.6g of protein from the egg, and 2g of carbs mainly from the oat flour and pumpkin. Plus, there’s a touch of fiber (0.3g) to keep things moving smoothly. Keep in mind, though, these numbers can vary slightly depending on your specific ingredients and brands. Always check labels for accuracy – Whiskers deserves the best!
Share Your Experience with Hypoallergenic Cat Treats
I’d love to hear how your cats enjoy these hypoallergenic treats! Drop a comment below or share your experience on social media – did your kitty go crazy for them? Any fun variations you tried? Let’s build a community of cat parents who care about safe, homemade snacks. Can’t wait to see your furry friends enjoying these treats!
Print
Hypoallergenic Cat Treats
- Total Time: 25 min
- Yield: 20 treats
- Diet: Low Lactose
Description
Simple homemade treats for cats with food sensitivities.
Ingredients
- 1 cup oat flour
- 1/2 cup pumpkin puree
- 1 egg
- 1 tbsp olive oil
Instructions
- Preheat oven to 350°F (175°C).
- Mix oat flour, pumpkin puree, egg, and olive oil in a bowl.
- Roll dough into small balls and flatten slightly.
- Place on a baking sheet and bake for 15 minutes.
- Let cool before serving.
Notes
- Store in an airtight container for up to a week.
- Check with your vet if your cat has severe allergies.
- Prep Time: 10 min
- Cook Time: 15 min
- Category: Pet Food
- Method: Baking
- Cuisine: N/A