You know that eager little face your cat makes when you open a can of tuna? That’s exactly how my cat, Whiskers, reacts every time I pull out these No-Bake Cat Treat Balls! I swear, she comes running from the other side of the house the second she hears the fridge door open. The best part? These healthy little bites take just minutes to whip up with simple ingredients you probably already have, and no oven required. I started making them when Whiskers turned her nose up at store-bought treats, and now she won’t settle for anything less. Trust me, once you see your cat’s reaction to these, you’ll be hooked too!
Why Your Cat Will Love These No-Bake Cat Treat Balls
Let me tell you why these little tuna balls became Whiskers’ obsession (and why your cat will go crazy for them too). First off, they’re ready in minutes – no waiting for the oven to preheat while your cat stares you down impatiently. The ingredients? Just simple, wholesome stuff: protein-packed tuna, gentle oat flour, and a pinch of catnip for that extra “oh wow!” factor.
Here’s what makes them purr-fect:
- No baking means no heat, no mess, and treats ready faster than you can say “pspsps”
- Real tuna gives that irresistible smell cats go wild for (my kitchen smells like a fish market afterward – worth it!)
- Oat flour is gentle on sensitive tummies – no weird fillers like store-bought treats
- That catnip kick makes these feel like a special occasion every time
Honestly, I’ve never seen Whiskers move so fast as when she hears the treat jar open. These are like kitty crack – in the best possible way!
Ingredients for No-Bake Cat Treat Balls
The beauty of these treats? You only need four simple ingredients to make something your cat will go bananas for. Here’s what you’ll need:
- 1 cup canned tuna in water – make sure it’s drained well to avoid soggy treats
- 1/2 cup oat flour – packed lightly, not too dense
- 1 tablespoon olive oil – helps bind everything together
- 1 teaspoon dried catnip – for that extra “yum!” factor
Ingredient Notes and Substitutions
Out of tuna? No problem! You can swap it for canned salmon or even cooked chicken – just make sure it’s shredded finely. The oat flour acts as a gentle binder, but if your cat has sensitivities, you can use coconut flour instead (just use a bit less since it absorbs more moisture). And if you’re fresh out of olive oil, coconut oil works great too – plus, it adds a shiny coat bonus!
The catnip is optional, but trust me, it’s what makes these treats irresistible. Fresh catnip works if you have it on hand, just double the amount since it’s less concentrated. These swaps keep the treats simple and healthy, no matter what’s in your pantry!
How to Make No-Bake Cat Treat Balls
Okay, let’s get rolling – literally! These no-bake cat treats are so easy, you’ll wonder why you ever bought store-bought ones. First, grab a medium mixing bowl and dump in your drained tuna. Use a fork to break it up really well – you want it flaky, not chunky. Now sprinkle in the oat flour, drizzle the olive oil, and add that magical catnip dust. Here’s where the fun begins!
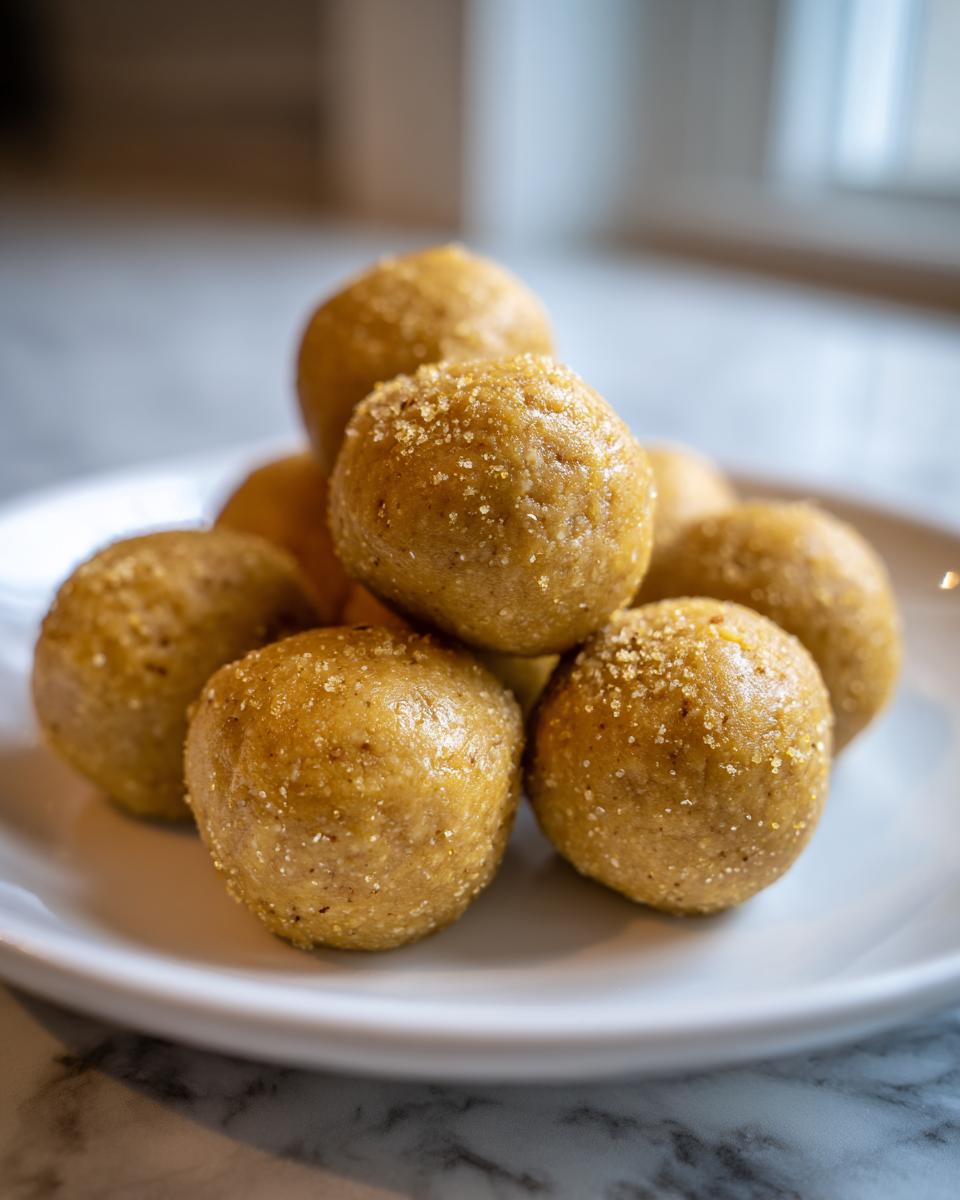
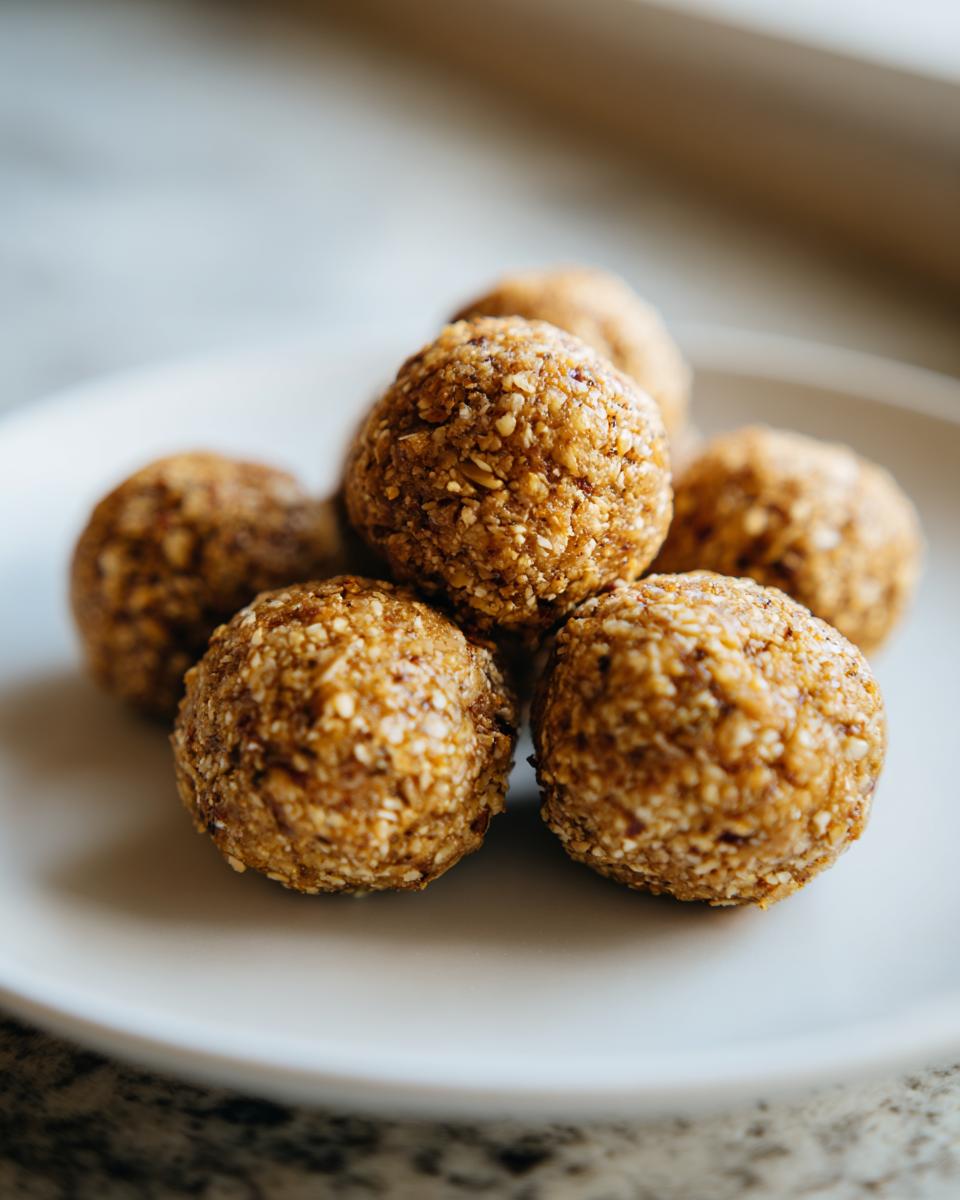
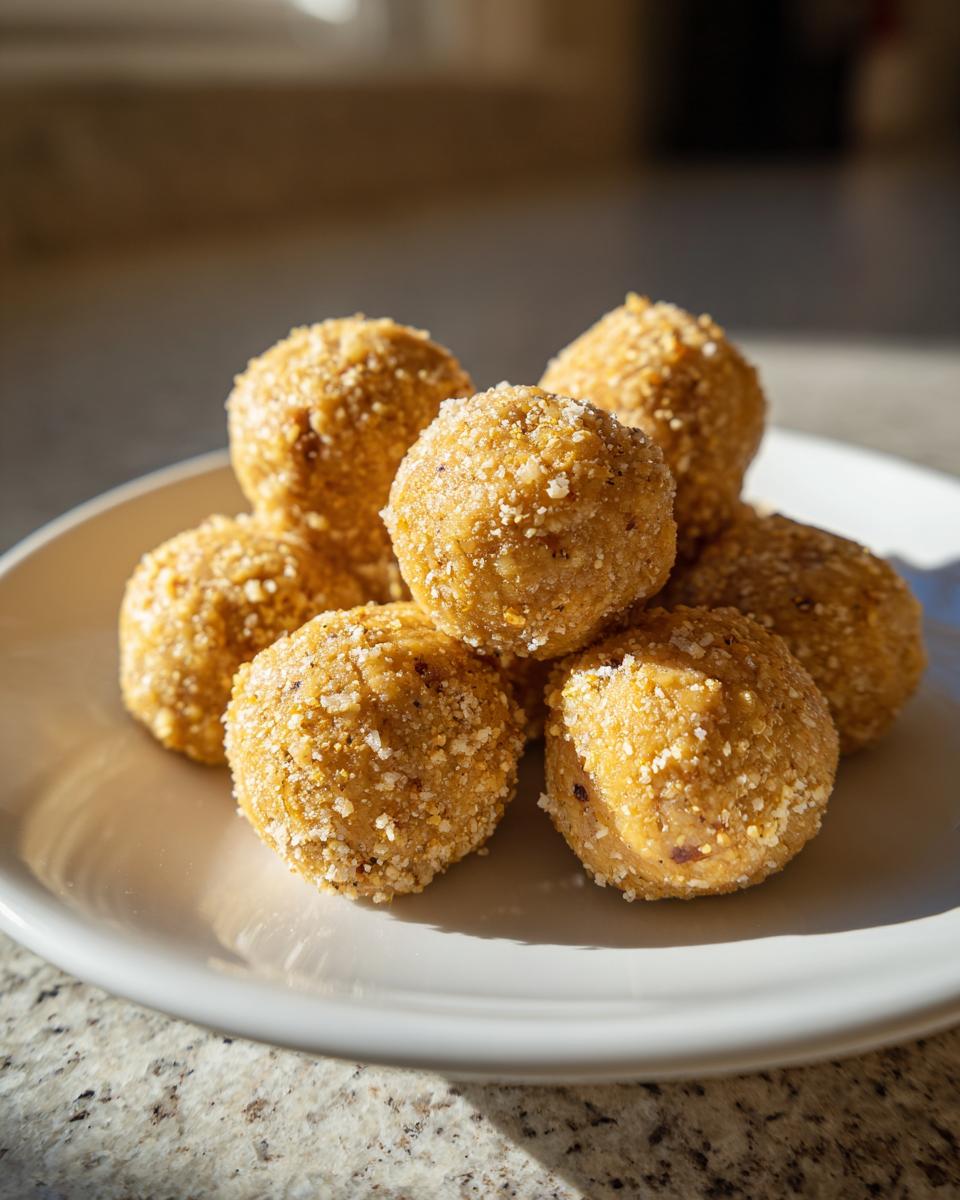
Mix everything together with your hands (yes, get in there!) until it forms a thick, slightly sticky dough. If it feels too wet, add a teaspoon more oat flour. Too dry? A few drops of water or extra olive oil will do the trick. Once it holds together when you squeeze it, pinch off small pieces and roll them between your palms into little balls – about the size of a blueberry for kittens or a cherry for adult cats.
Line them up on a plate or baking sheet, then pop them in the fridge for at least 30 minutes to firm up. That’s it! No oven, no waiting, just pure feline happiness ready to serve. I usually make a double batch because Whiskers goes through them so fast!

Tips for Perfect No-Bake Cat Treat Balls
Want pro-level cat treats? Here’s what I’ve learned: If the mixture sticks to your hands, wet them slightly before rolling – game changer! For picky eaters, make the balls smaller at first. Store them in an airtight container in the fridge, but trust me, they won’t last long. A little secret? Freeze half the batch in a ziplock bag for later – just thaw overnight in the fridge when you’re running low. Your cat will never know the difference, but they’ll definitely taste the love!
Storing and Serving No-Bake Cat Treat Balls
Once you’ve made these little tuna treats, store them in an airtight container in the fridge for up to 5 days. They firm up beautifully and stay fresh! I use them as rewards during playtime or as a special snack after dinner – Whiskers gets so excited, she practically dances in circles. Trust me, your cat will be begging for more!
Nutritional Information for No-Bake Cat Treat Balls
Just a quick heads up – these nutritional values are estimates and can vary depending on the specific ingredients or brands you use. Always double-check labels if your cat has dietary restrictions or allergies.
Frequently Asked Questions About No-Bake Cat Treat Balls
Can I use chicken instead of tuna?
Absolutely! Cooked, shredded chicken works great as a swap. Just make sure it’s plain (no seasoning or sauces) and finely shredded so it mixes well with the oat flour. Your cat will still go crazy for it!
How long do these treats last?
Stored in an airtight container in the fridge, these treats stay fresh for up to 5 days. If you want to make a bigger batch, freeze them! They’ll keep for about a month in the freezer – just thaw overnight in the fridge before serving.
Can I skip the catnip?
You can, but trust me, catnip is what makes these treats extra special! If you’re out, it’s fine to skip it, but your cat might not go as wild for them. Fresh catnip works too – just double the amount since it’s less concentrated.
Are these treats safe for kittens?
Yes, they’re safe for kittens! Just make the balls smaller so they’re easier for little mouths to handle. Keep an eye on their reaction, though – some kittens might prefer milder flavors at first.
Can I use a different flour?
Sure! Coconut flour works well, but use a bit less since it absorbs more moisture. Just avoid flours with gluten if your cat has sensitivities. The goal is to keep it gentle on their tummy!
Share Your No-Bake Cat Treat Balls Experience
Did your cat go crazy for these homemade treats? I’d love to hear about it! Share your photos or stories in the comments – seeing those happy kitty faces is my favorite part. Let’s celebrate those purrs together!
Print
No-Bake Cat Treat Balls
- Total Time: 40 min
- Yield: 12 treats
- Diet: Low Lactose
Description
Simple homemade cat treats that require no baking.
Ingredients
- 1 cup canned tuna in water, drained
- 1/2 cup oat flour
- 1 tablespoon olive oil
- 1 teaspoon dried catnip
Instructions
- Mix tuna, oat flour, olive oil, and catnip in a bowl.
- Roll the mixture into small balls.
- Refrigerate for 30 minutes before serving.
Notes
- Store in an airtight container in the fridge for up to 5 days.
- Adjust the size of the balls based on your cat’s preference.
- Prep Time: 10 min
- Cook Time: 0 min
- Category: Pet Food
- Method: No-Bake
- Cuisine: N/A