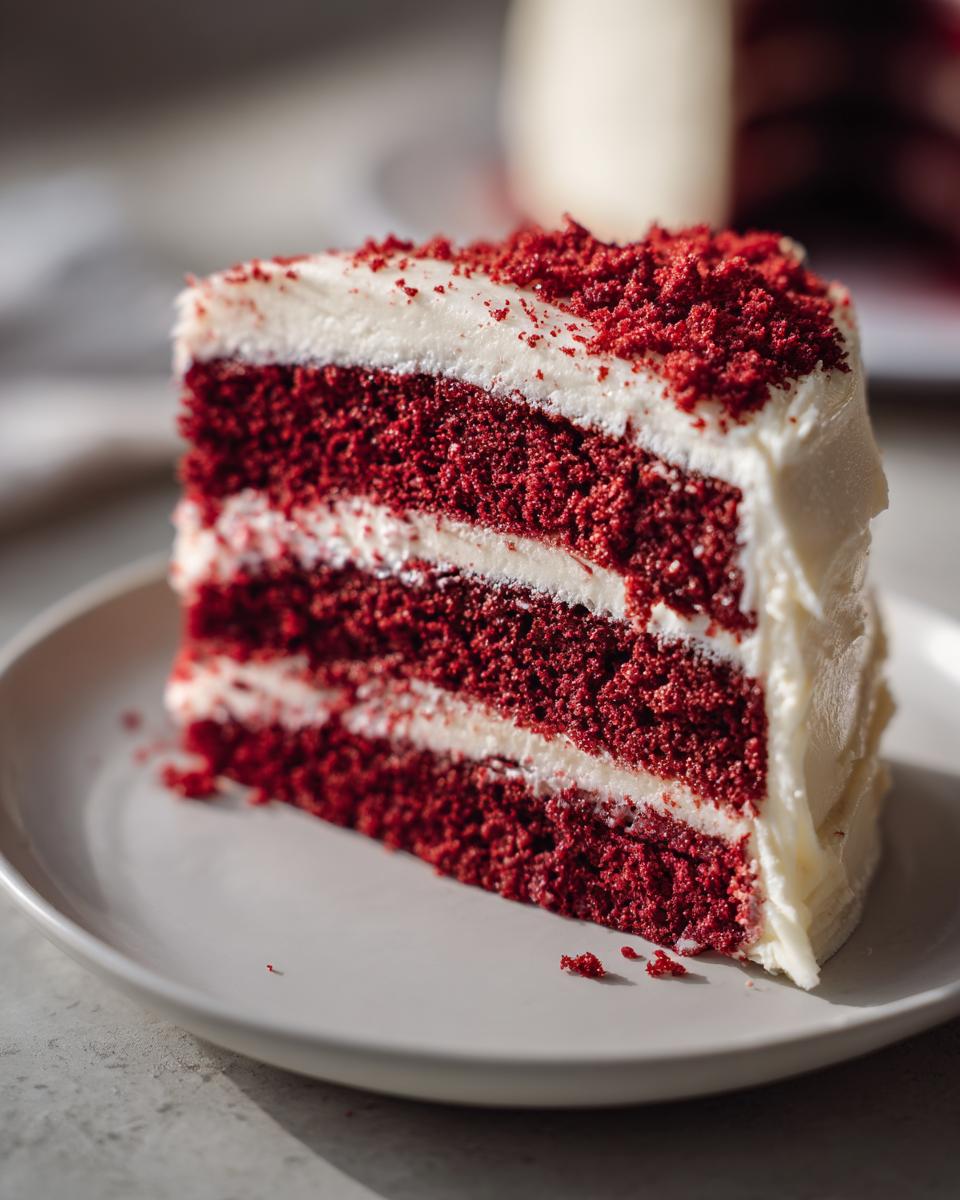
Oh, red velvet cake, my absolute favorite! There’s just something magical about that vibrant crimson color paired with the tang of cream cheese frosting, isn’t there? For me, this isn’t just any cake; it’s pure nostalgia in every bite. I remember my mom making this for my birthday every year, and the smell of it baking would just fill the whole house with this warm, chocolatey, slightly tangy aroma. It’s a classic for a reason, and let me tell you, this Red Velvet Cake with Cream Cheese Icing recipe is truly the best. It’s decadent, it’s beautiful, and it’s surprisingly straightforward to whip up!
Why You’ll Love This Red Velvet Cake with Cream Cheese Icing
Get ready to fall head over heels for this cake, trust me! Here’s why it’s going to be your new go-to:
- That Irresistible Flavor Combo: The perfect harmony of tender, subtly chocolatey red velvet cake and rich, tangy cream cheese frosting. It’s just divine!
- Stunning Visual Appeal: That gorgeous deep red color is always a showstopper – perfect for birthdays, holidays, or just because!
- Surprisingly Easy to Make: Don’t be intimidated by its fancy look. This recipe is totally doable, even for beginner bakers.
- Crowd-Pleaser Guarantee: Seriously, who doesn’t love red velvet? This cake is always a hit with everyone, young and old.
- Perfect Texture Every Time: You’ll get that wonderfully moist and tender crumb that makes red velvet so special.
Ingredients for the Perfect Red Velvet Cake with Cream Cheese Icing
Alright, let’s get our mise en place ready! Having everything measured out and ready to go makes all the difference when you’re baking. Trust me on this one. For the most amazing red velvet cake and that dreamy cream cheese frosting, you’ll want these babies:
For the Red Velvet Cake:
- 2 1/2 cups all-purpose flour – make sure it’s all-purpose!
- 1 1/2 cups granulated sugar – for that perfect sweetness.
- 1 teaspoon baking soda – don’t skip this, it helps with the lift!
- 1 teaspoon cocoa powder – just a touch for that subtle chocolate depth.
- 1/2 teaspoon salt – to balance everything out.
- 1 cup buttermilk – this is best at room temperature, it really helps the cake’s texture!
- 1/2 cup vegetable oil – keeps the cake wonderfully moist.
- 2 large eggs – room temperature is ideal here too.
- 1 teaspoon vanilla extract – real vanilla makes a big difference.
- 1 ounce red food coloring – go for gel or liquid, whatever you have, but be bold!
- 1 teaspoon white vinegar – this reacts with the baking soda for that extra oomph!
For the Cream Cheese Icing:
- 8 ounces cream cheese – make sure it’s softened, like really soft!
- 1/2 cup unsalted butter – keep this softened too, same as the cream cheese.
- 1 teaspoon vanilla extract – because everything’s better with vanilla.
- 4 cups powdered sugar – sifted is even better for a super smooth frosting, but not essential if you’re in a rush!
Essential Equipment for Making Red Velvet Cake
Okay, so to make this gorgeous Red Velvet Cake with Cream Cheese Icing turn out just right, you’ll want to have a few key players ready in your kitchen. Nothing too fancy, just the trusty basics! You’ll definitely need two 9-inch round cake pans – make sure they’re the same size. And a good electric mixer, whether it’s a stand mixer or a hand mixer, will make whipping up that frosting a breeze. Oh, and don’t forget a whisk, a couple of mixing bowls (at least one big one!), and a spatula or wooden spoon. A wire rack for cooling is super important too!
Step-by-Step Guide: Crafting Your Red Velvet Cake
Alright, let’s get this beautiful Red Velvet Cake baked! It’s not difficult at all, just follow these steps and you’ll have a stunning cake ready for frosting. It’s kind of like making my fluffy buttermilk pancakes – starting with the right batter makes all the difference!
Preparing the Cake Pans and Oven
First things first, let’s get that oven nice and toasty! Preheat it to 350 degrees Fahrenheit (that’s 175 degrees Celsius). Then, grab your two 9-inch round cake pans. Give them a good greasing and flouring. You want to make sure no delicious cake bits get stuck!
Mixing the Dry Ingredients
Grab a nice big bowl – the bigger the better, honestly. Toss in your all-purpose flour, granulated sugar, baking soda, that little bit of cocoa powder, and the salt. Give it all a good whisk together. This just makes sure everything is evenly spread out, so you don’t get any surprise bland bites.
Combining the Wet Ingredients
Now, in a separate bowl, let’s get our wet ingredients together. Pour in that lovely buttermilk (make sure it’s at room temp if you can!), the vegetable oil, your beaten eggs, the vanilla extract, and that vibrant red food coloring. Whisk it all up until it looks like a beautiful, rich red potion.
Creating the Red Velvet Batter
Okay, this is where the magic really starts to happen. Pour all those wet ingredients into the big bowl with your dry ingredients. Now, mix them together, but here’s the super important part: mix *just* until everything is combined. Seriously, don’t go crazy with the mixer here. Overmixing makes a tough cake, and we want tender!
The Vinegar and Baking Soda Reaction
This is a cool little trick! Grab a tiny bowl and whisk together the white vinegar and baking soda. It’s going to fizz up like a science experiment – it’s so fun to watch! Once it’s done fizzing, gently stir this mixture right into your cake batter. It just adds a little extra lift and helps that classic red velvet flavor.
Baking and Cooling the Red Velvet Cake Layers
Divide your gorgeous red batter evenly between those prepared cake pans. Pop them into your preheated oven. They’ll need about 30 to 35 minutes. You’ll know they’re ready when a wooden skewer or a thin knife inserted into the center comes out clean. Let the cakes cool in the pans for about 10 minutes – this helps them firm up a bit. Then, carefully flip them onto a wire rack to cool completely. This is crucial – don’t even think about frosting a warm cake!

Whipping Up the Cream Cheese Icing
Now for the best part – the frosting! You really can’t have red velvet without that luscious, tangy cream cheese icing. It’s what takes this cake from delicious to absolutely unforgettable. Making it is honestly a breeze, so don’t stress! My favorite way involves making sure both the cream cheese and the butter are super soft – like, leave them on the counter for an hour soft. This makes a world of difference. You can check out how I use cream cheese in my strawberry cream cheese pound cake or my caramel brownie cheesecake too!
Just pop your softened cream cheese and butter into a bowl. Beat them with your mixer until they’re perfectly smooth and creamy. Then, add in that lovely vanilla extract and slowly, gradually, add in your powdered sugar. Beat it all together until it’s light, fluffy, and totally irresistible. You want it smooth enough to spread easily!
Assembling Your Red Velvet Cake with Cream Cheese Icing
Okay, drumroll please! It’s time to put the whole gorgeous creation together. Make absolutely sure your cake layers are fully cooled – I can’t stress this enough! If they’re even a little warm, that luscious cream cheese frosting will melt right off. So, once they’re totally cool, place one cake layer on your serving plate. Dollop a generous amount of that fluffy cream cheese frosting on top and spread it evenly. Then, carefully place the second cake layer on top, and crumb coat the entire cake, followed by your final, beautiful layer of frosting. This is where your cake really starts to shine!

Tips for the Best Red Velvet Cake with Cream Cheese Icing
You know, even with the best recipe, a few little tricks can really elevate your Red Velvet Cake. It’s all about those small details! First off, use room temperature ingredients for both the cake and the frosting – I can’t stress this enough! Softened butter and cream cheese are non-negotiable for a smooth, lump-free frosting. Same goes for the buttermilk and eggs in the cake; they just incorporate so much better.
And remember that bit about not overmixing? That’s key for a tender crumb. Honestly, once you add the wet to the dry, just mix until it’s *barely* combined. A few little streaks of flour are totally fine. And for the frosting, if it’s too thin, don’t panic! Just pop it in the fridge for 15-20 minutes to firm up. If it’s too thick, a tiny splash more buttermilk or milk can work wonders. Oh, and a great vanilla extract, like the one I use in my classic chocolate chip cookies, really makes a difference!
Ingredient Substitutions and Notes
Sometimes you’re halfway through baking and realize you’re missing something, or maybe you just want to tweak things a bit. Totally get it! For our amazing Red Velvet Cake, if you find yourself without buttermilk, don’t fret. You can easily make a substitute by stirring 1 tablespoon of white vinegar or lemon juice into a measuring cup of milk and letting it sit for about 5 minutes until it looks a little curdled. It works just like the real deal! And for that vibrant red color, liquid food coloring is fine, but if you can get your hands on gel food coloring, it tends to give a more intense color without adding too much extra liquid. This recipe is pretty forgiving, so go ahead and have fun with it!
Serving and Storing Your Red Velvet Cake
This Red Velvet Cake with Cream Cheese Icing is just begging to be shared! For a real showstopper, slice it and serve with a small dollop of extra frosting or even some fresh berries on the side. It’s perfect with a glass of cold milk or a hot cup of coffee. Now, when it comes to storing those delicious leftovers, you’ll want to keep it in the fridge because of that cream cheese frosting. Pop it in an airtight container or cover the cut surfaces with plastic wrap. It should stay wonderfully fresh and delicious for about 3-4 days!

Frequently Asked Questions about Red Velvet Cake
What gives Red Velvet Cake its distinct red color?
Oh, that gorgeous red hue! Traditionally, it comes from a chemical reaction between the acidic ingredients like buttermilk and vinegar and the natural compounds in cocoa powder. This reaction used to create a reddish-brown color. Nowadays, though, most recipes, including this one, use red food coloring to get that vibrant, unmistakable crimson we all love! It really makes the cake pop.
Why is it called “Red Velvet” cake?
That’s a fun one! The “velvet” part really describes the texture of the cake. It’s super smooth, fine-grained, and just melts in your mouth, like velvet fabric. The “red” part, as we just talked about, comes from the color, whether it’s from the reaction of ingredients or added food coloring. It’s a cake that’s as lovely to feel as it is to eat!
How do I make sure my Red Velvet Cake stays moist?
Keeping your red velvet cake moist is key! The secret weapons in this recipe are the vegetable oil and the buttermilk. They add so much moisture that it stays tender. Also, be super careful not to overmix your batter once you combine the wet and dry ingredients, and definitely don’t overbake it! Just bake it until a skewer comes out clean. Letting it cool completely before frosting also helps it retain all that amazing moisture.
Can I make the cake without buttermilk?
Absolutely! If you don’t have buttermilk on hand, don’t sweat it! You can easily make your own substitute. Just take a measuring cup, fill it with regular milk (any kind will do), and stir in about 1 tablespoon of white vinegar or lemon juice. Let it sit for about 5 to 10 minutes until it looks a little curdled. Voilà! You’ve got yourself a perfect buttermilk substitute that works just as well for this red velvet cake.
Nutritional Information
Just a little heads-up, the nutritional info below is an estimate for one slice of this glorious cake. Since we all use different brands and maybe tweak things just a tiny bit, the exact numbers can vary. But it gives you a pretty good idea!
- Serving Size: 1 slice
- Calories: 450
- Sugar: 55g
- Fat: 25g
- Protein: 4g
Share Your Red Velvet Creation!
Alright bakers, I’d LOVE to see your Red Velvet Cake with Cream Cheese Icing! Did it turn out amazing? Did everyone devour it in minutes? Snap a pic and tag me on social media, or leave a comment below to tell me all about it. Your creations always make my day! You can also reach out through my contact page if you have any burning questions or want to share more stories!
Print
Red Velvet Cake with Cream Cheese Icing
- Total Time: 60 min
- Yield: 12 servings
- Diet: Vegetarian
Description
A classic red velvet cake recipe with a tangy cream cheese frosting.
Ingredients
- 2 1/2 cups all-purpose flour
- 1 1/2 cups granulated sugar
- 1 teaspoon baking soda
- 1 teaspoon cocoa powder
- 1/2 teaspoon salt
- 1 cup buttermilk
- 1/2 cup vegetable oil
- 2 large eggs
- 1 teaspoon vanilla extract
- 1 ounce red food coloring
- 1 teaspoon white vinegar
- 8 ounces cream cheese, softened
- 1/2 cup unsalted butter, softened
- 1 teaspoon vanilla extract
- 4 cups powdered sugar
Instructions
- Preheat your oven to 350°F (175°C). Grease and flour two 9-inch round cake pans.
- In a large bowl, whisk together the flour, sugar, baking soda, cocoa powder, and salt.
- In a separate bowl, combine the buttermilk, oil, eggs, vanilla extract, and red food coloring.
- Add the wet ingredients to the dry ingredients and mix until just combined.
- In a small bowl, whisk together the vinegar and baking soda. The mixture will fizz. Add this to the cake batter and stir gently.
- Divide the batter evenly between the prepared cake pans.
- Bake for 30-35 minutes, or until a wooden skewer inserted into the center comes out clean.
- Let the cakes cool in the pans for 10 minutes before inverting them onto a wire rack to cool completely.
- For the frosting, beat the softened cream cheese and butter together until smooth.
- Add the vanilla extract and powdered sugar, beating until well combined and fluffy.
- Spread the frosting evenly over the cooled cake layers.
Notes
- Ensure your buttermilk is at room temperature for best results.
- Do not overmix the batter once the wet and dry ingredients are combined.
- Allow the cakes to cool completely before frosting to prevent the frosting from melting.
- Prep Time: 25 min
- Cook Time: 35 min
- Category: Dessert
- Method: Baking
- Cuisine: American