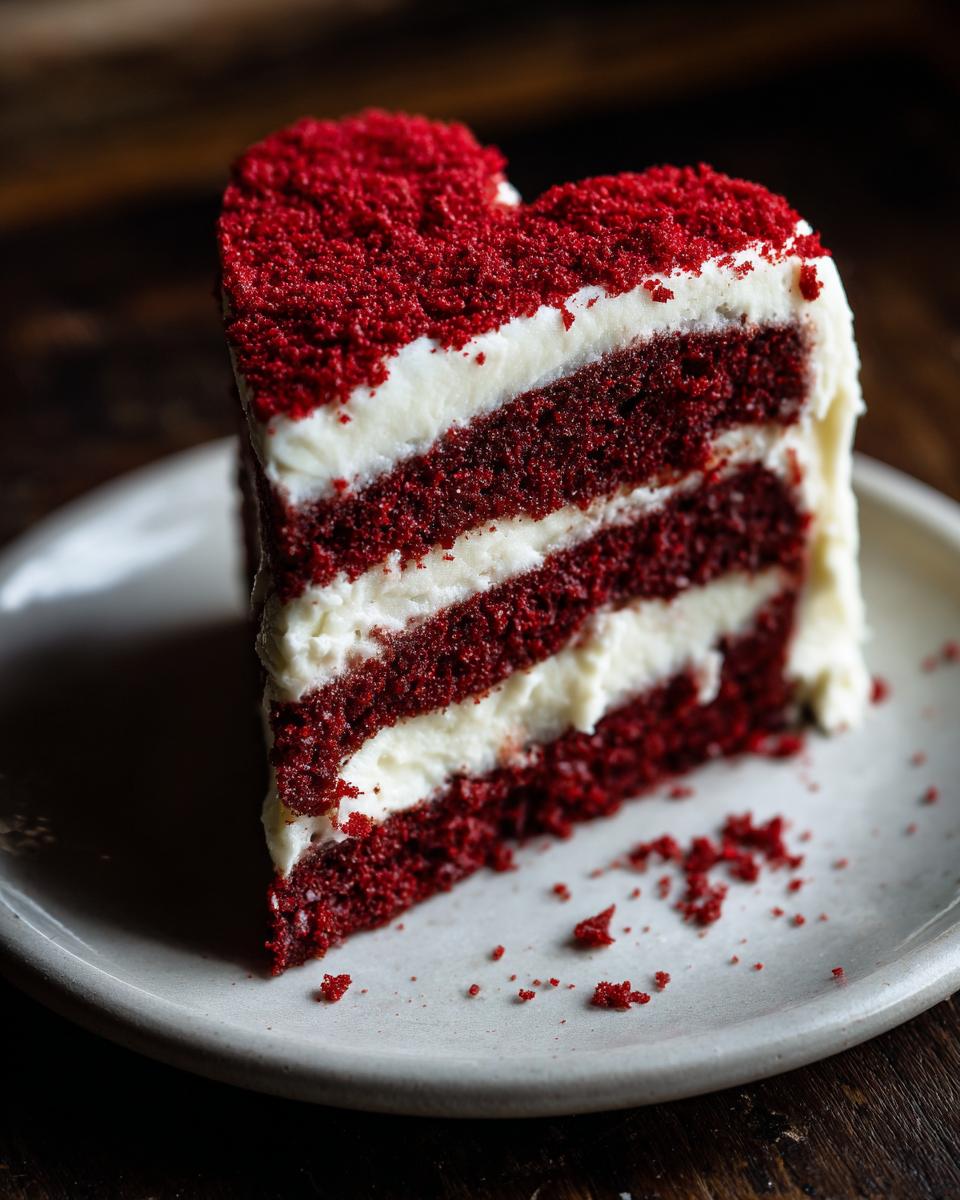
Okay, so, you know how sometimes you just *need* to bake something special? For anniversaries, Valentine’s Day, or even just because? Well, let me tell you, this Red Velvet Heart Cake is exactly what you need. Seriously, the moment you cut into that gorgeous heart shape, it’s just pure joy. And the flavor? To die for! It’s rich, it’s moist, it’s everything you dream a cake should be. Plus, guess what? It’s easier than you think!
I’ve been baking since I was knee-high to a grasshopper. My grandma taught me everything, and every cake tells a tiny story. This is one you can make with love for your loved ones.
Why You’ll Love This Red Velvet Heart Cake
Listen, this cake is a winner, and here’s why you’re gonna fall head over heels for it:
- Heart-Shaped Perfection: Seriously stunning! It’s the perfect centerpiece.
- Flavor Explosion: That classic red velvet taste is so darn good.
- Easy Peasy: Don’t let fancy fool you; it’s surprisingly simple to whip up.
- Special Occasion Ready: Makes any day feel like a celebration.
Ingredients You’ll Need for Your Red Velvet Heart Cake
Alright, so before we get started, let’s make sure we have all our goodies! This part is super important, trust me. You really don’t want to realize you’re missing something halfway through. We’ll be splitting up the ingredients for the cake and the frosting, so you can easily keep track.
For the cake part, you’ll need one cup of all-purpose flour, a half teaspoon of baking soda, and just a pinch, like a quarter teaspoon, of salt. You’ll also need a half cup of unsalted butter (make sure it’s softened!), one and a half cups of granulated sugar, one big old large egg, one teaspoon of vanilla extract (the good stuff!), one cup of buttermilk (it really makes a difference!), one whole ounce of red food coloring (for that perfect color!), and one teaspoon of white vinegar (trust me!).
Now, for the frosting, ’cause what’s a cake without fabulous frosting? You’ll need eight ounces of cream cheese, make sure it’s softened, too. Then, add a half cup of unsalted butter (also softened!), three whole cups of powdered sugar, and a teaspoon of vanilla extract. Easy-peasy, right?
Let’s Bake: Step-by-Step Instructions for the Red Velvet Heart Cake
Okay, friends, let’s get down to the fun part! Making this Red Velvet Heart Cake is easier than you think. I promise, and I’m gonna walk you through it nice and slow, so don’t you worry. We’ll start with the batter, then get that masterpiece baking, then the frosting, and finally, we’ll put it all together to create something absolutely magical!
Preparing the Cake Batter
First things first: preheat your oven to 350°F (175°C). Next, grease and flour your heart-shaped cake pan – this is important, so your cake doesn’t stick! In a big bowl, whisk together your flour, baking soda, and salt. Easy as that! Now, in a separate bowl – I use my stand mixer, but a hand mixer works too – cream together the butter and sugar until light and fluffy. Ah, that’s music to my ears! Then, beat in the egg and the vanilla extract. Next, in a smaller bowl, whisk together the buttermilk, the red food coloring (careful, it stains!), and the vinegar.
Then, and this is the key to a perfect cake, gradually add the dry ingredients to the wet ingredients, alternating with the buttermilk mixture, beginning and ending with the dry stuff. Don’t overmix, though! Just until everything is *just* combined. You wanna keep the batter light and airy, you know?
Baking the Red Velvet Heart Cake to Perfection
Now, pour that beautiful red batter into your prepared heart-shaped pan and pop it in the oven. Bake for about 30 to 35 minutes, or until a toothpick inserted into the center comes out clean. I always start checking at 30 minutes, just to be safe. Every oven is different, you know? While it’s baking, try to resist opening the oven door, I know, I know, it’s hard!
Once it’s done, let it cool in the pan for about 10 minutes. This gives it a little time to set up. Then, carefully flip it over onto a wire rack. Let it cool COMPLETELY before frosting. Don’t rush this part. I know all about wanting to get a taste of it, but trust me, a completely cooled cake is *crucial* for not messing up your beautiful frosting.
Making the Cream Cheese Frosting
Okay, while the cake is cooling, let’s get that frosting ready! First of all, the most critical part, make sure your cream cheese *and* butter are softened! That’s right, room temperature, people! Beat them together until they’re nice and smooth – no lumps allowed! Then, gradually add the powdered sugar, a little at a time, and the vanilla extract, beating until it’s light and fluffy. You want that perfect, cloud-like texture! Taste it, just to be sure. It’s important to make sure it’s perfect, right?
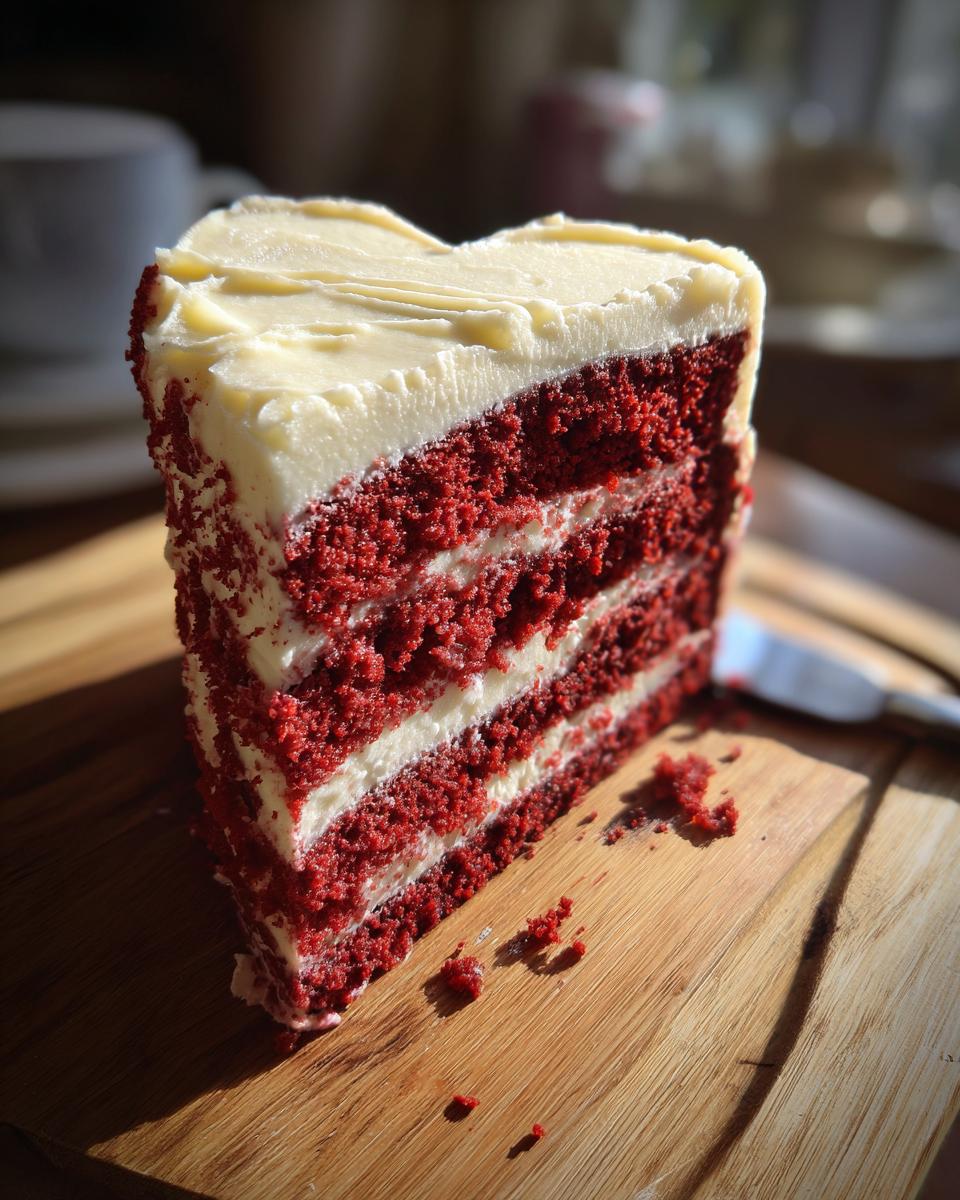
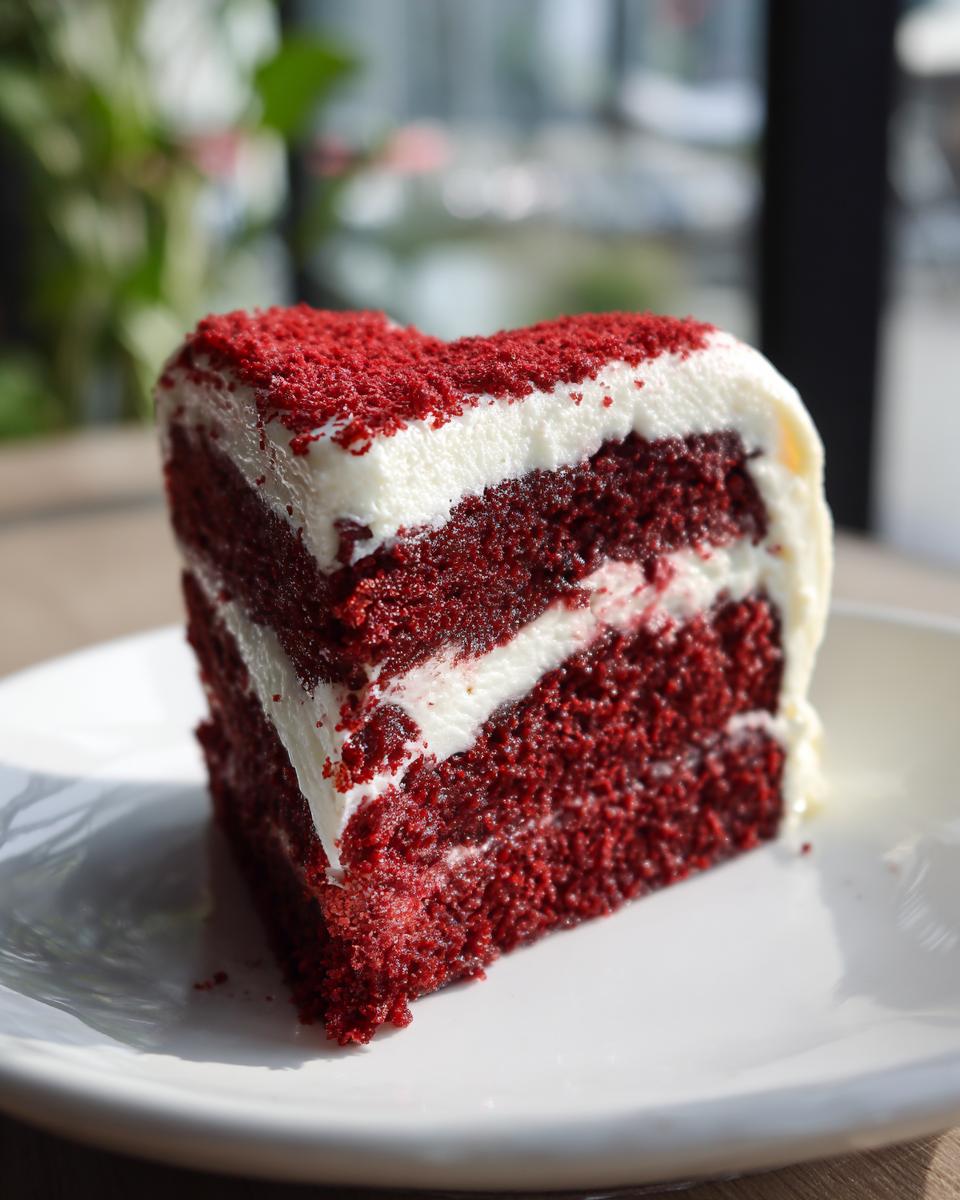
Assembling Your Red Velvet Heart Cake
Alright, time for the grand finale! Once your cake is completely cool, take your oh-so-luscious frosting. Place the cake on a serving plate or cake stand. Frost that beauty! You can go all-out with a smooth, perfectly even layer, or get a little rustic – either way, it’ll be amazing!
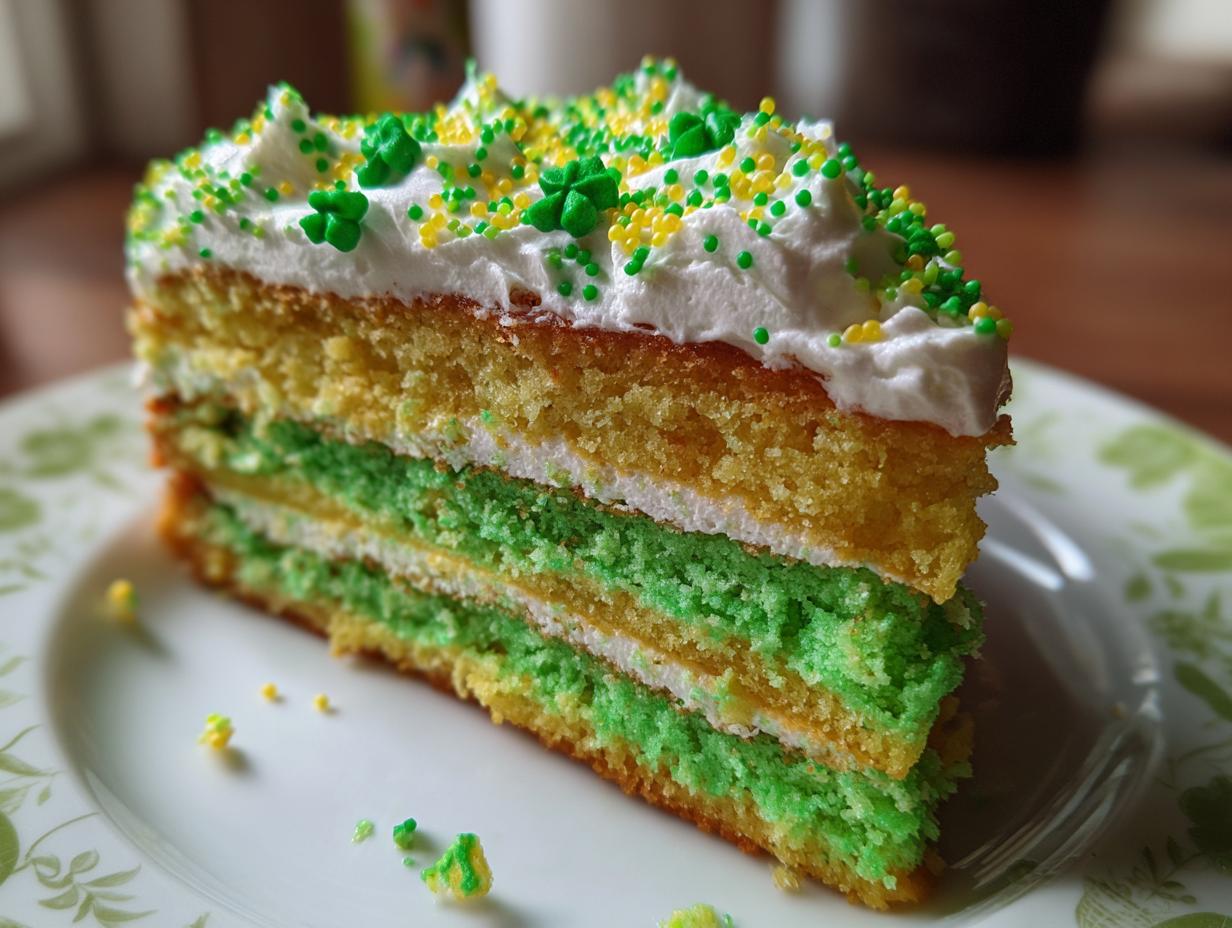
And then – decorate! Fresh berries? Sprinkles? Even some chocolate shavings? Go wild! This cake is yours, so make it your own!

Tips for Success: Achieving the Perfect Red Velvet Heart Cake
Okay, so, listen up, because even the simplest recipes have little secrets to make them *amazing*. First off, don’t overmix that batter! I know, I know, you just wanna get that cake in the oven, but seriously, overmixing equals a tough cake. And no one wants that! Next, make sure your ingredients are fresh. Old baking soda? Forget about it! You want that lift. And finally, patience pays off. Wait for the cake to cool *completely* before frosting. Trust me, it’s worth the wait for that perfect look and taste!
Oh, and one more thing: don’t be afraid to experiment! Baking is supposed to be fun! Even if you mess up, you’ll still have a delicious cake (maybe a little misshapen, but, you know, still yummy!).
Variations: Customize Your Red Velvet Heart Cake
Okay, friends, let’s get those creative juices flowing! This Red Velvet Heart Cake is amazing as is, but you know me; I *love* to play around. Want a touch more chocolate? Toss in some chocolate chips! Maybe a swirl of raspberry preserves in the batter? Ooh la la! And for the frosting, you could add a little bit of lemon zest for a zesty kick, or even some chopped nuts for a bit of crunch. The possibilities are endless!
Serving Suggestions for Your Red Velvet Heart Cake
Okay, so, now you’ve baked this gorgeous Red Velvet Heart Cake. But what do you serve with it? Well, I have a few ideas! A scoop of vanilla ice cream is always a classic. A cup of coffee or a nice, hot chocolate—yum! Or, for something a bit fancier, a glass of champagne. Trust me, it’s the perfect combination for any celebration you’ve got planned! Now go have fun!
Storage & Reheating Instructions for Red Velvet Heart Cake
So, you’ve baked up your gorgeous cake. Congrats! Now, what do you do with the leftovers? Well, if you have any, that is! Store your Red Velvet Heart Cake in an airtight container in the fridge. That’ll keep it fresh and moist for about 3 to 4 days.
Want a slice later? You can eat it straight from the fridge (cold cake is great, too!) or let it sit at room temperature for about 15-20 minutes to soften up slightly. You can also warm it up a *tiny* bit in the microwave – just a few seconds – but be careful not to overdo it! You don’t want to dry it out! You can do that one slice at a time too!
Estimated Nutritional Information for Red Velvet Heart Cake
Okay, friends, let’s talk numbers! Keep in mind, this is just an estimate, since everyone’s ingredients and slice sizes are a little different. But for one slice, you’re looking at about 350 calories, with a bunch of yummy sugar, fat, and all the other good stuff listed above! Enjoy it in moderation, though! 😉
Frequently Asked Questions About Red Velvet Heart Cake
I know, I know, you probably have a million questions buzzing around in your head! Baking can be like that. So, I figured I’d try to get ahead and answer some of the most common ones that people always ask me when I serve this Red Velvet Heart Cake. Hopefully, this helps, and happy baking!
Can I make this cake ahead of time?
Absolutely! That’s one of the best things about this recipe. You can bake the cake a day or two in advance. Just be sure to let it cool completely, and then wrap it tightly in plastic wrap before popping it in the fridge. Then, frost it right before you’re ready to serve. This is how I always do it, especially for Valentine’s Day where I’m busy. Makes your life easier, trust me!
My cake pan isn’t heart-shaped. Can I still make this?
Of course! Don’t let a heart-shaped pan hold you back. You can totally use a round or square pan if that’s what you have. The baking time might vary slightly, so keep an eye on it. Or, if you’re feeling extra crafty, you can bake the cake in a square pan and use a heart-shaped cookie cutter to make the shapes! Just be sure to use all the batter.
What if I don’t have buttermilk?
Oh, shoot! No buttermilk? Okay, no problem. You can make a buttermilk substitute using regular milk and lemon juice or white vinegar. Just add one tablespoon of lemon juice or vinegar to one cup of milk, let it sit for about 5 minutes, and then use it in the recipe. It’s not *quite* the same, but it’ll definitely work in a pinch. Plus you can also find buttermilk at most stores, so if you like baking, you can buy some!
How do I store the leftovers?
If there are any leftovers (and I highly doubt it, this cake can vanish in minutes!), store them in an airtight container in the fridge. It’ll stay fresh for about 3-4 days. You can also freeze slices, wrapped tightly, for a longer period! Just make sure to bring it to room temperature before you dig in. Delicious cake for days!
Ready to Bake? Let’s Get Started!
I hope you’re ready, because I am! Grab your ingredients, preheat your oven, put on some music, and let’s make some magic! Don’t forget to take photos and share your gorgeous Red Velvet Heart Cake creations – I can’t wait to see them!
Print
Red Velvet Heart Cake
- Total Time: 50 min
- Yield: 8 servings
- Diet: Vegetarian
Description
A delicious red velvet cake shaped like a heart, perfect for special occasions.
Ingredients
- 1 cup all-purpose flour
- 1/2 teaspoon baking soda
- 1/4 teaspoon salt
- 1/2 cup unsalted butter, softened
- 1 1/2 cups granulated sugar
- 1 large egg
- 1 teaspoon vanilla extract
- 1 cup buttermilk
- 1 ounce red food coloring
- 1 teaspoon white vinegar
- Frosting: 8 ounces cream cheese, softened
- 1/2 cup unsalted butter, softened
- 3 cups powdered sugar
- 1 teaspoon vanilla extract
Instructions
- Preheat your oven to 350°F (175°C). Grease and flour a heart-shaped cake pan.
- In a bowl, whisk together the flour, baking soda, and salt.
- In a separate bowl, cream together the butter and sugar until light and fluffy. Beat in the egg and vanilla.
- In a small bowl, combine the buttermilk, food coloring, and vinegar.
- Gradually add the dry ingredients to the wet ingredients, alternating with the buttermilk mixture, beginning and ending with the dry ingredients.
- Pour the batter into the prepared pan and bake for 30-35 minutes, or until a toothpick inserted into the center comes out clean.
- Let the cake cool in the pan for 10 minutes before inverting it onto a wire rack to cool completely.
- For the frosting, beat together the cream cheese and butter until smooth. Gradually add the powdered sugar and vanilla, beating until light and fluffy.
- Frost the cooled cake.
Notes
- You can add chocolate chips to the batter for extra flavor.
- Decorate with sprinkles or fresh berries.
- Prep Time: 20 min
- Cook Time: 30 min
- Category: Dessert
- Method: Baking
- Cuisine: American