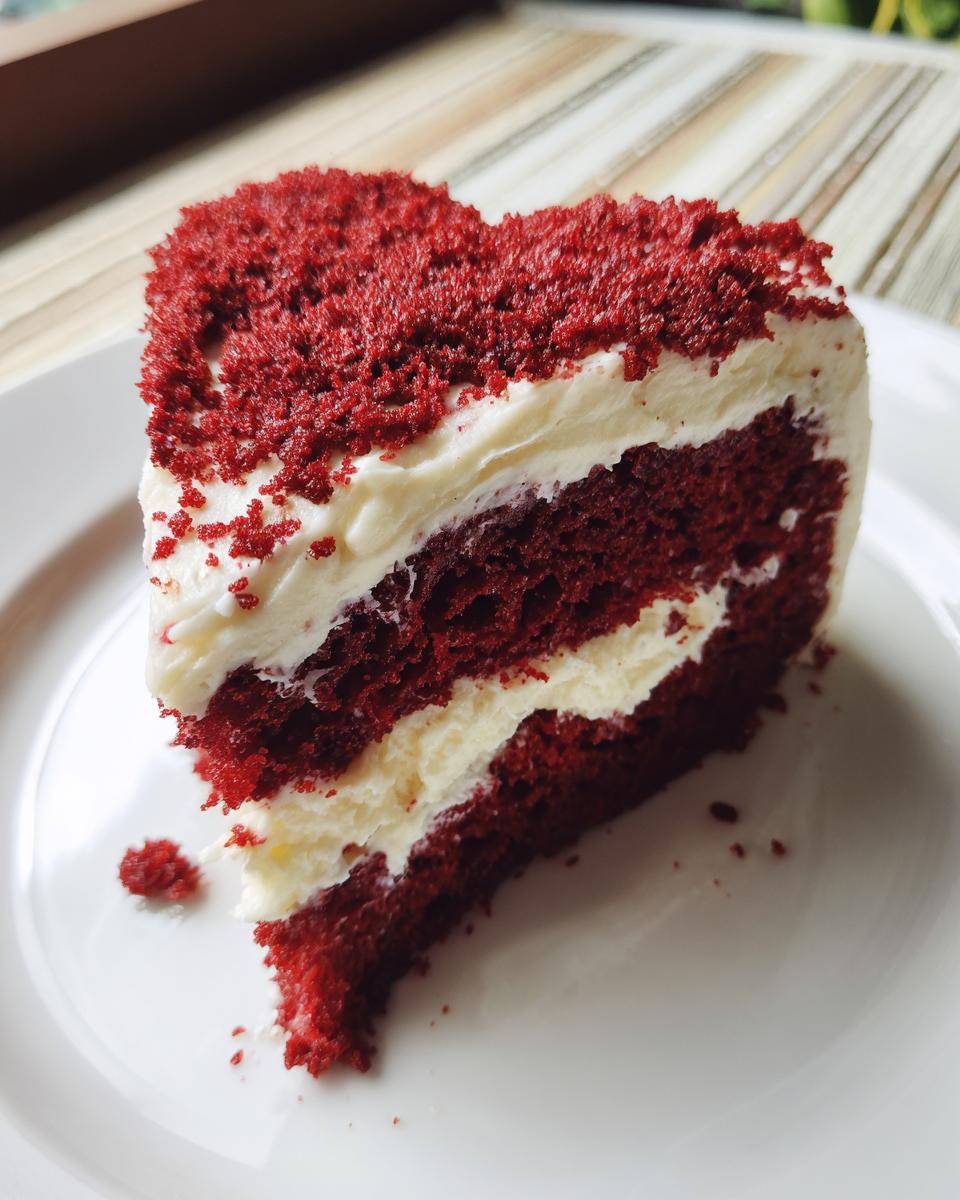
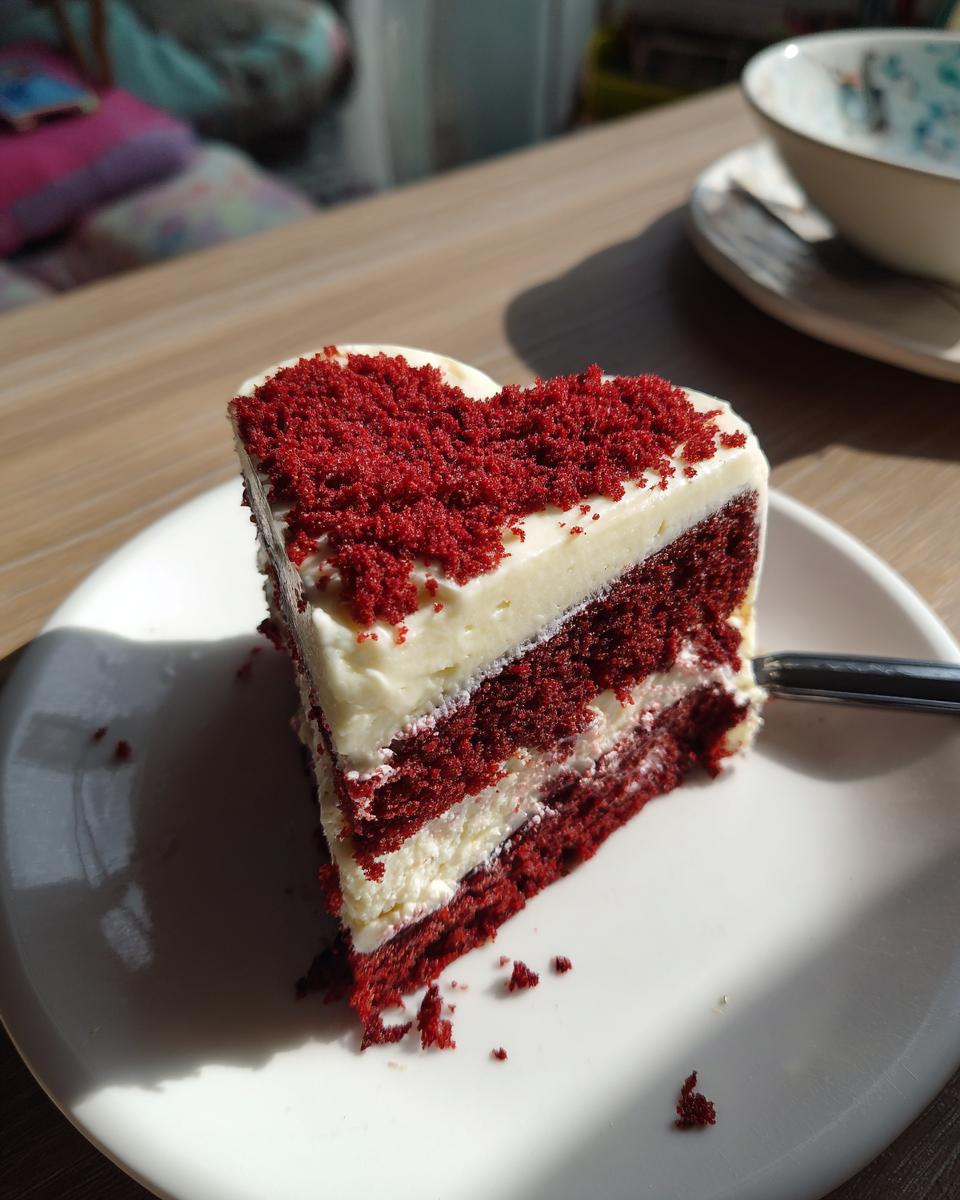
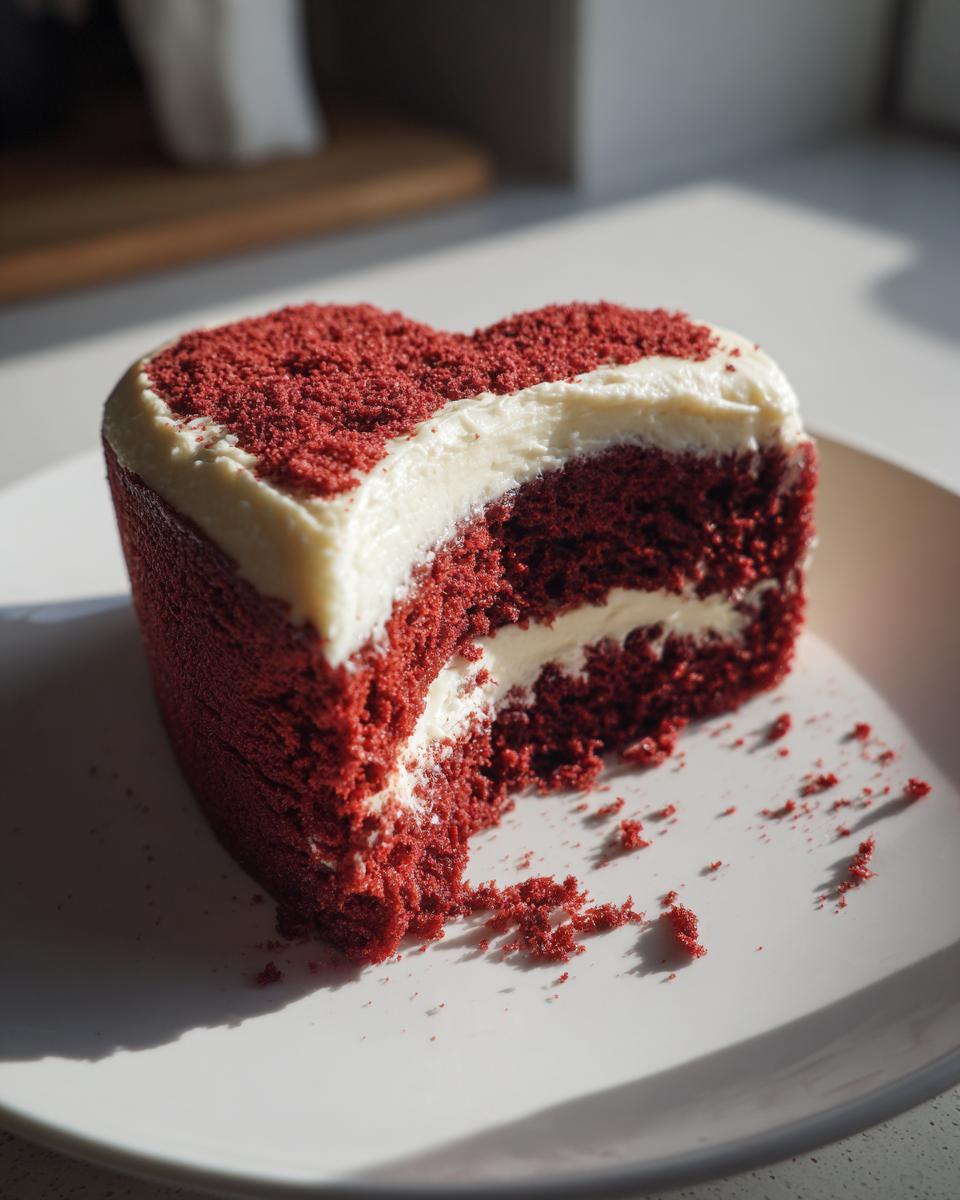
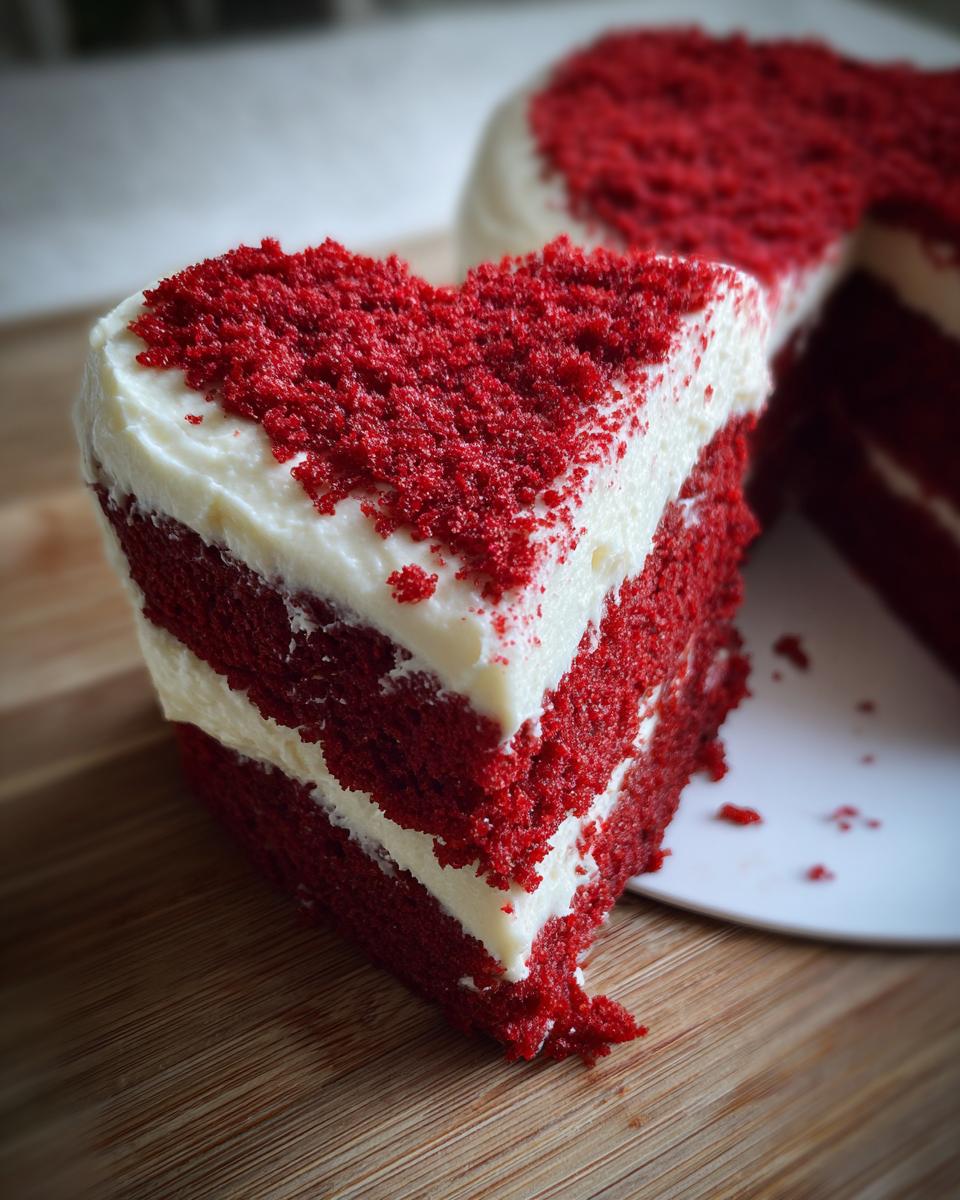
Alright, you guys, Valentine’s Day is just around the corner, and I’m already dreaming of sweet treats! Forget the store-bought chocolates this year – we’re making something extra special, a **Red Velvet Heart‑Shaped Cake**! I’m talking about a cake that’s not only gorgeous, with its perfectly adorable shape, but it’s also incredibly delicious. Every year, I try to outdo myself with a show-stopping dessert, and this year, I think I’ve really nailed it!
I’ve been baking for ages, ever since I was a little kid helping my grandma in the kitchen. She always said, “Baking is love made edible,” and I totally believe it. Every recipe I write comes from the heart, and I’m so excited to share this **Red Velvet Heart‑Shaped Cake** with you all. It’s truly a delight to make, even more wonderful to eat, and it’s the perfect way to show someone you care! Ready to get baking?
Why You’ll Love This Red Velvet Heart‑Shaped Cake
Okay, friends, let me tell you why this **Red Velvet Heart‑Shaped Cake** is a winner, and you absolutely HAVE to make it!
- It’s a Showstopper: Seriously, that heart shape? Pure magic! Everyone will be wowed, I promise. Plus, it’s so cute!
- Easy Peasy: Don’t let fancy fool you – the recipe is super straightforward. Even if you’re a beginner, you got this!
- Perfect for Sharing: Whether it’s Valentine’s Day or just a Tuesday, everyone loves a slice of this cake. It’s the ultimate treat!
- That Flavor! That delicious red velvet flavor is to die for. It’s the perfect balance of sweet and tangy, trust me!
- Homemade with Love: Baking is one of the best ways to show how much you care, or at least that’s what my grandpa always said!
See? You can’t go wrong! Get ready for the best cake you’ll ever bake, I swear!
Ingredients for the Perfect Red Velvet Heart‑Shaped Cake
Okay, let’s gather our baking goodies! Now, for this **Red Velvet Heart‑Shaped Cake**, you’ll need the following, and trust me, don’t skimp on anything! First up, 2 ½ cups of all-purpose flour, and be sure to measure it right – you don’t wanna end up with a hockey puck! Then, you’ll need 1 ½ cups of granulated sugar, a level teaspoon of baking soda, and another teaspoon of salt. Don’t forget 1 teaspoon of that unsweetened cocoa powder, it’s what gives that cake its beautiful depth! Oh, and the wet stuff – 1 cup of buttermilk (room temp is best, if you can!), 1 cup of vegetable oil, 2 large eggs, 1 teaspoon of white vinegar, a generous 2 teaspoons of red food coloring (for that vibrant hue!), and 1 teaspoon of vanilla extract.
And now, for the frosting – because what’s a cake without a dreamy topping? For that Cream Cheese Frosting, you’ll need to grab 8 ounces of softened cream cheese (make sure it’s nice and soft, so it mixes smoothly!), ½ cup (that’s one stick!) of softened butter, 3 cups of powdered sugar, and 1 teaspoon of vanilla extract. Get ready to cream that frosting, it’s going to be AMAZING!
Equipment You’ll Need
Alright, before we get our bake on, let’s gather our gear! You’ll need a heart-shaped cake pan – because, duh, it’s a heart-shaped cake! We’ll also need some large mixing bowls to mix all your ingredients, a whisk, and measuring cups and spoons. Of course, you’ll be needing an oven, and a wire rack for cooling your beautiful masterpiece! Easy peasy!
Step-by-Step Instructions: Making Your Red Velvet Heart‑Shaped Cake
Okay, buckle up, buttercups! Making this **Red Velvet Heart‑Shaped Cake** is easier than you think. Just follow these steps, and you’ll be on your way to cake heaven in no time. I like to get all my ingredients measured and ready to go before I start, it makes everything a breeze!
Preparing the Cake Batter
First things first, we’ve got to get that batter going. In a big bowl, whisk together your dry ingredients (flour, sugar, baking soda, salt, cocoa powder). In another bowl, the wet ones (buttermilk, oil, eggs, vinegar, food coloring, and vanilla). Then, slowly add the wet stuff to the dry, mixing until it’s just combined. *Important note*, don’t overmix! A few streaks of flour? Totally fine. Overmixing means a tough cake, and we definitely *don’t* want that!
Baking the Red Velvet Heart‑Shaped Cake
Now, preheat your oven to 350°F (175°C) – it’s super important to let it get properly hot! Then, pour the lovely red batter into your prepared heart-shaped pan. Bake for 30-35 minutes. A toothpick inserted in the center should come out clean. My tip? Stick that toothpick in the thickest part and check! If it comes out with wet batter, it needs a bit more time. Keep an eye on it – ovens can be temperamental, ya know?
Making the Cream Cheese Frosting
While the cake is baking, let’s get that frosting ready! In a bowl, beat together the softened cream cheese and butter until nice and smooth. Then, gradually add the powdered sugar, mixing until it’s all incorporated and creamy. Add in that vanilla extract, and give it a final mix. You’re looking for a frosting that’s spreadable, but not too runny. If it’s too thick, add a tiny splash of milk until it’s perfect! You want that frosting perfect to coat your cake!
Frosting and Decorating Your Cake
Once the cake is completely cooled (and trust me, *wait* for this!), it’s time for the fun part! Place the cake on a plate. Frost the top of the heart evenly, and then get creative! You can use a knife to frost the sides, or if you are like me, pull out a piping bag to make it look fancy! Add sprinkles, fresh berries… whatever your heart (shaped cake, ha!) desires! Enjoy, you deserve it!
Tips for a Perfectly Moist Red Velvet Heart‑Shaped Cake
Listen, nobody likes a dry cake. It’s a tragedy! So, I’ve got some tried-and-true tips for ensuring your **Red Velvet Heart‑Shaped Cake** comes out absolutely, positively, *perfectly* moist every single time. First off, be sure to use room temperature ingredients – especially your eggs and buttermilk. It helps them mix together better and create a smoother batter. Also, trust me on this: do NOT overmix that batter! Overmixing develops the gluten in the flour, and you’ll end up with a tough cake. And the most important tip of all, let the cake cool *completely* before frosting! Otherwise, you’ll have a frosting mess and, honestly, who wants that?
Ingredient Notes and Substitutions for Red Velvet Heart‑Shaped Cake
Okay, let’s talk ingredients, my friends! This **Red Velvet Heart‑Shaped Cake** is all about getting those flavors just right. So, first up, let’s chat buttermilk. It’s the secret to a tender and slightly tangy cake! If you don’t have buttermilk, though, don’t panic. You can make a pretty good substitute by adding 1 tablespoon of white vinegar or lemon juice to a cup of regular milk, give it a stir, and let it sit for about 5 minutes before using!
And now, for the cocoa powder – it’s a MUST for red velvet. Make sure you’re using unsweetened cocoa powder. It gives the cake that beautiful, deep color and a hint of chocolatey goodness. You don’t want to use Dutch-processed cocoa powder. And honestly, for best results, I always suggest using the best quality you can get! It makes a difference, I swear. I always get asked, where do you buy your ingredients? Well, I get most of mine from the grocery store, but sometimes I venture out and find some new ingredients!
Variations on the Red Velvet Heart‑Shaped Cake
Okay, so you’ve made the classic, and now you want to spice things up a bit? Wonderful! This **Red Velvet Heart‑Shaped Cake** is super versatile, so feel free to get creative! Wanna play with the frosting? Try a chocolate cream cheese frosting (yum!). Or maybe you want a hint of other flavors? Add a teaspoon of almond extract to the batter for a little extra somethin’ somethin’! You could even fold in some chocolate chips for a chocolate-y surprise!
Storage and Reheating Instructions
So, you’ve baked this amazing **Red Velvet Heart‑Shaped Cake**, and you’ve got some left over? First off, congrats on your willpower! But hey, that’s okay, because this cake keeps really well. Just pop those leftover slices in an airtight container, and stick them in the fridge. They’ll be good for about 3-4 days! Just be sure to bring them to room temp before serving for best flavor – no microwaving needed! That’s my tip!
Estimated Nutritional Information for Red Velvet Heart‑Shaped Cake
Okay, real quick, before you go diving into this amazing **Red Velvet Heart‑Shaped Cake**, here’s the deal: The nutritional info below is just an estimate, okay? It can totally change based on the ingredients and brands you use. So, just keep that in mind!
Print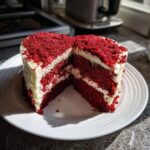
Red Velvet Heart-Shaped Cake
- Total Time: 50 min
- Yield: 8 servings
- Diet: Vegetarian
Description
A delicious red velvet cake baked in a heart shape.
Ingredients
- 2 1/2 cups all-purpose flour
- 1 1/2 cups granulated sugar
- 1 teaspoon baking soda
- 1 teaspoon salt
- 1 teaspoon unsweetened cocoa powder
- 1 cup buttermilk
- 1 cup vegetable oil
- 2 large eggs
- 1 teaspoon white vinegar
- 2 teaspoons red food coloring
- 1 teaspoon vanilla extract
- Cream cheese frosting (recipe below)
Instructions
- Preheat your oven to 350°F (175°C). Grease and flour a heart-shaped cake pan.
- In a large bowl, whisk together the flour, sugar, baking soda, salt, and cocoa powder.
- In a separate bowl, whisk together the buttermilk, oil, eggs, vinegar, red food coloring, and vanilla extract.
- Gradually add the wet ingredients to the dry ingredients, mixing until just combined.
- Pour the batter into the prepared cake pan.
- Bake for 30-35 minutes, or until a toothpick inserted into the center comes out clean.
- Let the cake cool in the pan for 10 minutes before inverting it onto a wire rack to cool completely.
- Once the cake is cool, frost it with cream cheese frosting.
Notes
- For the cream cheese frosting: Beat together 8 ounces of softened cream cheese, 1/2 cup (1 stick) softened butter, 3 cups powdered sugar, and 1 teaspoon vanilla extract until smooth.
- Prep Time: 20 min
- Cook Time: 30 min
- Category: Dessert
- Method: Baking
- Cuisine: American