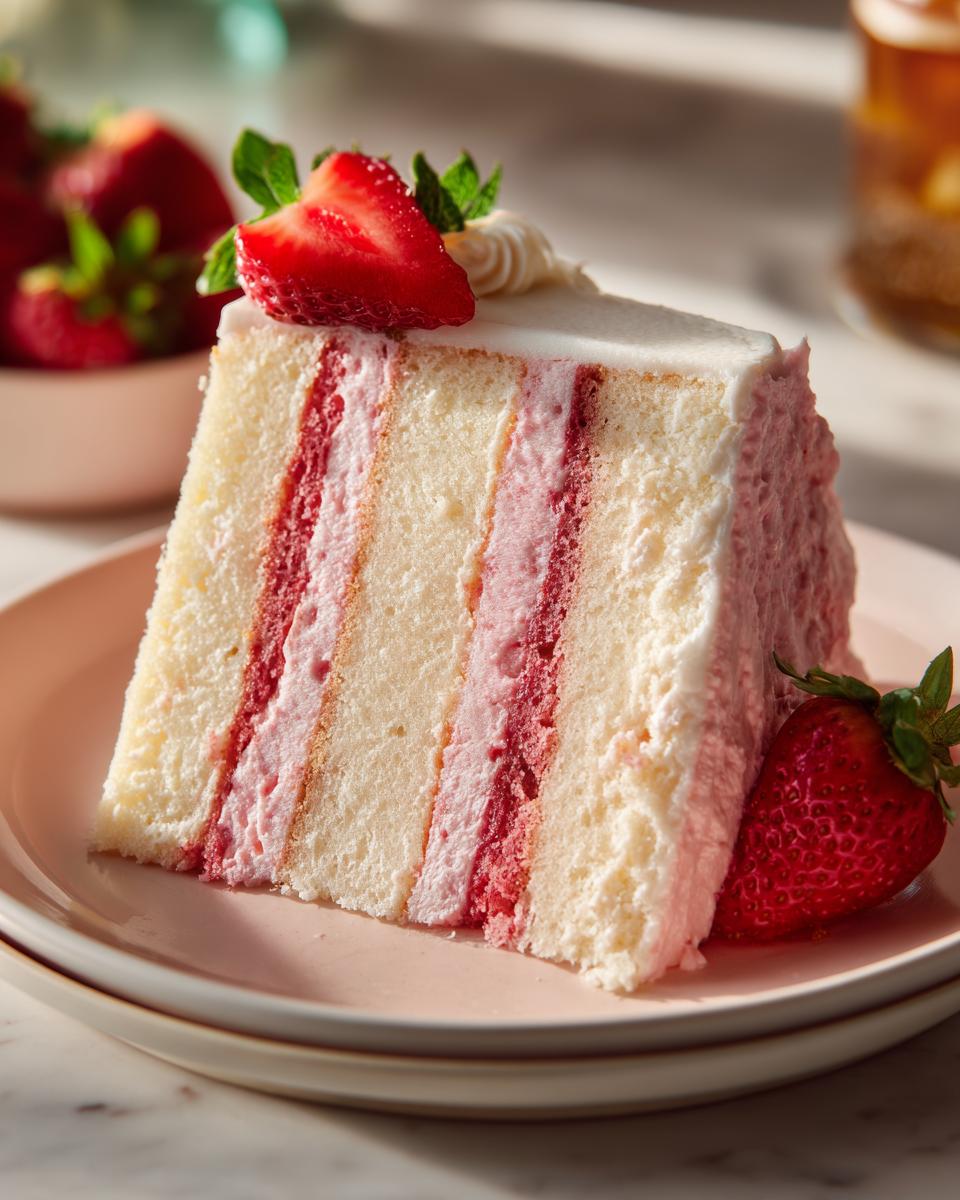
This *Strawberry Layer Cake*? Oh, honey, it’s my absolute *jam*! (Pun intended! 😉). Seriously, though, I’ve been baking for, well, let’s just say a long time, and this recipe? It’s a winner. It all started with my Aunt Susan. Every summer, she’d bring this gorgeous *Strawberry Layer Cake* to our family picnics. The smell alone would make your mouth water! I begged her for the recipe for years, *finally* got my hands on it, and spent ages perfecting it. Trust me, after tweaking it *just* a little, it’s now legendary amongst my friends and family. This cake is pure happiness. Light, fluffy, bursting with strawberry flavor – it’s perfect for any occasion!
Why You’ll Love This *Strawberry Layer Cake*
Okay, so, why is this *Strawberry Layer Cake* the best? Let me tell you:
- It’s easier than you think! Seriously!
- That fresh strawberry flavor is AMAZING. Like, swoon-worthy good.
- It looks super impressive, but it’s totally achievable.
- Perfect for birthdays, parties… or just a Tuesday, if you ask me!
- The creamy strawberry buttercream frosting is the *icing on the cake*, literally!
Ingredients for the Perfect *Strawberry Layer Cake*
Alright, let’s get down to the good stuff! Here’s what you’ll need to whip up this dreamy *Strawberry Layer Cake* – I always have everything ready to go before I start!
For the Cake:
- 2 ½ cups all-purpose flour (that’s the regular stuff!)
- 1 teaspoon baking powder
- ½ teaspoon baking soda
- ½ teaspoon salt – just a pinch!
- 1 cup (2 sticks) unsalted butter, softened – *very* important!
- 2 cups granulated sugar
- 2 large eggs
- 1 teaspoon vanilla extract
- 1 cup buttermilk – makes it super moist!
- 1 cup finely chopped fresh strawberries
For that heavenly Frosting:
- Strawberry buttercream frosting (recipe below!)
Step-by-Step Instructions: How to Make a Delicious *Strawberry Layer Cake*
Okay, friends, this is the fun part! Don’t you worry, it might seem like a lot, but I promise it’s totally doable. Just follow these steps, and you’ll have a gorgeous and yummy *Strawberry Layer Cake* in no time! Remember to have everything prepped and ready to go – it makes things so much smoother! Ready? Let’s bake!
Preparing the Cake Layers
First things first, let’s get that oven preheated to 350°F (175°C). While that’s warming up, grab two 9-inch round cake pans. Grease ’em up *really* well! You can use baking spray, or, if you’re like me, a little butter and flour works wonders. Make sure every inch is covered so your cakes don’t stick! Then, in a medium bowl, whisk together your flour, baking powder, baking soda, and salt. Set that aside. Prep is key, people!
Mixing the Cake Batter
Now for the heart of the cake! In a large bowl – or your stand mixer, if you’re fancy! – cream together your softened butter and the sugar. Beat it until it’s light and fluffy! This is super important for a good texture. Then, add those eggs one at a time, mixing well between each. Stir in that vanilla – yum! Next, gradually add your dry ingredients, alternating with the buttermilk. Start and end with the dry stuff. Mix it until just *combined*. Careful not to overmix! Gently fold in those chopped strawberries at the end – you want them to stay in cute little pieces!
Baking and Cooling the Cakes
Divide that beautiful batter evenly between your prepared cake pans. I like to use a kitchen scale to make sure it’s perfect, but mostly I just eyeball it! Bake for about 30-35 minutes, or until a toothpick inserted in the center comes out clean. Ovens vary, so keep an eye on them! Let those cakes cool in the pans for about 10 minutes before inverting them onto a wire rack to cool completely. This is crucial folks, cool completely before frosting!
Making the Strawberry Buttercream Frosting
Okay, let’s talk frosting! In a separate bowl, cream 1 cup (2 sticks!) of softened unsalted butter until it’s smooth and creamy. Gradually add 4 cups of powdered sugar – I usually sift it to avoid clumps. Beat until nice and smooth. Next, stir in ¼ cup of strawberry puree – use fresh strawberries, blended and strained for the best flavor – and a little pinch of salt. Taste it! You can add a teeny bit more pureed strawberries for extra flavor and color. Delicious perfection!
Assembling the *Strawberry Layer Cake*
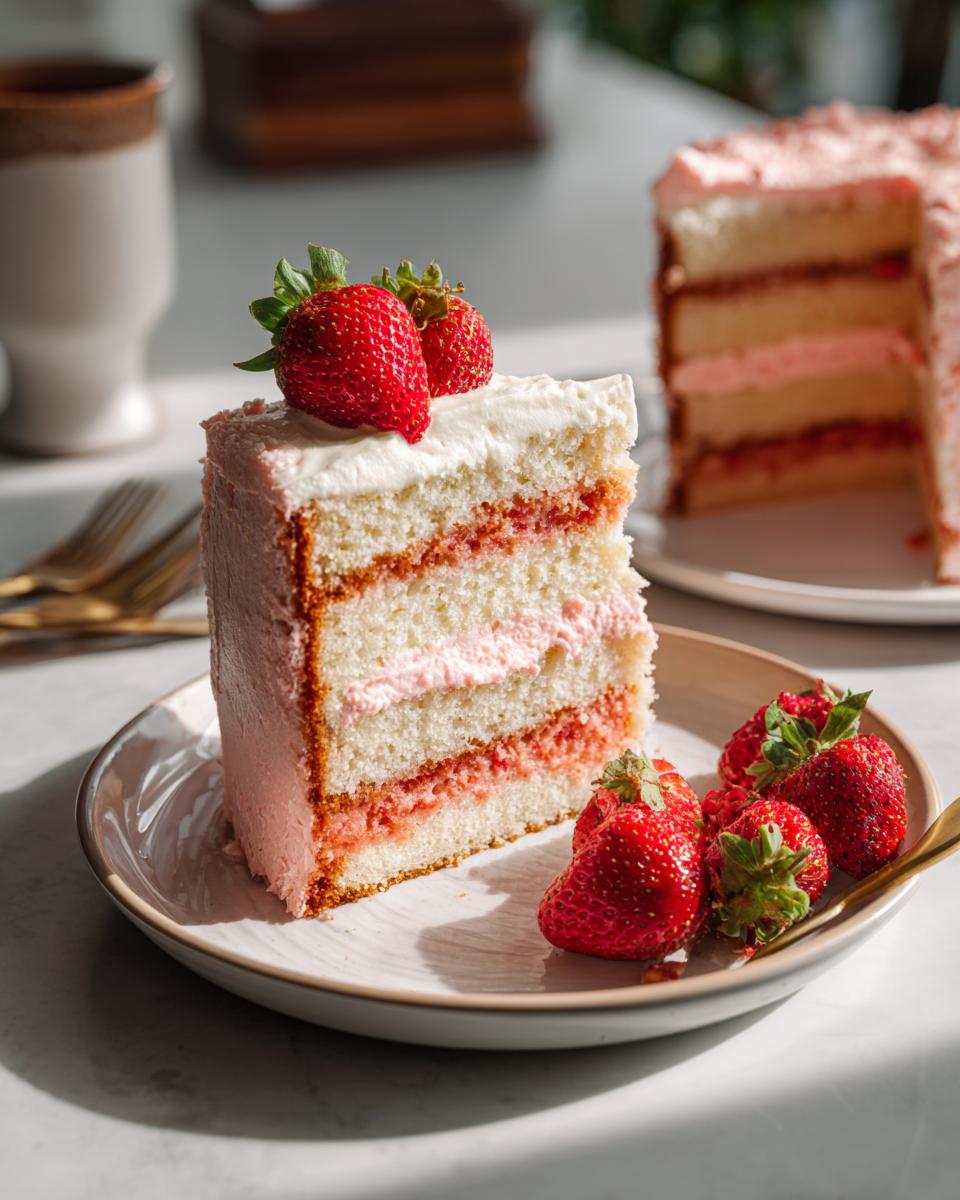
Once your cakes are *completely* cool, level the tops with a serrated knife if needed. Now, the fun part! Place one cake layer on your serving plate. Top it with a generous layer of that gorgeous strawberry buttercream frosting. Top with the second cake layer. Frost the top and sides of the entire cake with the remaining frosting, making it as smooth (or as rustic!) as you like! I like to add a few fresh strawberries on top, too, for extra flair. And voila! Your *Strawberry Layer Cake* is ready to wow!
Tips for *Strawberry Layer Cake* Success
Listen, even the best of us have baking hiccups sometimes. But don’t you worry! I’ve learned a few tricks over the years that’ll help make your *Strawberry Layer Cake* perfect every single time. First off, *fresh* strawberries are key! Don’t skimp on the quality – they’re the star of the show! Also, make sure your butter is *really* softened. If it’s too hard, you’ll end up with lumps, and a tough cake. And the secret to not overmixing? Stop mixing as soon as everything is *just* combined. Overmixing develops the gluten, and you want that light, fluffy texture! Finally, patience, my friend! Let those cakes cool completely before frosting. Trust me, it’s worth the wait!
Variations on the Classic *Strawberry Layer Cake*
Okay, so, you’ve got this awesome *Strawberry Layer Cake* down, but want to play around a bit? I get it! Baking is all about fun and experimentation, right?! Here are a few ideas to shake things up:
Want a chocolatey twist? Add some cocoa powder to the cake batter and swap out the vanilla extract for some almond extract! You could even use chocolate buttercream frosting! For a lemon-lime flavor, add some zest to your cake and your frosting. You can change up the berries and try raspberries or blueberries. Or, for a little extra crunch, you could sprinkle some chopped nuts on top!
Serving Suggestions for Your *Strawberry Layer Cake*
Okay, so you’ve made this show-stopping *Strawberry Layer Cake*, and now you’re wondering what to serve *with* it? Don’t worry, I got you! Honestly, this cake is amazing all on its own, but to really elevate the experience, I suggest a scoop of vanilla ice cream. Or a dollop of fresh whipped cream made with a hint of vanilla. A simple dessert wine is a perfect combination. And of course, a big glass of milk never fails.
Storage and Reheating Instructions for Your *Strawberry Layer Cake*
Okay, so, you baked this gorgeous *Strawberry Layer Cake*, and now you have leftovers? (Lucky you!). Here’s the deal: store any extra cake in an airtight container in the fridge. It’ll stay fresh for about 3-4 days — if it lasts that long! 😉 If you want to freeze slices for later, wrap them individually in plastic wrap, then put them in a freezer bag. When you’re ready to eat it, let them thaw in the fridge. Honestly – it’s delicious straight from the fridge, but let it sit at room temperature for about 30 minutes to soften up if you prefer!
Estimated Nutritional Information for *Strawberry Layer Cake*
Okay, so, here’s a rough idea of what you’re looking at, nutritionally speaking. Keep in mind, this is *just* an estimate, and it can depend on *exactly* what ingredients you use. But a single slice of this *Strawberry Layer Cake* will usually be around:
- Calories: 450
- Sugar: 45g
- Sodium: 150mg
- Fat: 25g
- Saturated Fat: 15g
- Unsaturated Fat: 8g
- Trans Fat: 0g
- Carbohydrates: 55g
- Fiber: 2g
- Protein: 5g
- Cholesterol: 75mg
Frequently Asked Questions About *Strawberry Layer Cake*
Alright, so you’re ready to bake this *Strawberry Layer Cake* but have a few questions? Totally normal! I get asked these all the time:
Can I use frozen strawberries?
You *can*, but fresh is always best! Frozen strawberries will work in a pinch. Just make sure to thaw them completely and pat them dry, or your batter might be too watery. You may need to also add a tablespoon of cornstarch to the chopped berries to help absorb any extra moisture.
How can I make the cake ahead of time?
Totally fine! Bake the cake layers and let them cool completely. Then, wrap them tightly in plastic wrap and freeze them for up to a month. Thaw them in the fridge overnight before frosting. The frosting can be made a day or two ahead and stored in the fridge too. Just let it soften a bit before spreading on the cake.
My buttercream frosting is too thin! What do I do?
Wow! Don’t fret! Sometimes the butter gets too warm, or not enough powdered sugar’s added. Try popping your frosting in the fridge for about 15-20 minutes to firm up. If that doesn’t work, add a little more powdered sugar, a tablespoon at a time, until you get the right consistency.
What if I don’t have buttermilk?
No buttermilk, no problem! You can make a buttermilk substitute using regular milk and a little lemon juice or white vinegar. Just add 1 tablespoon of lemon juice or white vinegar to 1 cup of milk, let it sit for 5 minutes, and then use it in place of the buttermilk. Easy peasy!
Print
Strawberry Layer Cake
- Total Time: 65 min
- Yield: 10 servings
- Diet: Vegetarian
Description
A delicious cake with layers of strawberry flavor.
Ingredients
- 2 1/2 cups all-purpose flour
- 1 teaspoon baking powder
- 1/2 teaspoon baking soda
- 1/2 teaspoon salt
- 1 cup (2 sticks) unsalted butter, softened
- 2 cups granulated sugar
- 2 large eggs
- 1 teaspoon vanilla extract
- 1 cup buttermilk
- 1 cup finely chopped fresh strawberries
- Strawberry buttercream frosting (recipe below)
Instructions
- Preheat your oven to 350°F (175°C). Grease and flour two 9-inch round cake pans.
- In a medium bowl, whisk together the flour, baking powder, baking soda, and salt.
- In a large bowl, cream together the butter and sugar until light and fluffy. Beat in the eggs one at a time, then stir in the vanilla.
- Gradually add the dry ingredients to the wet ingredients, alternating with the buttermilk, beginning and ending with the dry ingredients. Mix until just combined.
- Gently fold in the chopped strawberries.
- Divide the batter evenly between the prepared cake pans.
- Bake for 30-35 minutes, or until a wooden skewer inserted into the center comes out clean.
- Let the cakes cool in the pans for 10 minutes before inverting them onto a wire rack to cool completely.
- Once the cakes are cool, level them with a serrated knife if needed.
- Place one cake layer on a serving plate and top with a layer of strawberry buttercream frosting. Top with the second cake layer and frost the top and sides of the cake with the remaining frosting.
Notes
- For the strawberry buttercream frosting: Beat 1 cup (2 sticks) softened unsalted butter until creamy. Gradually add 4 cups powdered sugar, beating until smooth. Stir in 1/4 cup strawberry puree and a pinch of salt.
- Prep Time: 30 min
- Cook Time: 35 min
- Category: Dessert
- Method: Baking
- Cuisine: American